
Grasshopper Whoopie Pies — Mint Chocolate Cream Filled Cookie Sandwiches
These grasshopper whoopie pies combine rich chocolate cookies with a fluffy mint marshmallow cream filling. Easy homemade recipe using fresh mint — ready in under 2 hours. Perfect for mint chocolate lovers

This plant attempts to strangle all of its neighbors, climbing all over my windowsill garden, wrapping itself around my other plants, and rooting itself in other pots. Clearly, it needed to be taken down a peg. This imperative to stop the tyrant is what inspired this week’s creation. Giving the mint a haircut meant that I would have a sudden influx of fresh mint to work with.
Whoopie pies lie in the intersection of cake and sandwich cookies. The cookies have a cake-like consistency, but the dough (or is it batter…) is more like a wet cookie dough. I gathered inspiration from several different recipes for these grasshopper whoopie pies. I started with this recipe for the cookies, changing only the flour, and I used this recipe and this recipe as starting points for the filling. If I were to make any after-the-fact adjustments, I might add some confectioner’s sugar to the filling to make it a bit stiffer (more like frosting), chill the dough before scooping, and use a cookie scoop to make the cookies more uniform.
Ingredients for Grasshopper Whoopie Pies
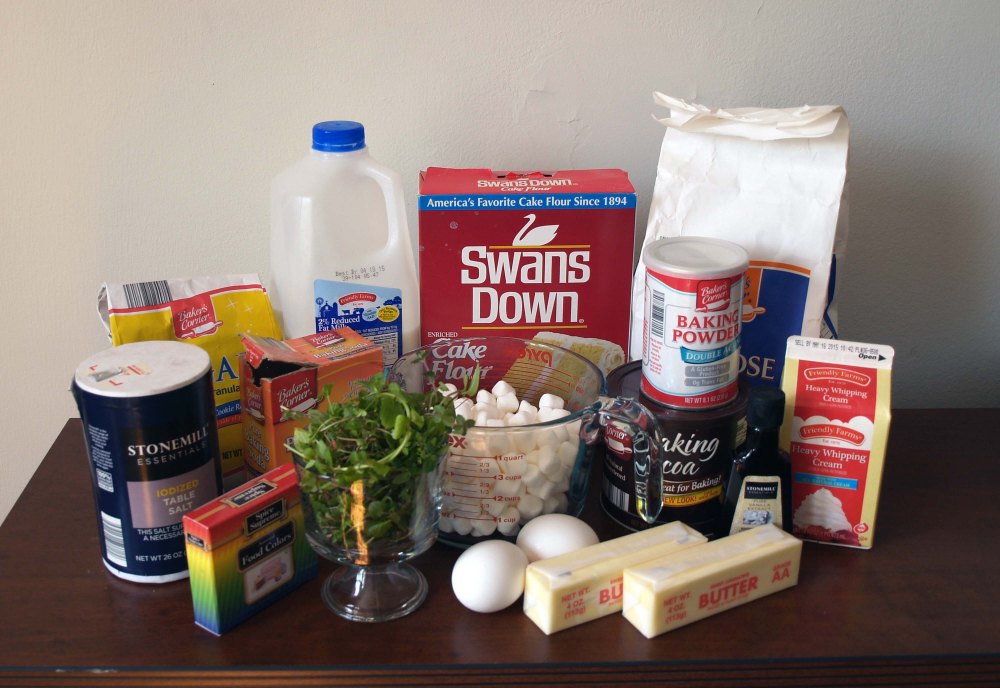
For the cookies:
- 2 cups all-purpose flour
- 2 1/4 cups cake flour
- 1 cup unsweetened cocoa powder
- 1 tsp. salt
- 1 tsp. baking powder
- 1/2 tsp. baking soda
- 1 cup butter, softened
- 2 cups granulated sugar
- 2 eggs
- 2 tsp. vanilla extract
- 1 1/2 cups milk
For the filling
- 1/2 cup mint syrup (see how to make this here), or crème de menthe if you so desire
- 1 cup loosely-packed mint leaves
- 2 cups heavy cream
- 3 cups mini marshmallows
How to Make Grasshopper Whoopie Pies — Step by Step
Step:1 prepare your mint syrup. You will want to start this at least 8 hours in advance to allow enough time for the mint leaves to infuse the syrup fully.
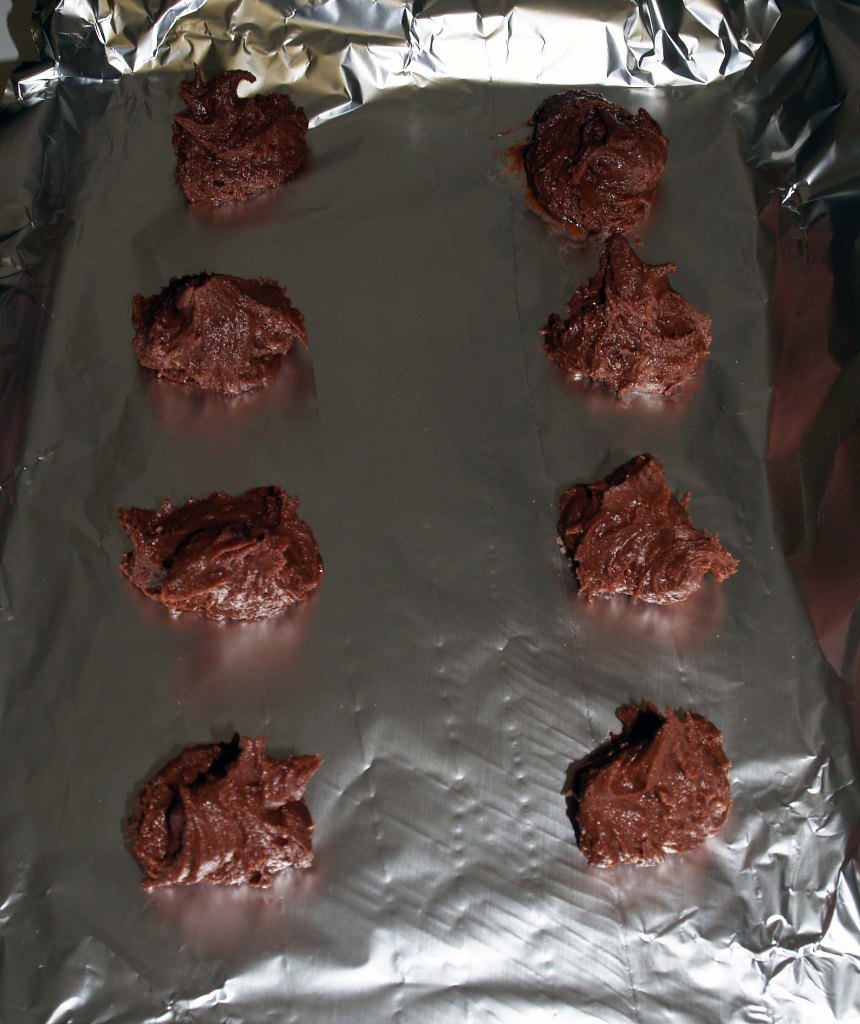
Step:2 Preheat your oven to 350°F and prepare your cookie sheets. I line mine with aluminum foil, shiny side down, so I don’t have to clean them, but you may also use parchment paper or grease them.
In a medium bowl, whisk together the flours, cocoa powder, salt, baking powder, and baking soda.
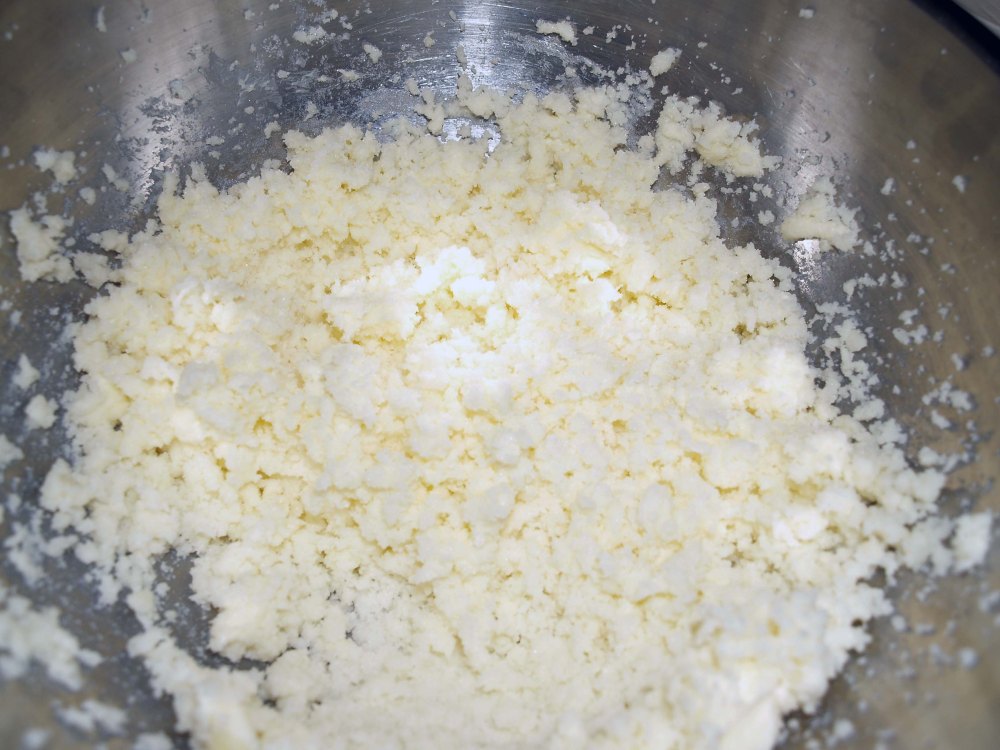
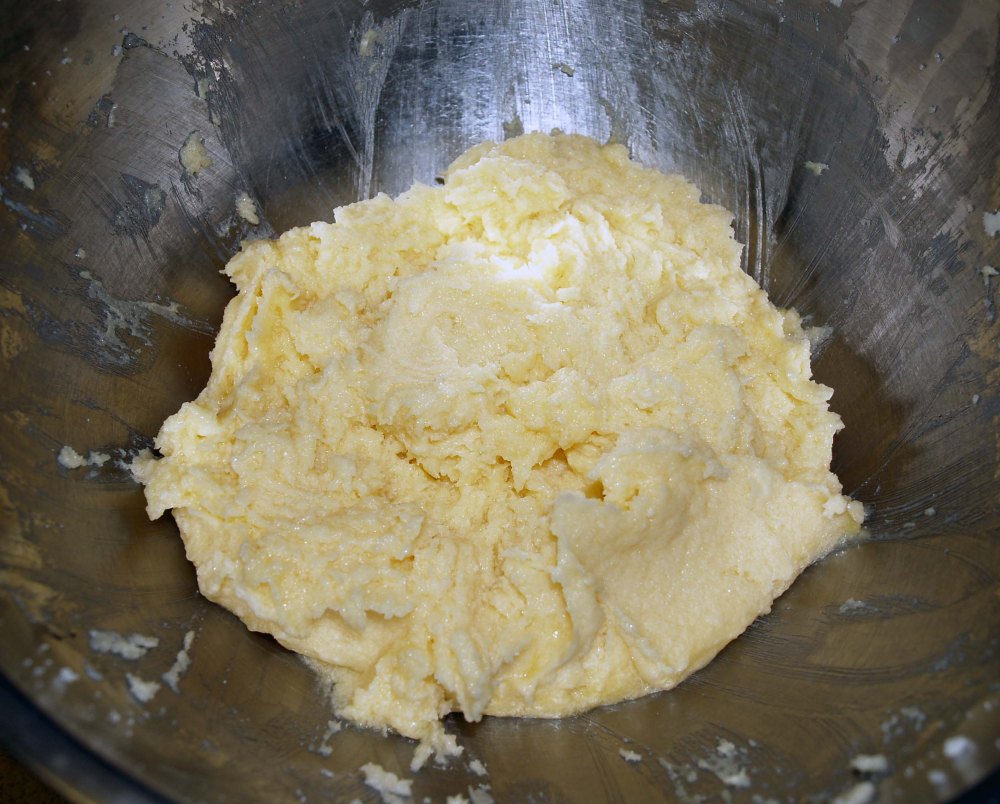
Cream the butter and sugar in a large mixing bowl.
Step:3 Beat in the eggs and vanilla extract.
Step:4 Stir half of the dry ingredients into the wet ingredients. While I was beating the wet ingredients with an electric mixer, I suggest using a spoon or rubber spatula for the dry ingredients because they will quickly get EVERYWHERE if you mix them too fast.
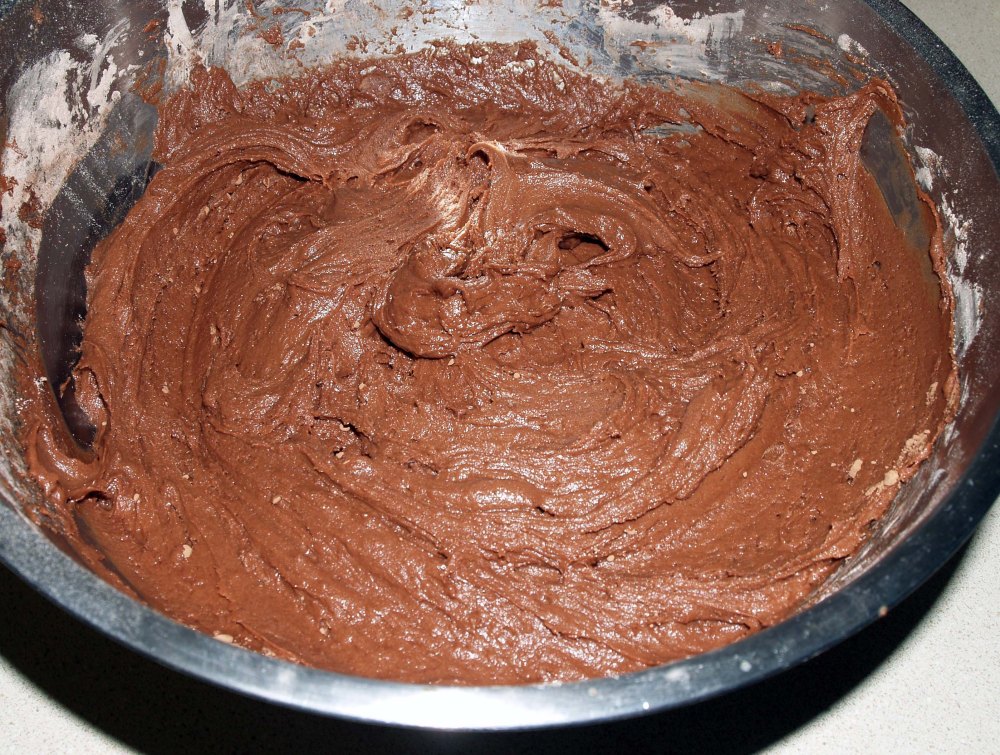
Mix in the milk. (You can go back to the electric mixer for this part.)
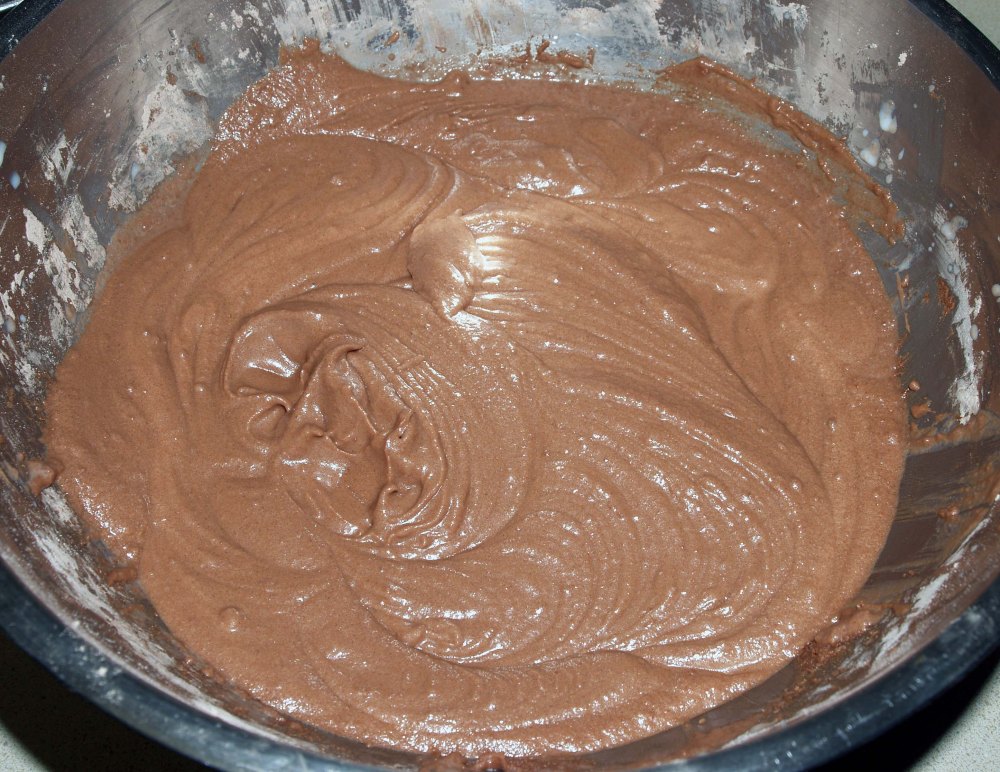
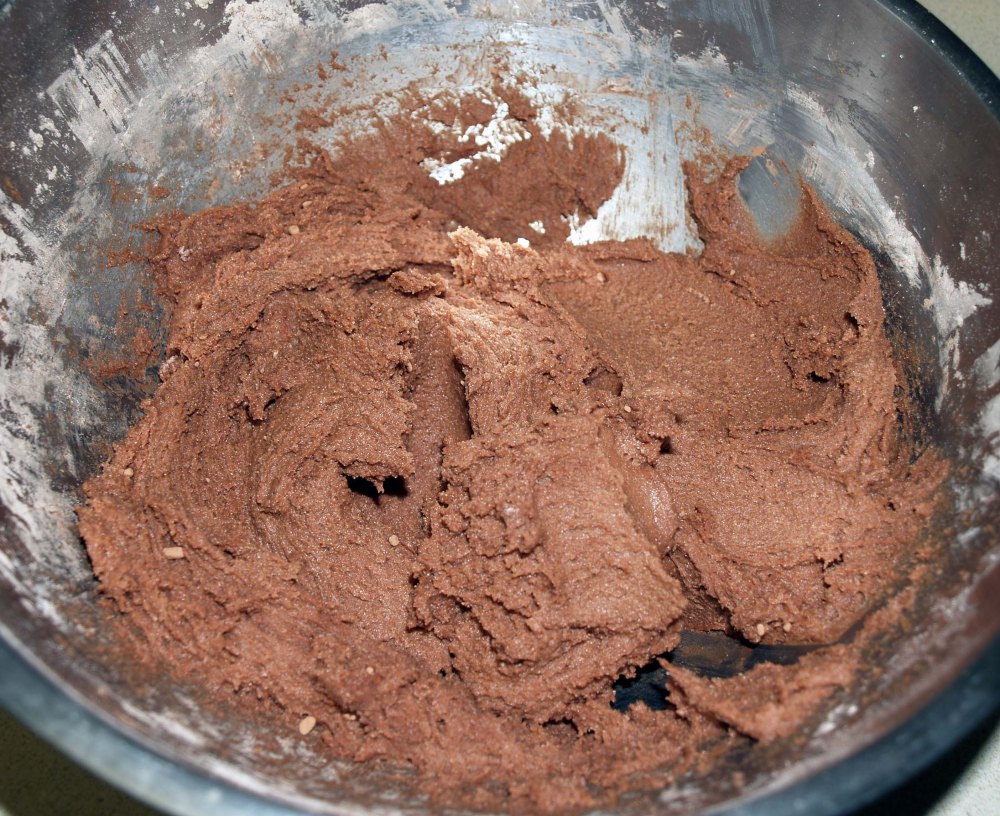
Stir in the rest of the dry ingredients. Your dough/batter should be thick and hold its shape.
Step:5 As mentioned earlier, you might want to refrigerate your dough for an hour or so to make it easier to shape. Drop your dough by rounded tablespoons onto your cookie sheets. Do your best to make them round and slightly flat so that they will be easier to match when you are assembling your sandwiches. This recipe should make approximately 50 cookies.
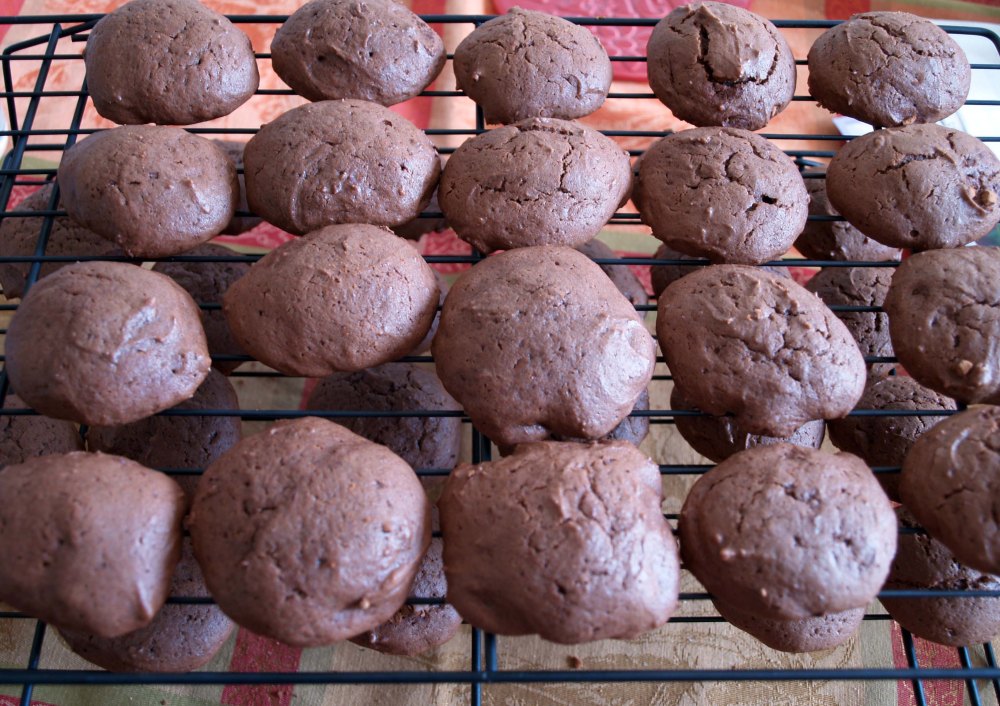
Step:6 Bake the cookies for 10 minutes. Let them cool for 5 minutes on the cookie sheets, then remove them to cool on a wire rack. Make sure they cool completely before you assemble them, or they will melt your filling.
Step:7 While your cookies are cooling, begin to prepare the filling.
Place the mint leaves in a medium saucepan and gently crush them with the back of a spoon. Pour 1 cup of heavy cream into the saucepan and stir.
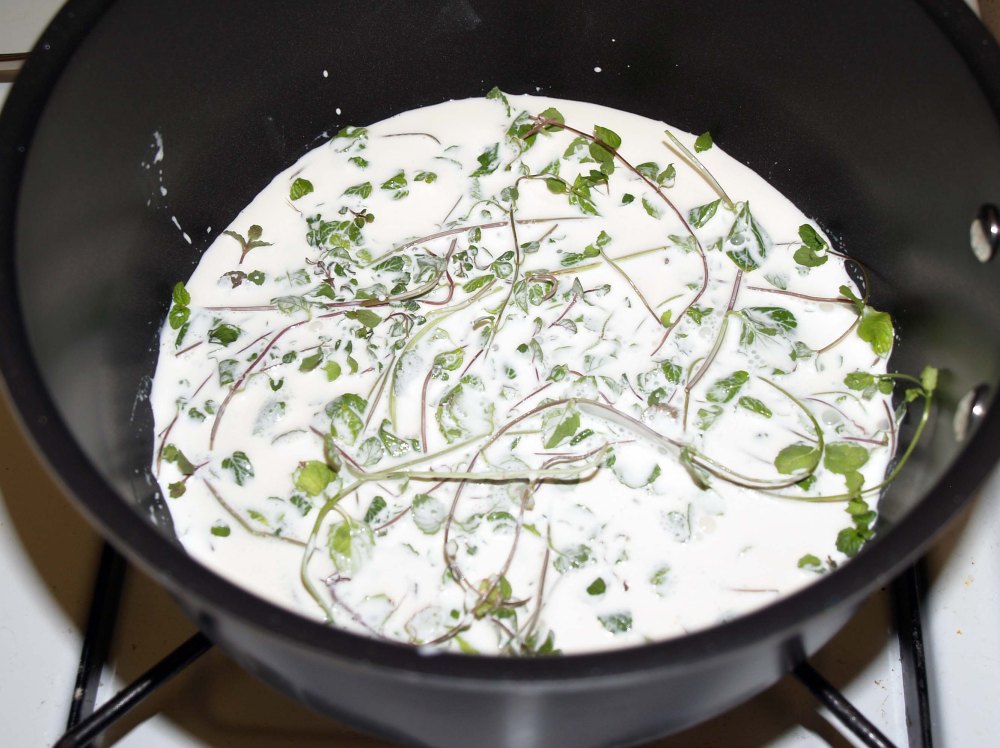
Step:8 Heat the cream and mint over medium heat until it just begins to boil. Remove the cream from the heat, cover, and steep for 15 minutes.
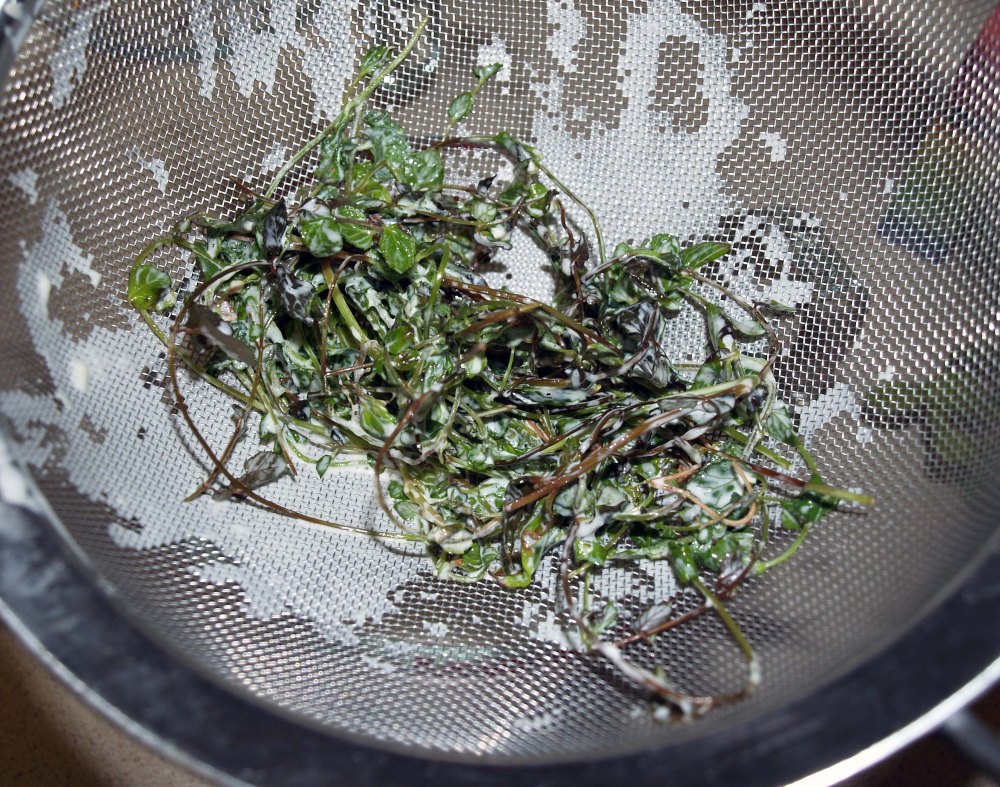
Strain the mint leaves out of the cream and return it to the saucepan.
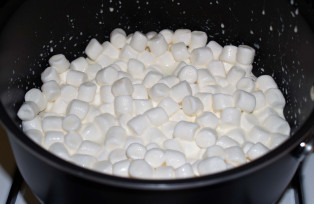
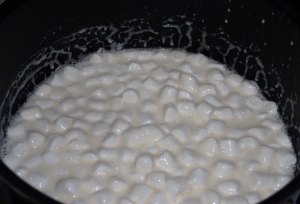
Step:9 Add the marshmallows to the cream and return them to medium heat. Heat until the cream starts to foam and remove the mixture from the heat. Whisk or stir until the marshmallows are completely dissolved.
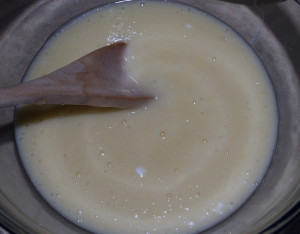
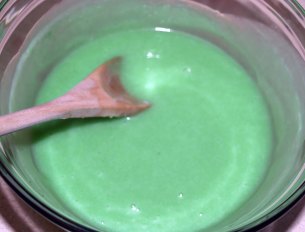
Step:10 Pour the cream and marshmallow mixture into a heat-proof bowl and whisk in the mint syrup and enough green food coloring to create the proper shade of green. Allow the mixture to cool completely.
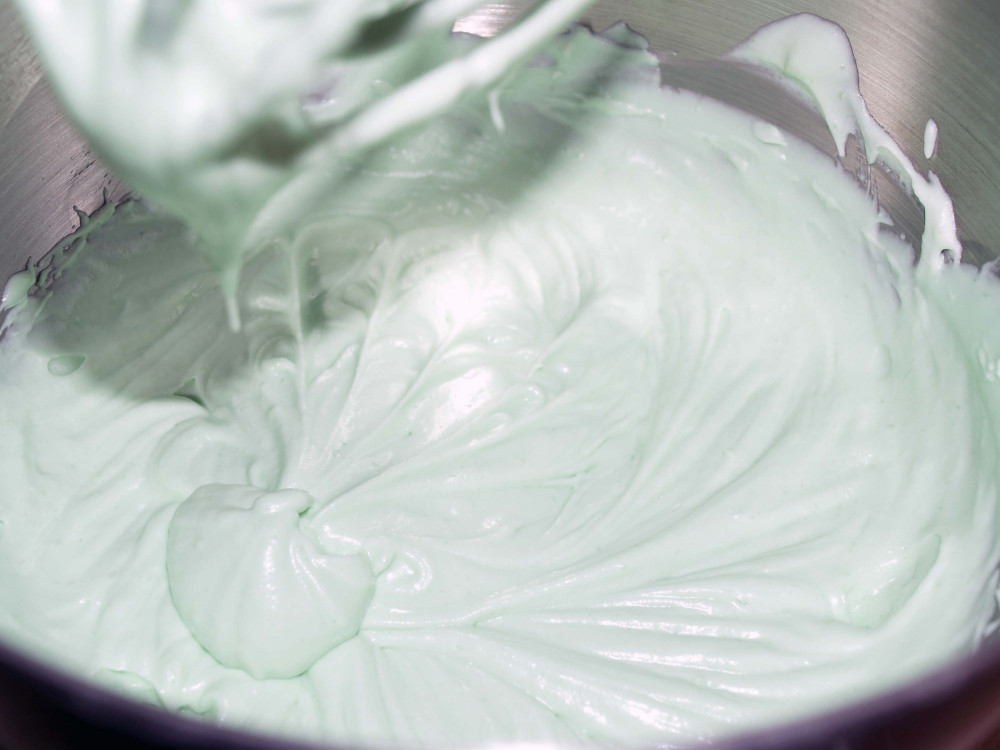
Step:11 Once your mint marshmallow cream has cooled, whip the remaining cup of cream (be sure to keep it cold) until soft peaks form. Pour in the mint marshmallow cream and continue to whip the mixture until it is of piping consistency. If you would like a stiffer filling, this is the point at which you would add in some confectioner’s sugar.
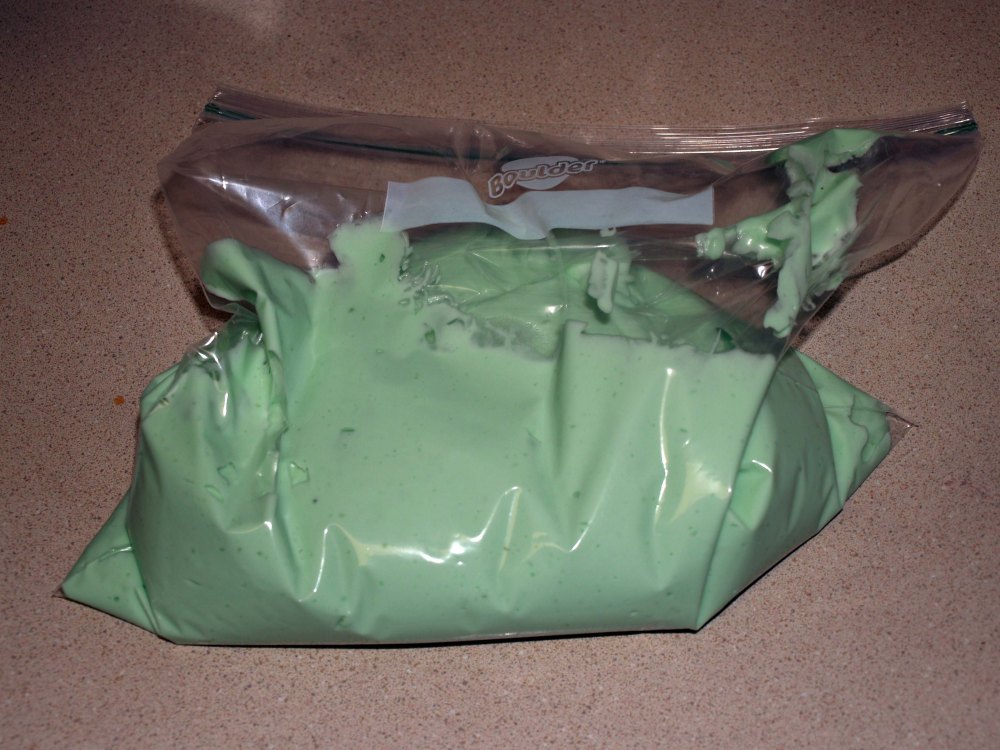
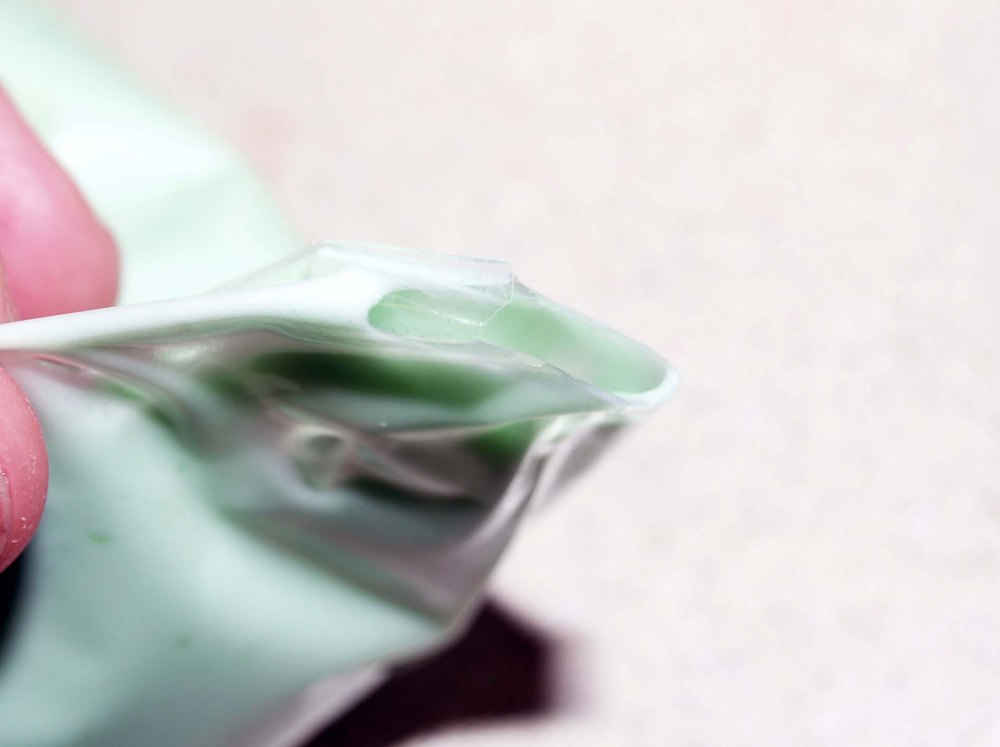
Pour your filling into a piping bag or gallon resealable plastic bag. Place the bag in the freezer for 20 minutes (do not leave it in there too long or strange things might happen to the cream).
Once your cream has chilled, cut a small hole in one corner.
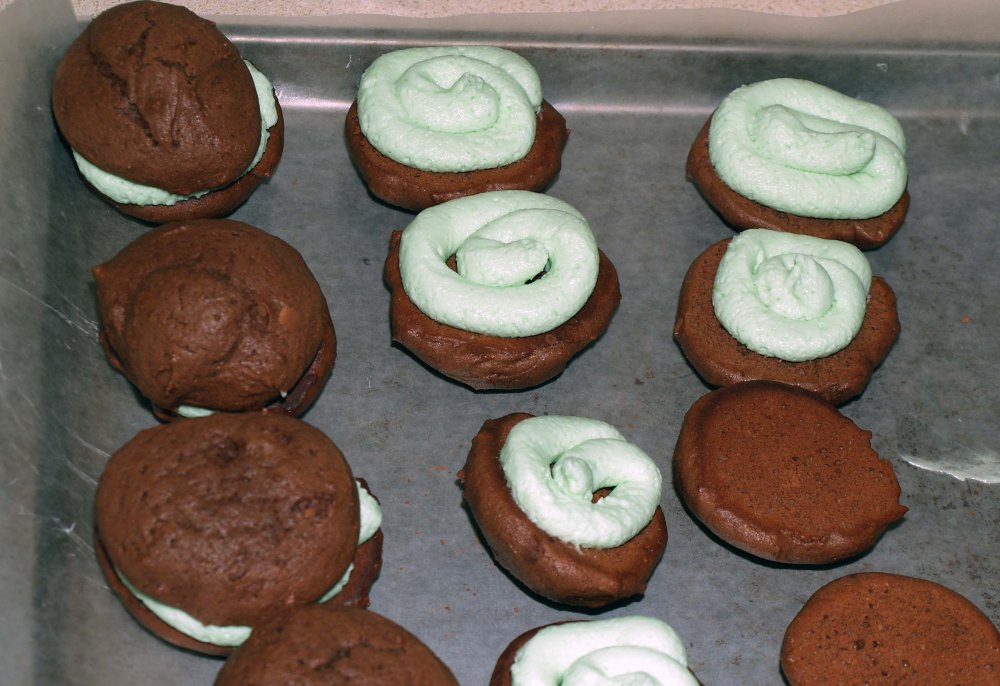
Step:12 Lay your cookies out on wax paper. Pipe filling onto half of the cookies and sandwich those with the rest of the cookies.
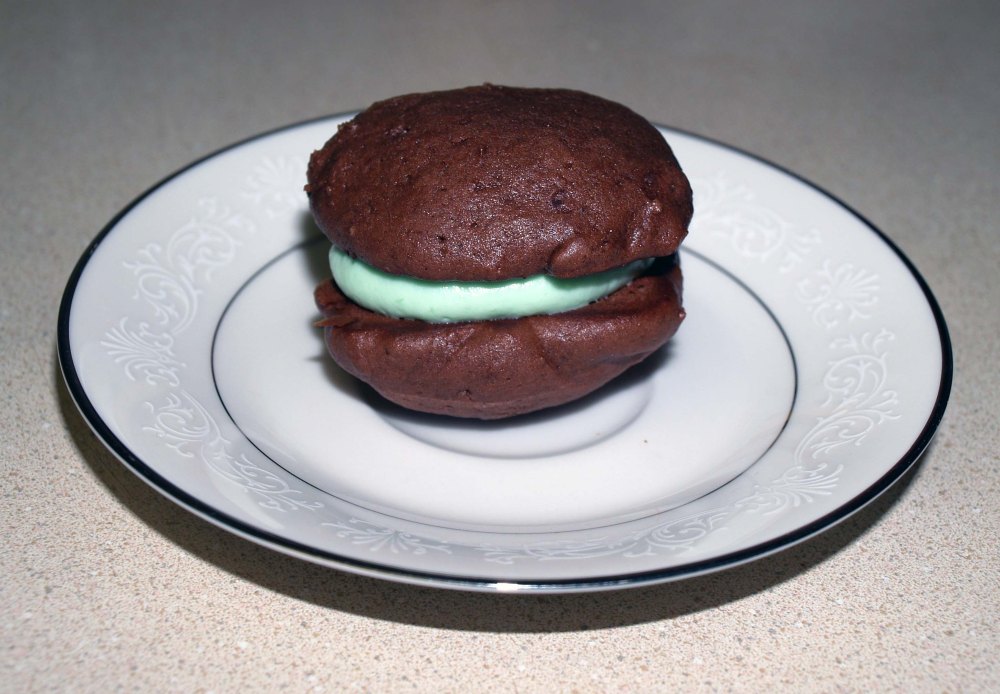
These keep best individually-wrapped in the fridge. Enjoy!
Pro Tips for Perfect Grasshopper Whoopie Pies
Use a cookie scoop — uniform sized cookies sandwich together perfectly. Mismatched sizes make assembly frustrating and messy Cool cookies completely — even slightly warm cookies will melt your filling instantly Do not over freeze the filling — exactly 20 minutes firms it to perfect piping consistency. Any longer changes the cream texture Steep the mint properly — a full 15 minute steep with the pan covered extracts maximum mint flavor from the leaves Use gel food coloring — liquid food coloring adds too much moisture and changes filling consistency. Gel gives vibrant color with tiny amounts Make mint syrup the night before — 8 hours minimum infuse time gives the deepest mint flavor
Frequently Asked Questions
What does grasshopper flavor mean in desserts?
Grasshopper flavor refers to the combination of chocolate and mint — named after the classic grasshopper cocktail which mixes crème de menthe and chocolate liqueur. In desserts it means rich chocolate paired with cool refreshing mint.
Q: Can I make grasshopper whoopie pies without fresh mint?
Yes. Replace the fresh mint leaves and mint syrup with 1½ teaspoons of peppermint extract added directly to the whipped cream filling. The flavor will be slightly sharper but still delicious.
Q: Can I make whoopie pies ahead of time?
Yes. Bake the cookies up to 1 day ahead and store in an airtight container at room temperature. Make the filling on the day you plan to serve and assemble just before serving for the best texture and presentation.
Check Out Other blogs:
- Welcome to I wanna bake
- How to Make Pie Crust Roses
- Unicorn Poop Cookies
- Turn Your Pies Into Works of Art with These Easy Floral Crust Tutorials
- Povitica- Croatian Walnut Bread
Grasshopper Whoopie Pies
Ingredients
Method
- Prepare your mint syrup at least 8 hours ahead to allow the mint leaves to fully infuse
- Preheat your oven to 350°F (175°C). Line cookie sheets with parchment paper, foil shiny side down, or lightly grease them
- In a medium bowl, whisk together the all-purpose flour, cake flour, cocoa powder, salt, baking powder, and baking soda. Set aside
- In a large mixing bowl, beat the butter and sugar together with an electric mixer until light and fluffy
- Beat in the eggs and vanilla extract until well combined
- Using a rubber spatula, stir in half the dry ingredients — avoid an electric mixer here or the dry ingredients will go everywhere. Mix in the milk, then stir in the remaining dry ingredients. The dough should be thick and hold its shape
- Refrigerate the dough for about 1 hour for easier shaping and more uniform cookies
- Drop dough by rounded tablespoons onto prepared cookie sheets, spacing 2 inches apart. Gently flatten each one slightly — even rounds are easier to sandwich. Makes approximately 50 cookies
- Bake for 10 minutes. Rest on the sheet for 5 minutes, then transfer to a wire rack. Cool completely before filling or they will melt the cream
- Place the fresh mint leaves in a medium saucepan and gently crush with the back of a spoon. Pour in 1 cup of heavy cream and stir
- Heat over medium until the cream just begins to boil. Remove from heat, cover, and steep for 15 minutes
- Strain out the mint leaves and return the cream to the saucepan. Add the marshmallows and heat over medium, stirring, until they are completely dissolved. Pour into a heatproof bowl
- Whisk in the mint syrup and a few drops of green food coloring. Allow to cool completely to room temperature
- Whip the remaining 1 cup of cold heavy cream to soft peaks. Pour in the cooled mint marshmallow cream and continue whipping to piping consistency. For a stiffer filling, add a few tablespoons of confectioner's sugar at this stage
- Transfer filling to a piping bag or zip-lock bag and place in the freezer for 20 minutes. Do not over-freeze
- Snip a small corner off the piping bag. Lay cookies flat-side up on wax paper
- Pipe filling generously onto half the cookies, then press the remaining cookies on top to form sandwiches
- Individually wrap each whoopie pie and store in the refrigerator