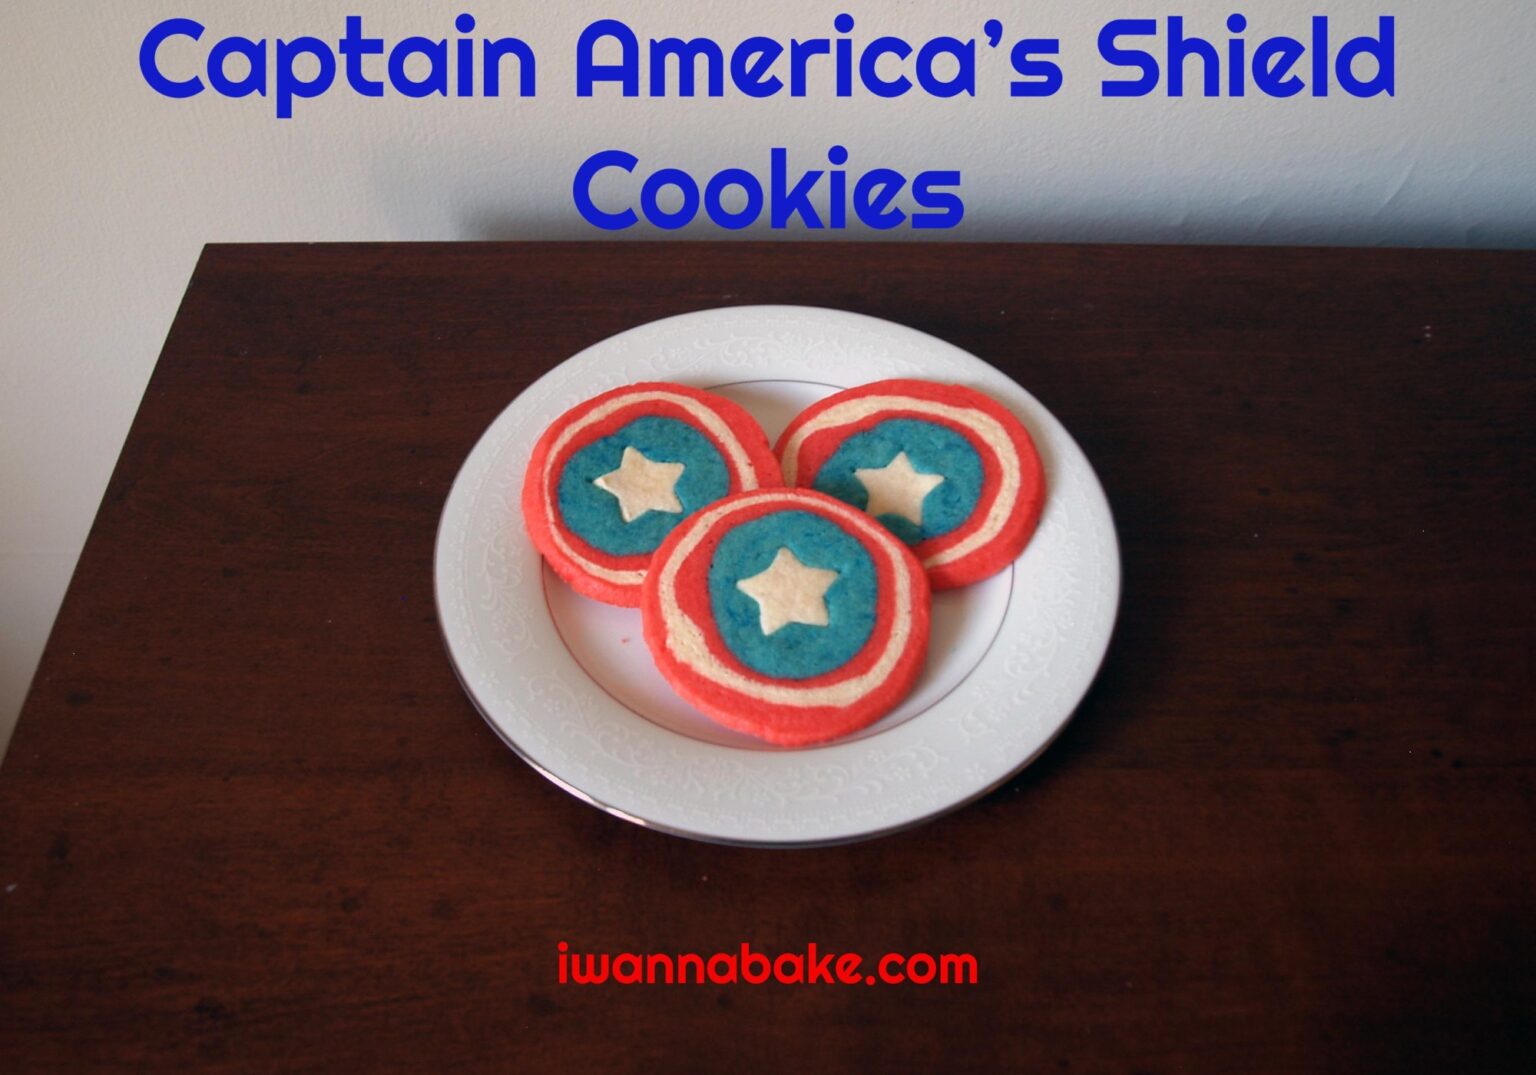
Ingredients
Method
Make the Dough
- In a medium bowl whisk together the flour, baking powder, and salt. Set aside
- In a large mixing bowl or stand mixer, cream together the butter and sugar until light and fluffy. Add the egg and vanilla extract and beat until well combined
- Mix in the dry ingredients in two batches until fully incorporated, scraping the sides and bottom of the bowl as you go
Divide and Color
- Reserve ½ cup of dough and set aside. Divide the remaining dough in half — you will have two larger pieces and one small piece
- Color one large piece red by making a well in the center, adding about 15 drops of red food coloring, and kneading until the color is completely even throughout
- Color the reserved ½ cup piece blue using about 10 drops of blue food coloring and kneading until uniform. Leave the remaining large piece plain white
- Form the blue dough into a log approximately 3½ inches long and wrap tightly in plastic wrap
- Divide the red dough into two slightly unequal pieces and the white dough into two slightly unequal pieces. Flatten each piece into a rectangle approximately 3½ inches wide. Wrap each piece separately in plastic wrap
- Refrigerate all dough pieces for 2 hours until firm
Build the Log
- Working with everything still in plastic wrap where possible, carefully wrap the smaller red rectangle around the blue log. If the dough cracks let it sit at room temperature for a few minutes to soften slightly. Roll the rectangle a little longer if it does not quite wrap all the way around. Press the ends together gently to seal
- Wrap the larger white rectangle around the red-wrapped blue log in the same way, then wrap the remaining red rectangle around that. Keep the dough as cold as possible throughout
- Unwrap each layer as you go to permanently attach it — roll each rectangle around the previous layer, using the plastic wrap to guide the process and keep the width uniform. Press the seams together firmly to seal after each layer
- Wrap the completed log tightly in plastic wrap. For best results, slide it into a paper towel tube cut lengthwise to help maintain a round shape while chilling. Refrigerate overnight or freeze for 1–2 hours until very firm
Cut, Star, and Bake
- Preheat oven to 350°F. Work as far from the hot oven as possible to keep the dough cold. Unwrap the log, trim and discard the rough ends, and cut into slices approximately 3/16 inch thick. Arrange on greased or foil-lined baking sheets
- Roll out the remaining plain white dough rectangle to the same thickness as the cookie slices. Cut out as many small stars as you have cookies using a star-shaped cookie cutter
- Using the same cutter, cut a star shape out of the center of each cookie slice. Bake the removed blue stars separately or discard
- Carefully press a white star into the star-shaped hole in each cookie. Press gently around the edges to seal the pieces together
- Bake for 9–11 minutes until the cookies have hardened slightly and are no longer shiny on top. Do not let them brown — browning will ruin the color pattern
- Cool on the baking sheets for 5 minutes then transfer to a wire rack to cool completely. Store in an airtight container
Notes
Keep the dough cold at every stage — warm dough loses its shape and the rings will blur together. Wrapping dough pieces in plastic wrap before rolling them around each other keeps the width uniform and eliminates the need for flour. For cleaner concentric rings, trim the overlapping edges of each layer before attaching the next one. These cookies take significant chilling time so plan at least one day ahead. Gel food coloring gives more vibrant red and blue than liquid coloring