Ingredients
Method
Prepare the Cake
- Make sure your cake is completely cold before glazing. For best results frost the cake with a crumb coat, chill, then add a second smooth layer of frosting to fill any imperfections. The surface must be as smooth as possible — any bumps will show through the glaze
- Refrigerate the frosted cake overnight or freeze for extra insurance before glazing
Make the Glaze
- Sprinkle the gelatin granules over the ¼ cup of water in a small bowl. Gently stir to avoid dry spots on the bottom. Set aside to bloom for 5 minutes
- In a medium saucepan with a candy thermometer attached, whisk together the corn syrup, granulated sugar, and remaining ⅔ cup water. Bring to a boil over high heat
- When the temperature reaches 217°F, remove the pan from the heat and whisk in the bloomed gelatin until fully dissolved
- Whisk in the sweetened condensed milk
- Pour the hot mixture over the chopped white chocolate in a large heatproof bowl. Let sit for 5 minutes without stirring
- Gently whisk until the white chocolate is fully melted and the mixture is smooth. If the chocolate is stubborn or clumpy, carefully blend on high speed in a food processor to smooth it out — note this will create small bubbles
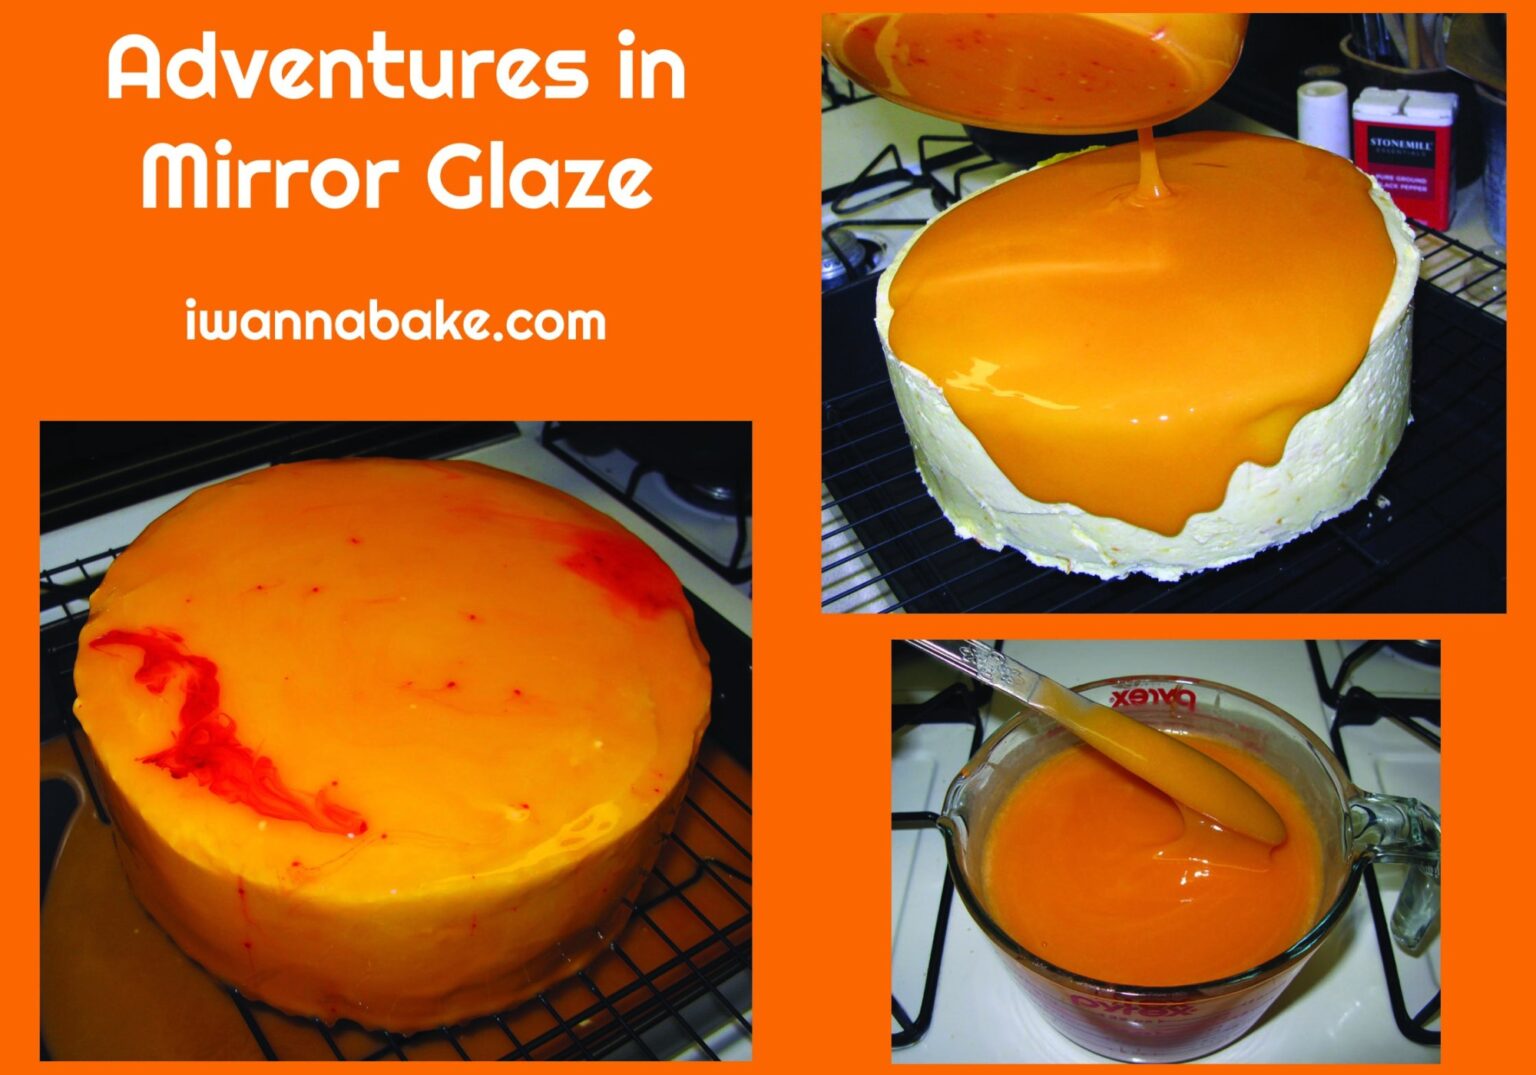
- Transfer to a pourable container such as a glass measuring cup. Stir in liquid food coloring. Avoid gel coloring as it can leave clumps
- Set the glaze aside to cool to approximately 85°F, stirring gently every few minutes to prevent a skin from forming. If bubbles appear on the surface, press a paper towel lightly onto the surface and lift away just before pouring
Glaze the Cake
- Set a wire cooling rack over a roasting pan or high-sided baking sheet. Carefully transfer the cold cake onto the rack — this catches excess glaze which can be collected and reused
- Have an offset spatula or butter knife ready in case the glaze needs guiding
- Starting from the center of the cake, slowly pour the glaze over the top in a steady stream. It will spread outward on its own. Concentrate pouring on any sparse areas if the cake is not perfectly level
- If desired, quickly swirl in additional food coloring with a toothpick while the glaze is still wet. Work fast — waiting too long will disturb the smooth finish
- Leave the cake undisturbed until the glaze is mostly set and the drips have stopped. Run a sharp knife around the bottom edge to remove the drips. Very carefully transfer to a serving plate using a cake lifter and an extra pair of hands if available
- Refrigerate for at least 30 minutes to allow the glaze to fully set. Use a sharp knife to slice and serve. Store leftovers in the refrigerator
Notes
Use high quality white chocolate bars rather than chips — chocolate chips contain stabilizers that help them hold their shape and can make them difficult to melt smoothly in this recipe. Use liquid food coloring rather than gel — gel coloring does not incorporate fully and can leave unsightly color blobs. The glaze must be poured at approximately 85°F — too hot and it will slide off, too cool and it will set before covering the cake. A candy thermometer is essential. The smoother your frosted surface underneath, the more mirror-like the final result