
Adventures in Mirror Glaze / Easy Home Baking Recipe / Pro Tips For Mastery In Baking
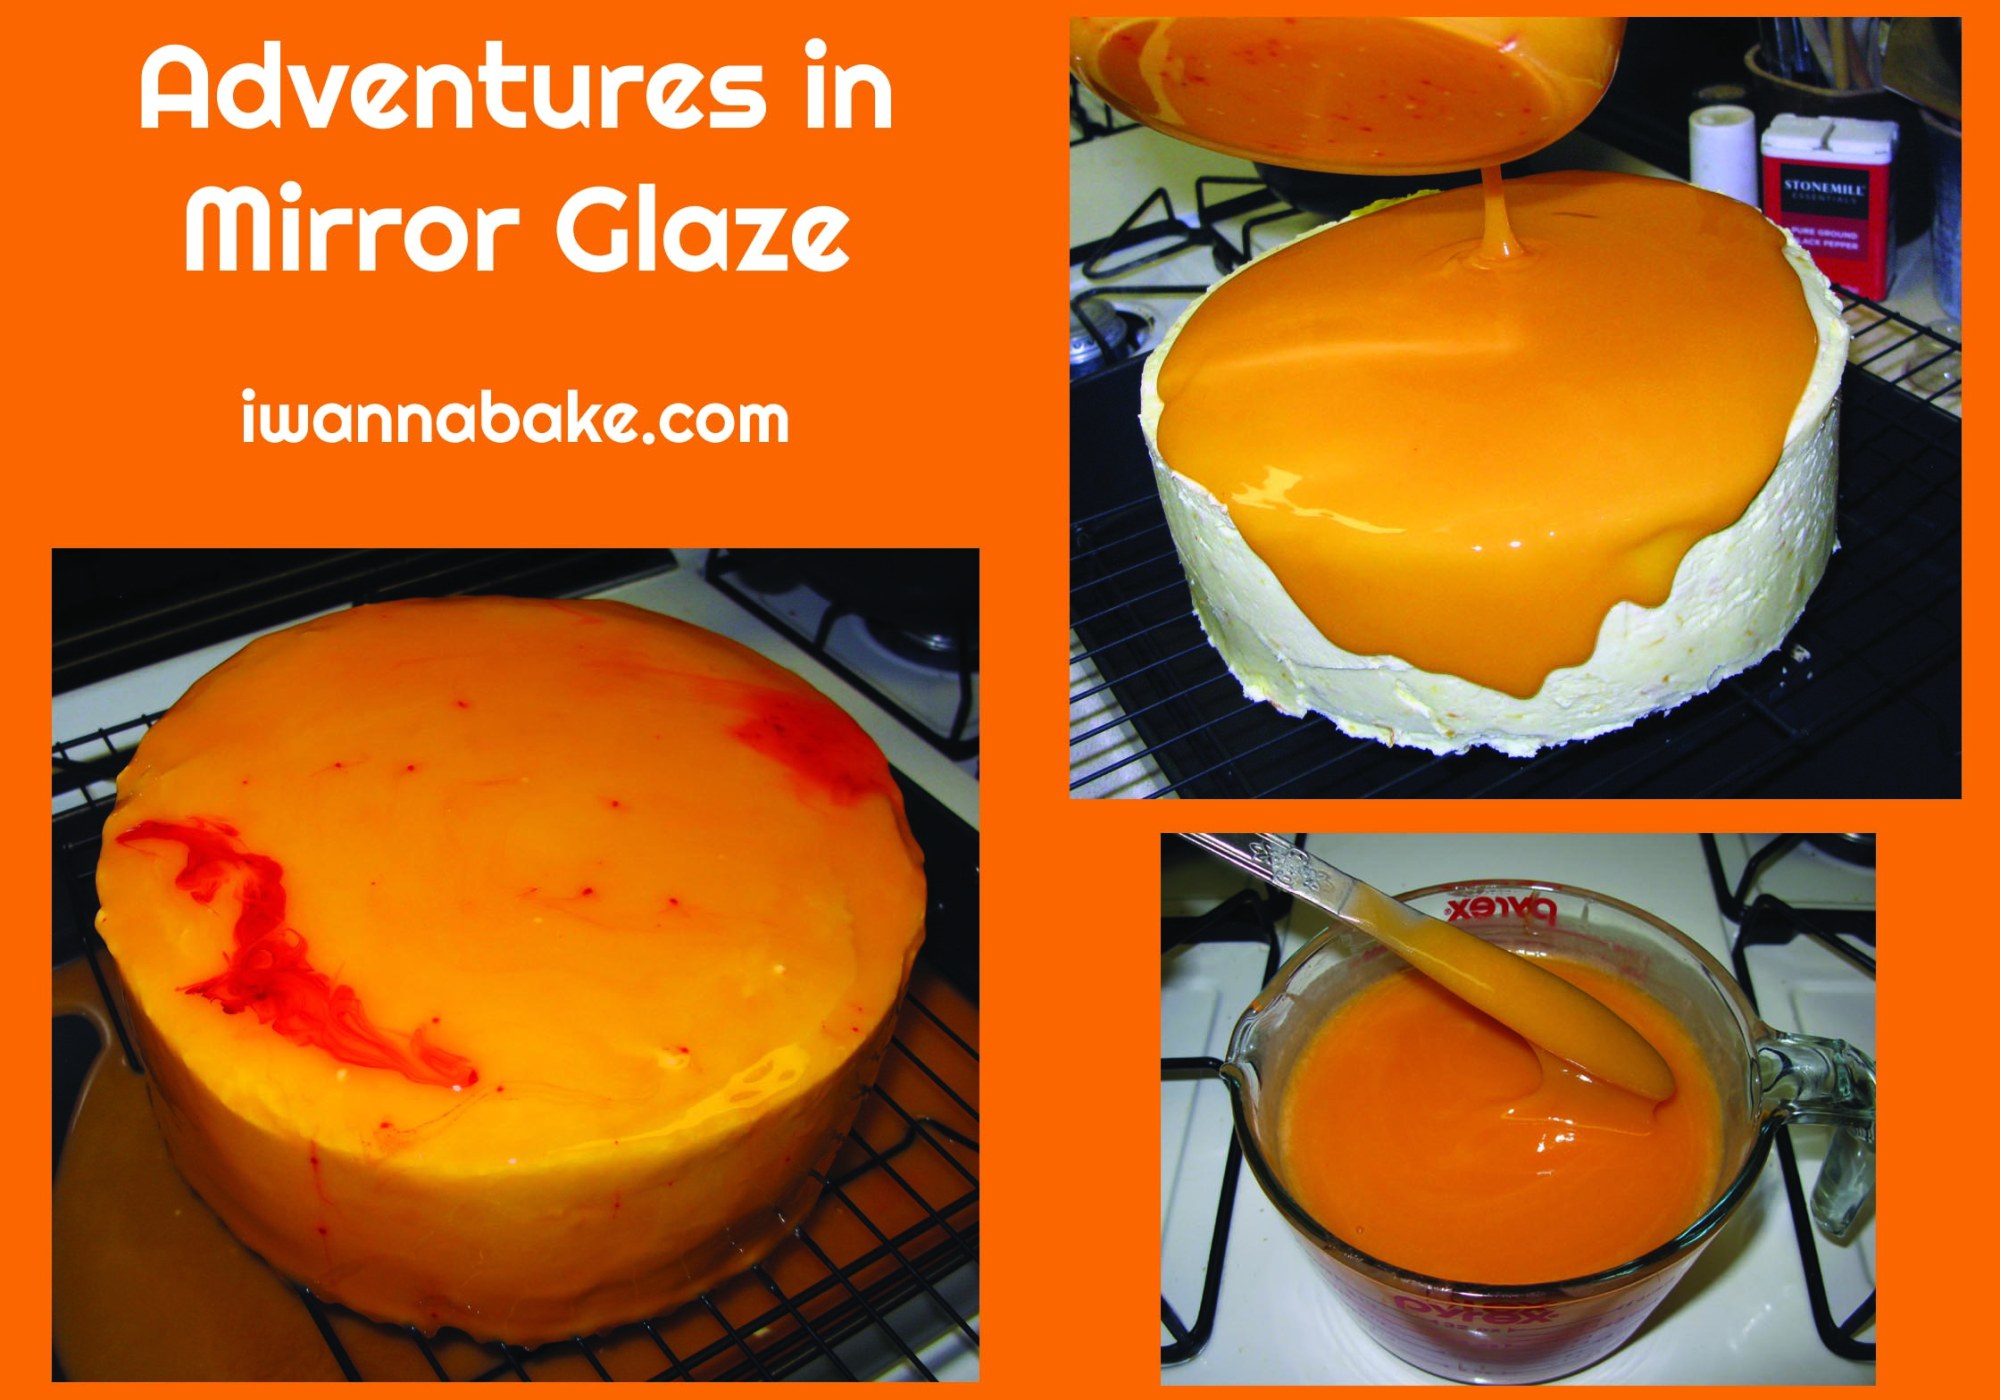
I finally got around to trying out mirror glaze, and I must say that I am pretty pleased with the result. You might recall when mirror glaze cakes took the world by storm last year (seriously, check out Olga Noskova’s Instagram if you’re in the mood for some major decorating envy). I knew when I saw them that I would have to try it myself someday. Of course, I put it off for about a year because it looked fiddly and precise, and I am lazy. Finally, the inspiration hit me, the time was right, and the stars aligned to push me into finally making a mirror glaze cake.
If I had to categorize it, I’d say mirror glaze lies somewhere between Jello and ganache. Jello makes sense, since it incorporates unflavored gelatin for consistency and shininess. Ganache also makes sense because the preparation method is pretty similar, and it also pours similarly. Where the magic comes in is how the two fit together. Mirror glaze takes the best properties of Jello and ganache and puts them together to make a smooth, reflective wonder. Clearly, Olga Noskova is an alchemist.
I admit that I’ve only done this once, so I don’t have much experience with mirror glaze yet, but it actually wasn’t all that hard. I followed this recipe for the most part (I’ve converted the measurements to standard for the convenience of my American readers, as well as my own). It was every bit as fiddly as I imagined, but each step in and of itself is not difficult (this is exactly how I describe making cheesecake). The only tools I used that might not be standard in every kitchen were a candy thermometer and a food processor, and you can probably get by without the food processor if you’re careful. All of the ingredients can be found in most larger grocery stores too (though the gelatin might not always be available in store).
I would like to note that next time I do this, I will probably use higher quality white chocolate bars rather than white chocolate chips. When I’ve made ganache in the past, I haven’t had any difficulty with melting chocolate chips, but it proved to be a challenge with mirror glaze. This is probably because chocolate chips have stabilizers in them meant to help them hold their shape (and possibly because my white chocolate chips were pretty old). I’d also use regular old liquid food coloring because my gel food coloring didn’t mix in all the way and left me with a bit of an unsightly blob of color at the end. It worked out for the best this time, but I’d prefer to have a bit more control over the final result.
I’m definitely game to try another mirror glaze in the future. Perhaps even a mirror glaze mousse. 😮 If you have experience with mirror glaze, I’d love to hear about it in the comments!
You will need the following ingredients:
- 200g gelatin powder (approximately 3 packets of this kind)
- ¼ cup water
- 7 oz. corn syrup
- 1 cup plus 2 Tbsp. granulated sugar
- ⅔ cup water
- ⅔ cup sweetened condensed milk (approximately half a can)
- 10½ oz. white chocolate
- food coloring of choice
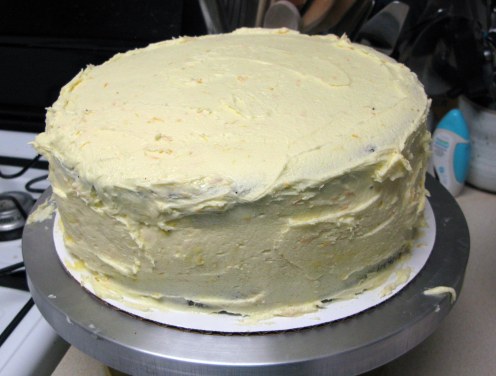
To start off, you will want to make sure that whatever you will be glazing is nice and cold. This time around, I used a two-layer chocolate cake, but I’ve seen many mirror glazes done on shaped mousse. I frosted my cake with a light-colored frosting so that there would be less chance of the glaze’s color being affected by the surface underneath, then left the whole thing in the fridge overnight. For extra insurance, you could also freeze your cake before glazing.
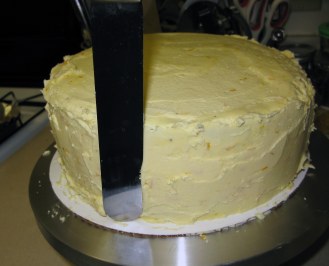
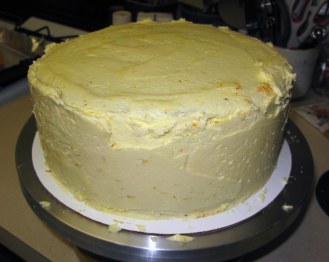
You want your surface to be as smooth as possible, because any bumps or other imperfections will show through the glaze and ruin the smooth, mirror-like surface. For best results, I recommend doing a crumb coat of frosting (if you are using a frosted cake), chilling the cake, then adding another layer of frosting on top to “spackle” it.
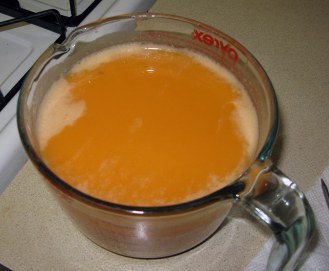
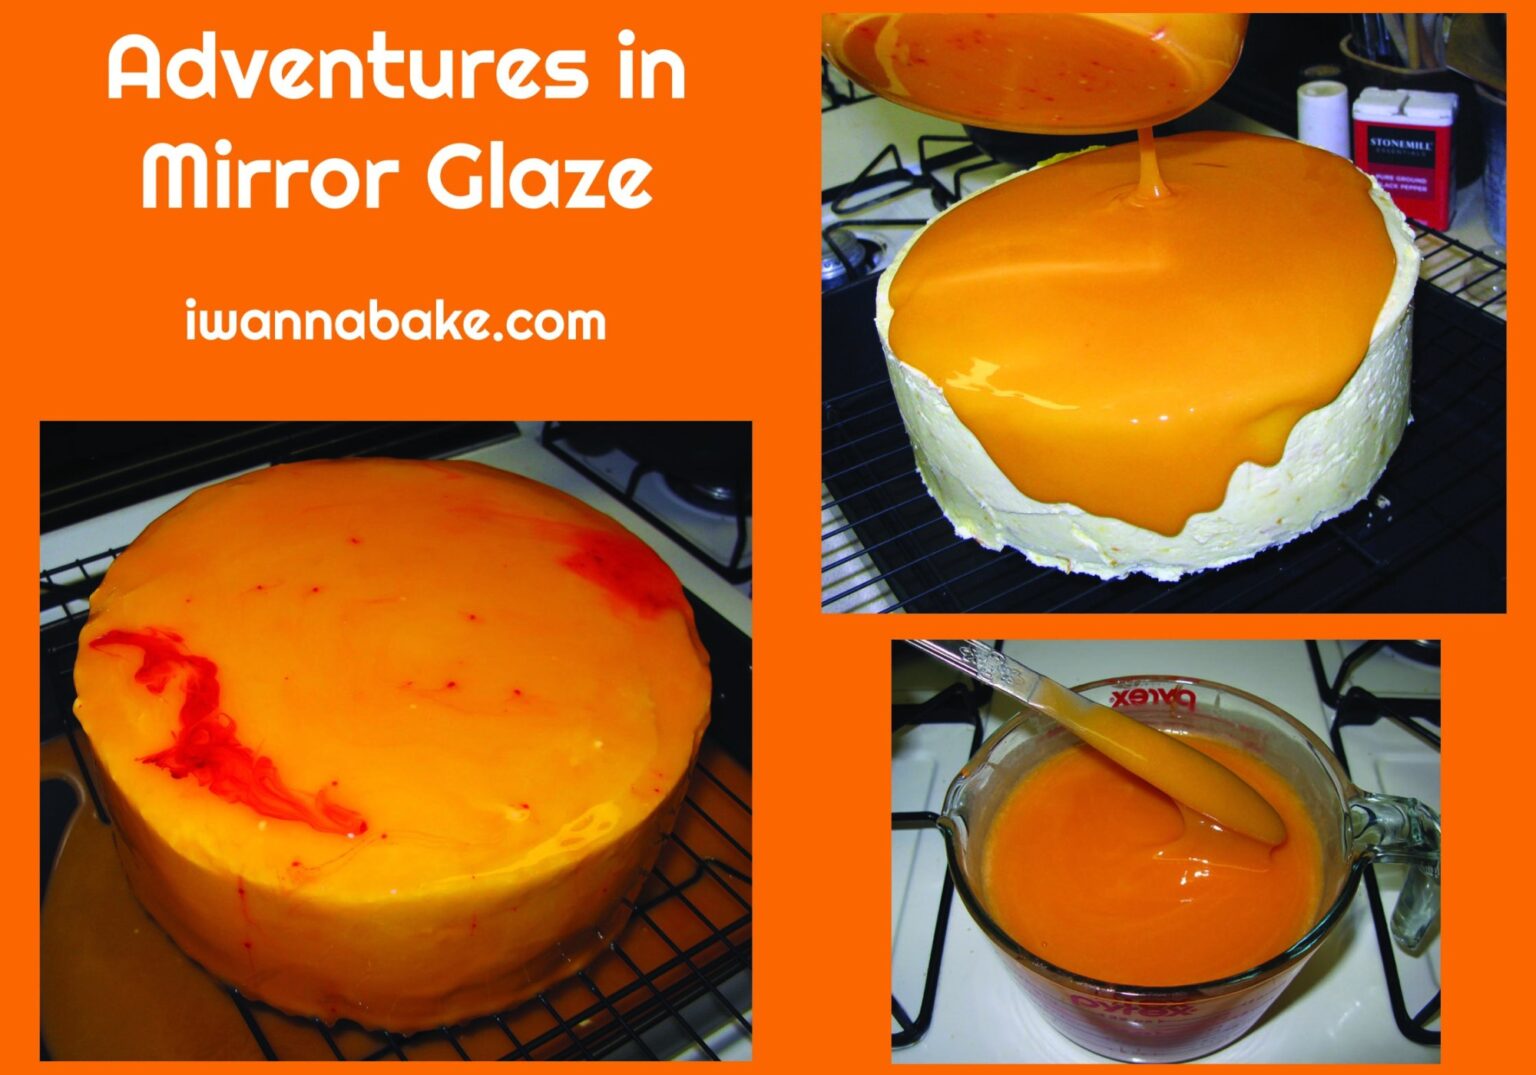
Once you’ve got your cake square away, it’s time to prepare the glaze. First off, sprinkle the gelatin granules over the ¼ cup of water in a small bowl. Set it aside to “bloom.” I poured the water over the gelatin and didn’t stir it, so I had dry spots on the bottom, as you can see below. This didn’t seem to affect the final product, but you might want to gently stir yours a little, just in case.
While the gelatin is soaking up all that water, whisk together the corn syrup, granulated sugar, and remaining water in a medium saucepan with a candy thermometer attached to the side. Bring the mixture to a boil over high heat.
When the temperature on the thermometer reaches 217°F, remove the pan from the heat and whisk in the gelatin.
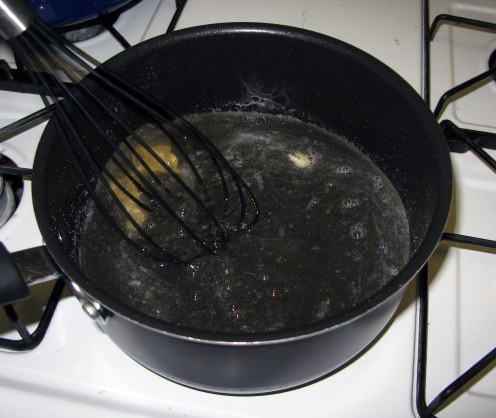
Next, whisk in the condensed milk.
Pour the hot mixture over the chopped white chocolate or chocolate chips in a large, heat-proof bowl and let it sit for 5 minutes.
Gently whisk the mixture until the white chocolate is fully melted. As you can see, I had some trouble getting my chocolate to melt.
To combat the clumpiness of my glaze, I went against the source instructions and ran it through a food processor on high speed to smooth it out. This did produce a lot of little bubbles, but I was able to work with it.
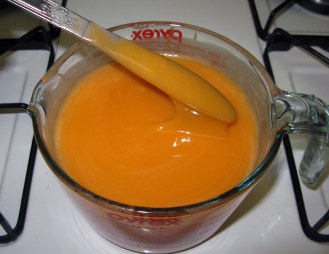
Once your glaze is smooth, transfer it to a container that will make it easy to pour, such as a glass measuring cup, and gently stir in your liquid food coloring. I used gel food coloring this time, but this probably would have worked better with liquid food coloring because the gel left some unwanted clumps behind.
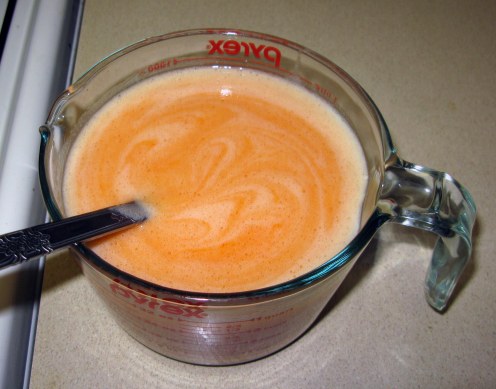
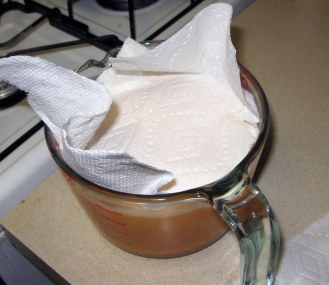
Now, we wait. Set the glaze aside to cool to about 85°F, stirring every few minutes to prevent a skin from forming on top. As I mentioned above, my glaze had a lot of little bubbles rise to the top due to its stint in the food processor. If you have the same problem, you can press a paper towel to the surface of the glaze and lift off the bubble part right before you use it.
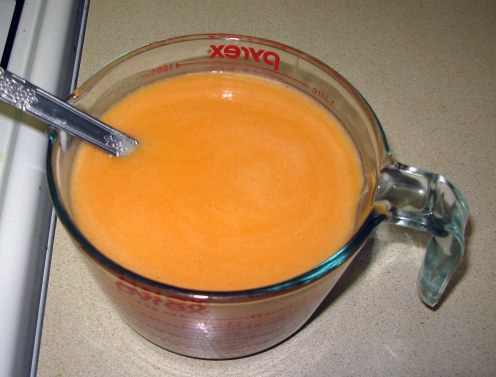
Once the glaze has reached the proper temperature, it’s go time. To save yourself some mess, set a cooling rack on top of a roasting pan or high-sided baking sheet and carefully transfer your cold cake to the rack. [This way, the excess glaze will drip off into your tray and not all over your counter. If you’re careful about it, you can collect the excess glaze and use it again.] Have an icing spatula or butter knife at the ready in case the glaze needs to be smoothed or helped along a little.
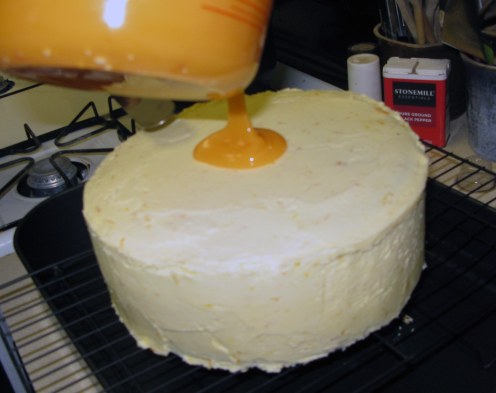
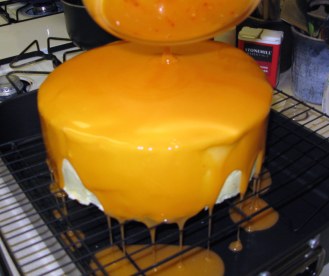
Starting in the center of the cake, slowly pour the glaze on top. It should spread out on its own, but if your cake isn’t quite level (mine wasn’t…), you might need to concentrate your pouring on the sparser areas. I didn’t end up needing to smooth my glaze, but if you find that it’s clumping up or not quite covering any areas, now’s the time to whip out that spatula or butter knife.
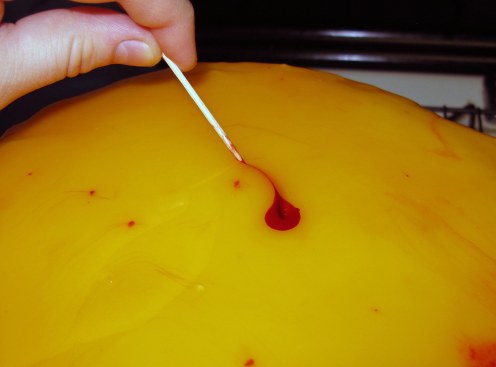
At this point, your work is just about complete. If you want, you can swirl in some liquid food coloring with a toothpick and your fingers. If you do this, you’ll need to work quickly because if you wait too long, you will end up ruining the nice, smooth finish of your glaze.
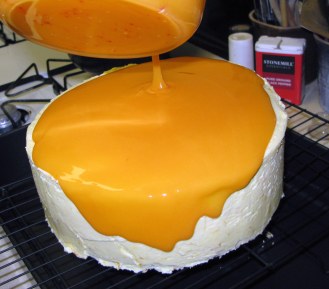
At this point, your work is just about complete. If you want, you can swirl in some liquid food coloring with a toothpick and your fingers. If you do this, you’ll need to work quickly because if you wait too long, you will end up ruining the nice, smooth finish of your glaze.
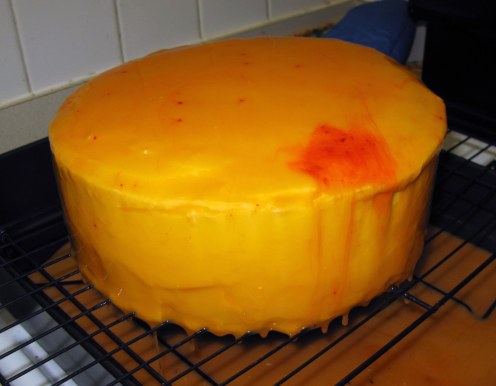
When you’re done decorating, leave the cake alone until the glaze is mostly set. The drips on the bottom will hold their shape and stop dripping, and the glaze will have an almost springy consistency.
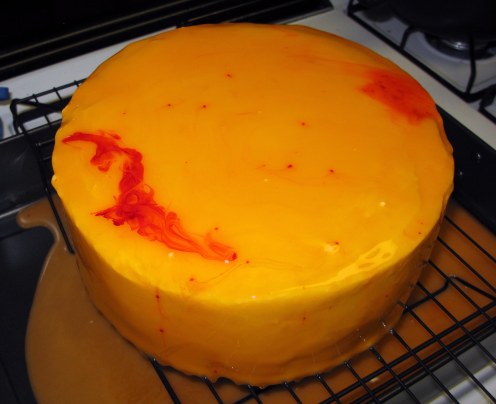
Run a sharp knife around the bottom edge of your cake to remove the drips. VERY carefully, transfer your cake to your serving dish of choice. A cake lifter will come in very handy right about now, as will an extra pair of hands if they’re available.
That’s all there is to it. Refrigerate your cake for at least half an hour to allow the glaze time to fully set. When you’re ready to serve, make sure that you use a sharp knife to cut it. Store leftovers in the refrigerator.
Tune in next time to find out more about the rest of this cake!
Share this:
- Click to share on Twitter (Opens in new window)
- Click to share on Facebook (Opens in new window)
- Click to share on Pinterest (Opens in new window)
Check Out Other Blogs / For Mastery Tips For Baking / Beginner To Pro
- Dot Cake Recipe
- Brownies Without Butter
- Green Smoothie with Oats
- Meringue Pie Recipe
- Hummingbird Cake
Mirror Glaze
Ingredients
Method
- Make sure your cake is completely cold before glazing. For best results frost the cake with a crumb coat, chill, then add a second smooth layer of frosting to fill any imperfections. The surface must be as smooth as possible — any bumps will show through the glaze
- Refrigerate the frosted cake overnight or freeze for extra insurance before glazing
- Sprinkle the gelatin granules over the ¼ cup of water in a small bowl. Gently stir to avoid dry spots on the bottom. Set aside to bloom for 5 minutes
- In a medium saucepan with a candy thermometer attached, whisk together the corn syrup, granulated sugar, and remaining ⅔ cup water. Bring to a boil over high heat
- When the temperature reaches 217°F, remove the pan from the heat and whisk in the bloomed gelatin until fully dissolved
- Whisk in the sweetened condensed milk
- Pour the hot mixture over the chopped white chocolate in a large heatproof bowl. Let sit for 5 minutes without stirring
- Gently whisk until the white chocolate is fully melted and the mixture is smooth. If the chocolate is stubborn or clumpy, carefully blend on high speed in a food processor to smooth it out — note this will create small bubbles
- Transfer to a pourable container such as a glass measuring cup. Stir in liquid food coloring. Avoid gel coloring as it can leave clumps
- Set the glaze aside to cool to approximately 85°F, stirring gently every few minutes to prevent a skin from forming. If bubbles appear on the surface, press a paper towel lightly onto the surface and lift away just before pouring
- Set a wire cooling rack over a roasting pan or high-sided baking sheet. Carefully transfer the cold cake onto the rack — this catches excess glaze which can be collected and reused
- Have an offset spatula or butter knife ready in case the glaze needs guiding
- Starting from the center of the cake, slowly pour the glaze over the top in a steady stream. It will spread outward on its own. Concentrate pouring on any sparse areas if the cake is not perfectly level
- If desired, quickly swirl in additional food coloring with a toothpick while the glaze is still wet. Work fast — waiting too long will disturb the smooth finish
- Leave the cake undisturbed until the glaze is mostly set and the drips have stopped. Run a sharp knife around the bottom edge to remove the drips. Very carefully transfer to a serving plate using a cake lifter and an extra pair of hands if available
- Refrigerate for at least 30 minutes to allow the glaze to fully set. Use a sharp knife to slice and serve. Store leftovers in the refrigerator
[…] Enjoy! […]