Category: Bread Recipes / Quick Breads

  • Crusty Cranberry Nut No-Knead Bread

    Crusty Cranberry Nut No-Knead Bread

    no-knead cranberry walnut bread

    No-Knead Cranberry Walnut Bread

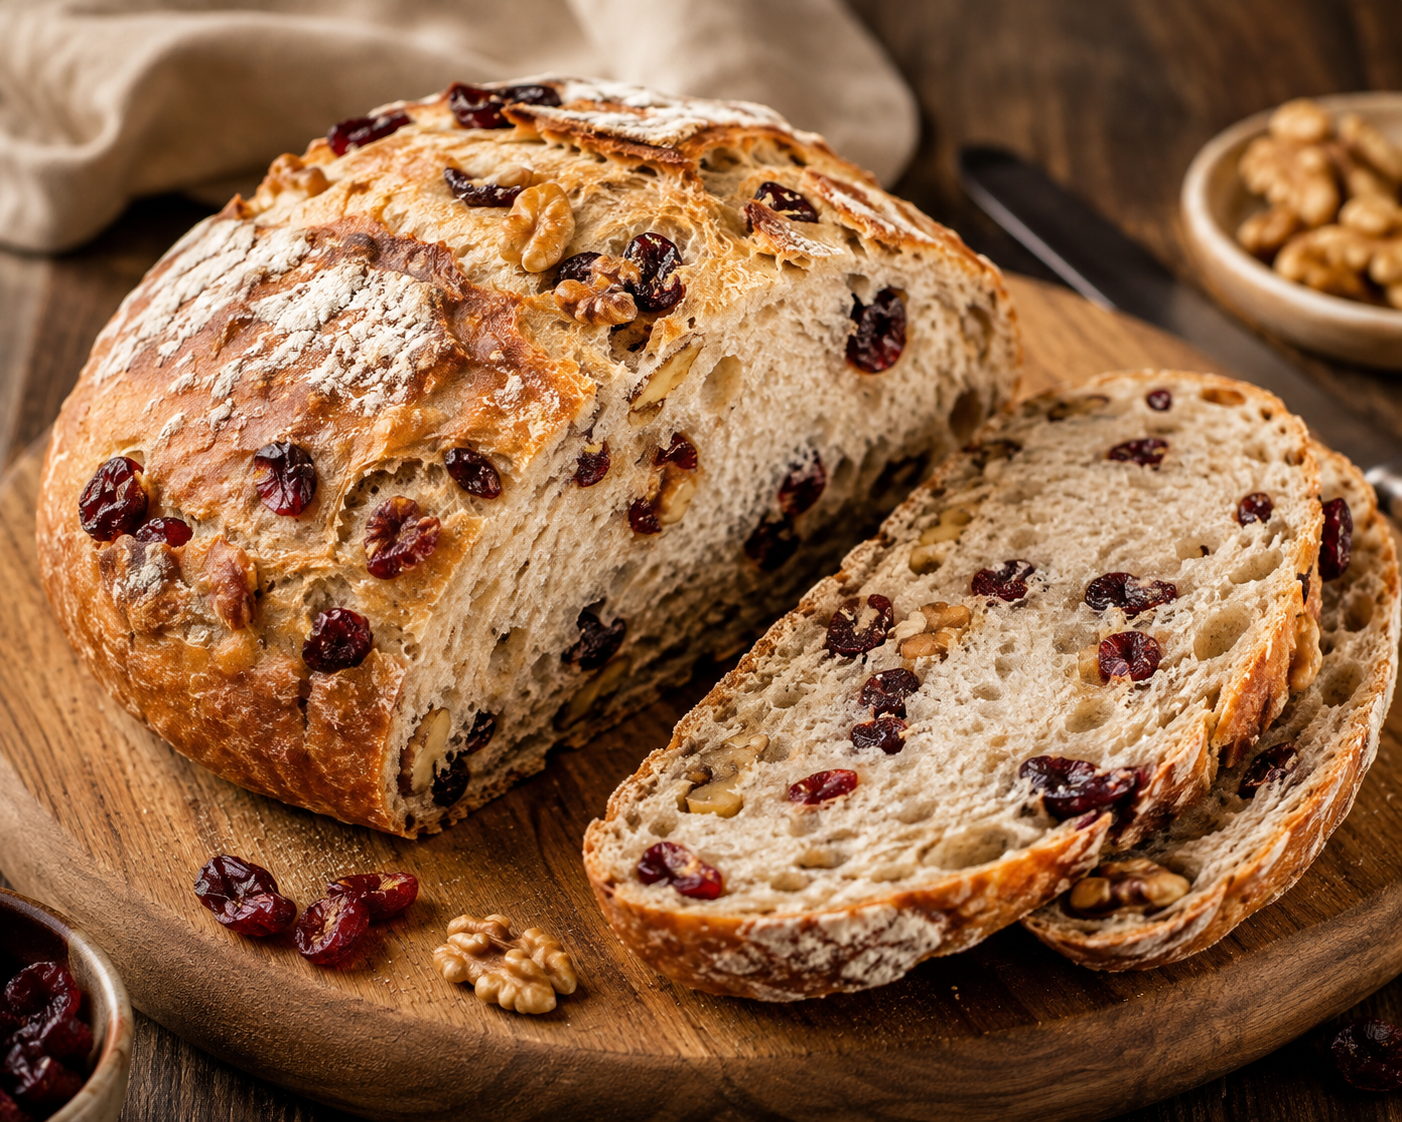
    There is nothing quite like pulling a loaf of crusty, golden bread out of the oven, and this no-knead cranberry walnut bread makes it almost impossible to get wrong. The crust shatters when you slice into it, the crumb is soft and chewy, and every bite is dotted with tart cranberries and toasted walnuts. Best of all, you don’t need a stand mixer, kneading skills, or hours of active work — just a bowl, a spoon, and a little patience while the dough rises overnight.
    This recipe is built on the classic no-knead bread method that home bakers have relied on for years, adapted here with dried cranberries and walnuts for a loaf that feels perfect for fall and winter baking, holiday breakfasts, or simply upgrading your everyday sandwich bread. If you’ve been searching for a no-knead cranberry walnut bread recipe that actually works on the first try, this is the one to bookmark.

    Why This Recipe Works

    ⦁ The long, slow rise (12–18 hours) does the work that kneading normally would, developing gluten with almost no effort from you.
    ⦁ A hot Dutch oven traps steam around the dough, giving the loaf a bakery-style crust without any special equipment.
    ⦁ Toasting the walnuts before mixing them in deepens their flavor so they don’t taste flat against the tart cranberries.
    ⦁ The dough comes together in one bowl in about 10 minutes, so the hands-on time is genuinely minimal.

    Ingredients You’ll Need

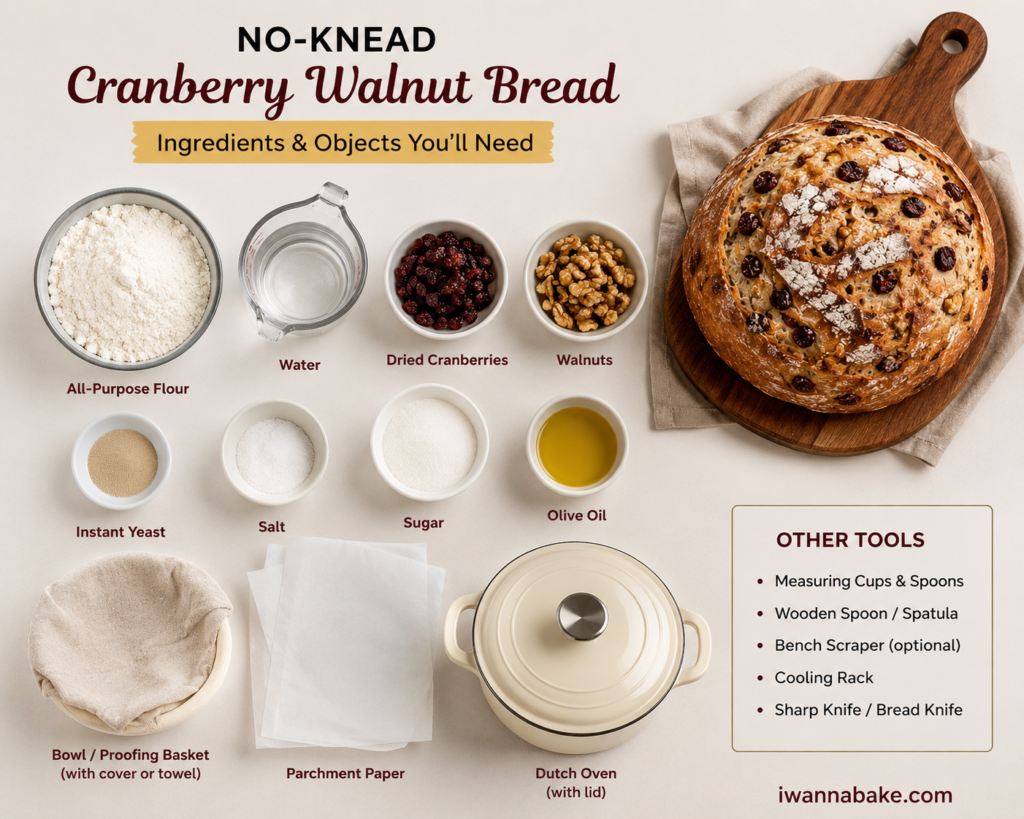
    This recipe makes one round loaf, about 12 slices. Exact measurements are listed in the recipe card below, but here’s what you’ll be working with:
    3 cups (375 g) all-purpose flour
    ⦁ 1 3/4 teaspoons fine salt
    ⦁ 1/2 teaspoon instant yeast
    1 1/2 cups (355 ml) cool water
    ⦁ 3/4 cup (85 g) dried cranberries
    ⦁ 3/4 cup (85 g) walnuts, roughly chopped and lightly toasted
    ⦁ Extra flour or cornmeal, for dusting
    Ingredient Substitutions

    This bread is forgiving. Use the table below if you need to swap an ingredient based on what’s in your pantry.

    IngredientPossible SubstituteNotes
    Dried cranberriesRaisins, dried cherries, or dried blueberriesUse any dried fruit of similar size; no need to soak
    WalnutsPecans or omit entirelyToast nuts first for the best flavor
    All-purpose flourBread flourBread flour gives a slightly chewier crumb; use the same amount
    Instant yeastActive dry yeastUse the same amount, but dissolve in the water for 5 minutes first
    Dutch ovenHeavy oven-safe pot with a lidAny tightly-lidded, oven-safe pot works; a cast-iron pot browns best

    How to Make No-Knead Cranberry Walnut Bread

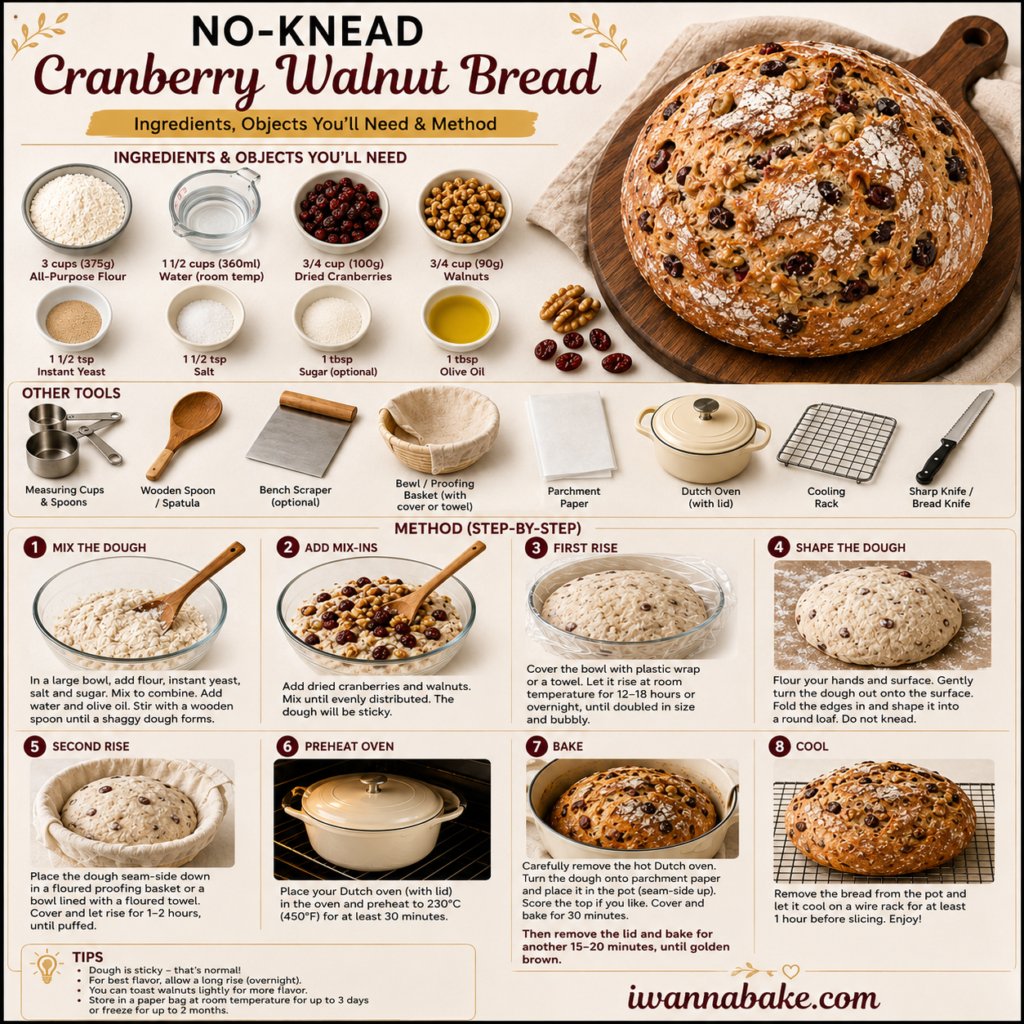
    Below is the quick overview of the method. Full ingredient amounts and printable instructions are in the recipe card near the bottom of this article.
    Mix the dough

    1. Mix the dough
      Stir together flour, salt, and yeast, then add cool water and mix just until no dry flour remains. Fold in the cranberries and walnuts. The dough should look shaggy and wet, not smooth — that’s normal for no-knead bread.

    Let it rise, low and slow

    Cover the bowl and leave it at room temperature for 12 to 18 hours. This is the step that replaces kneading. You’ll know it’s ready when the surface is bubbly, the dough has roughly doubled, and it looks loose and webby.

    Shape and proof

    Fold the dough into a rough ball on a floured surface, let it rest briefly, then shape it into a tight round. A second rise of 1 to 2 hours gives the loaf its final structure before baking.

    Bake in a hot Dutch oven

    Baking covered for the first 30 minutes traps steam and creates that crackly, crisp crust. Removing the lid for the final 15 to 20 minutes lets the crust turn deep golden brown.

    What the Dough Should Look Like

    After mixing, the dough will be sticky, rough, and almost batter-like in places — resist the urge to add more flour. After the long rise, it should have visibly doubled, feel airy when you lift the bowl, and hold together in stretchy strands when you pull a spoon through it. If it still looks tight and smooth after 18 hours, your kitchen is likely too cold, and it needs more time.

    Expert Tips for the Best Crust and Crumb

    ⦁ Use a kitchen scale for the flour if you have one — measuring by volume is the most common source of a dense loaf.
    ⦁ Let the Dutch oven preheat fully for the full 30 minutes; a pot that isn’t hot enough won’t give you that crackling crust.
    ⦁ Score the dough confidently in one quick motion right before it goes into the pot, so the loaf expands evenly as it bakes.
    ⦁ Cool the bread completely before slicing — this can be the hardest tip to follow, but it protects the texture of the crumb.

    Common Mistakes to Avoid

    ⦁ Skipping the first long rise, which leaves the dough under-developed and the crumb dense.
    ⦁ Using a cold kitchen without adjusting the rise time, which slows fermentation significantly.
    ⦁ Adding raw walnuts straight from the bag — toasting them first makes a noticeable difference in flavor.
    ⦁ Slicing into a warm loaf, which can make the crumb gummy instead of tender.

    Variations to Try

    Orange-Cranberry Walnut Bread: add 1 tablespoon of orange zest to the dough for a bright, citrusy note.
    Cinnamon Cranberry Bread: add 1 teaspoon of ground cinnamon along with the flour.
    ⦁ Seeded Crust: brush the shaped loaf with water and roll it in oats or sesame seeds before baking.
    ⦁ Herbed Version: swap the cranberries and walnuts for rosemary and pecans for a savory take on the same base dough.

    Serving Suggestions

    This loaf is delicious on its own with a smear of salted butter, but it also holds up well as a base for sandwiches, especially with turkey, brie, or sharp cheddar. Toasted slices make an excellent match for soups and stews, and it’s a lovely addition to a holiday breadbasket alongside honey or fruit preserves.

    How to Store and Freeze

    Store the cooled loaf at room temperature, cut-side down on a cutting board or in a paper bag, for up to 3 days. Avoid storing it in plastic if you want to keep the crust crisp, since plastic traps moisture and softens it. For longer storage, slice the bread and freeze it in an airtight bag for up to 3 months; pull out individual slices and toast them straight from the freezer.

    Troubleshooting

    My dough didn’t rise much overnight.

    This is almost always a temperature issue. If your kitchen is below 68°F, the rise will take longer — give it a few extra hours rather than moving to the next step early.

    My crust turned out soft instead of crisp.

    This usually means the Dutch oven wasn’t fully preheated, or the lid was removed too early. Make sure the pot heats for the full 30 minutes and keep the lid on for the entire first half of baking.

    My loaf spread out flat instead of holding its shape.

    A flat loaf typically means the dough was under-proofed at the shaping stage or handled too gently when forming the round. Shape it firmly, with enough tension on the surface to hold its structure through the second rise.

    Frequently Asked Questions

    Can I use fresh or frozen cranberries instead of dried?

    Dried cranberries are best here because they hold their shape and won’t add extra moisture to the dough. Fresh or frozen cranberries release liquid as they bake and can make the crumb dense and gummy, so they are not recommended for this recipe.

    Do I really need a Dutch oven?

    A Dutch oven is what creates that shatter-crisp crust, because the lid traps steam around the dough as it bakes. If you don’t have one, any heavy, oven-safe pot with a tight-fitting lid will work in its place.

    Can I speed up the rise if I don’t have 12 to 18 hours?

    The long, slow rise is what builds flavor and structure in no-knead bread, so it isn’t a step to skip. If you’re short on time, you can shorten the rise to about 8 hours by increasing the yeast to 3/4 teaspoon, though the flavor will be slightly less developed.

    Why did my loaf turn out dense or flat?

    A dense loaf almost always means the first rise wasn’t long enough, or the dough was resting somewhere too cold. Look for a dough that has visibly doubled and is full of bubbles before you shape it; if it isn’t there yet, give it more time rather than moving on.

    Can I add orange zest or spices?

    Yes. A tablespoon of orange zest, a teaspoon of cinnamon, or a pinch of ground cardamom all pair beautifully with the cranberries and walnuts, and can be folded in at the same step as the fruit and nuts.

    Related Recipes on Iwannabake.com

    If you enjoyed this recipe, you may also like:
    ⦁ Classic No-Knead Bread Recipe for Beginners
    Small Batch Brownies for When You Don’t Want a Full Pan
    Banana Bread Without Eggs
    2 Banana Banana Bread
    ⦁ Why Did My Cookies Spread? Common Baking Problems Explained
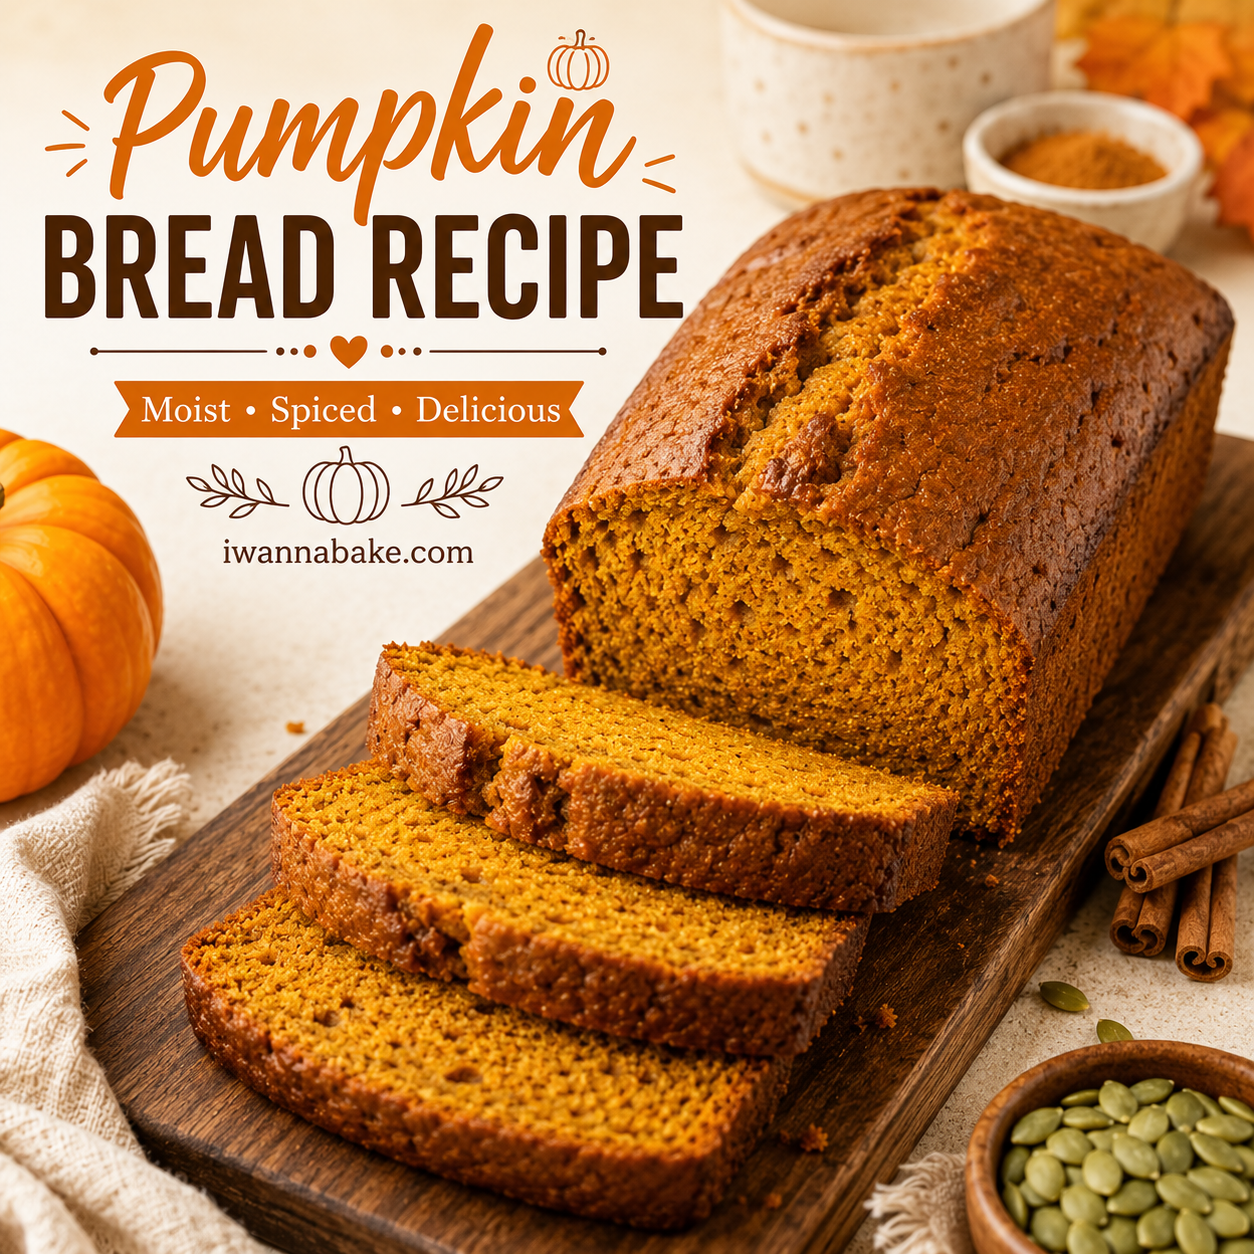
  • Pumpkin Bread Recipe

    Pumpkin Bread Recipe

    small batch pumpkin bread

    Small Batch Pumpkin Bread Recipe (One Loaf, Extra Moist)

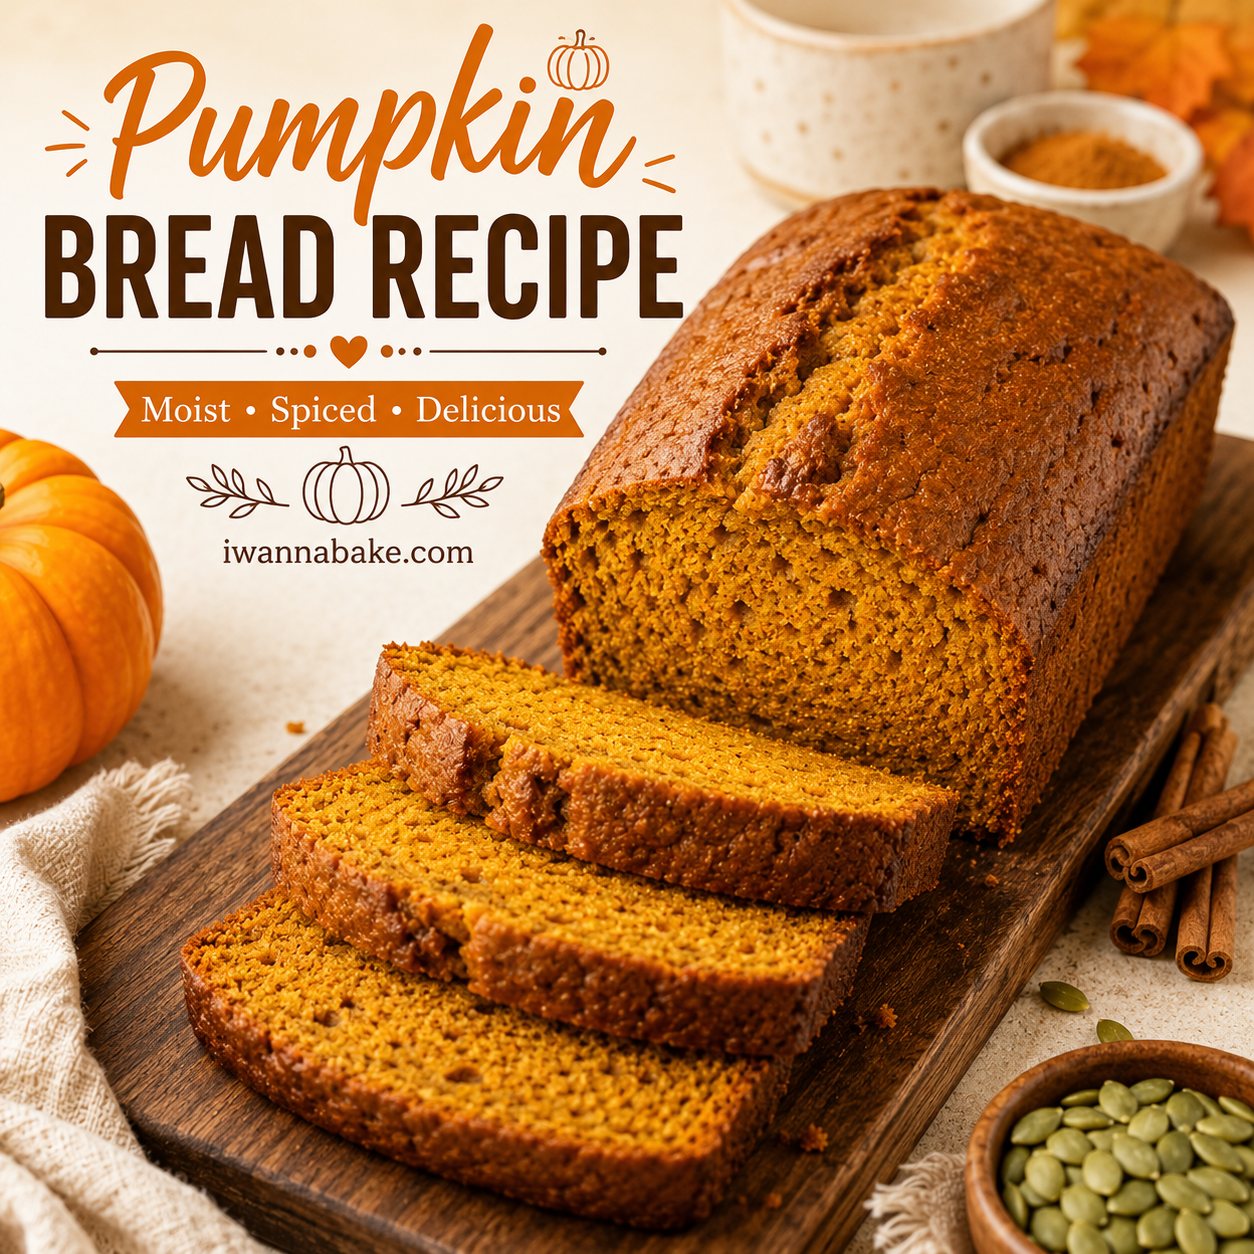
    If your pumpkin bread cravings hit hard but you don’t want two loaves taking over your counter, this small batch pumpkin bread recipe is for you. It makes one 8×4-inch loaf — just enough for a small household, a weekend treat, or a cozy fall snack without a freezer full of extras.
    This recipe uses simple pantry staples, comes together in one bowl, and doesn’t require a mixer. The result is a moist, tender crumb with warm pumpkin spice flavor in every slice, and a texture closer to a rich cake than a dry, crumbly quick bread.

    Why This Small Batch Pumpkin Bread Recipe Works

    Most pumpkin bread recipes are scaled for two loaves, which means measuring in awkward fractions or ending up with more bread than you can eat before it goes stale. This recipe is built from the ground up for a single loaf, so every measurement is easy to follow and there’s no leftover half-can of pumpkin puree guesswork.

    It also solves the most common pumpkin bread complaint: dryness. Using oil instead of butter keeps the crumb soft for days, and a full cup of pumpkin puree (not just a splash) means the bread stays moist without turning gummy.

    Ingredients You’ll Need

    Here’s what goes into this loaf, plus a few notes on why each ingredient matters.
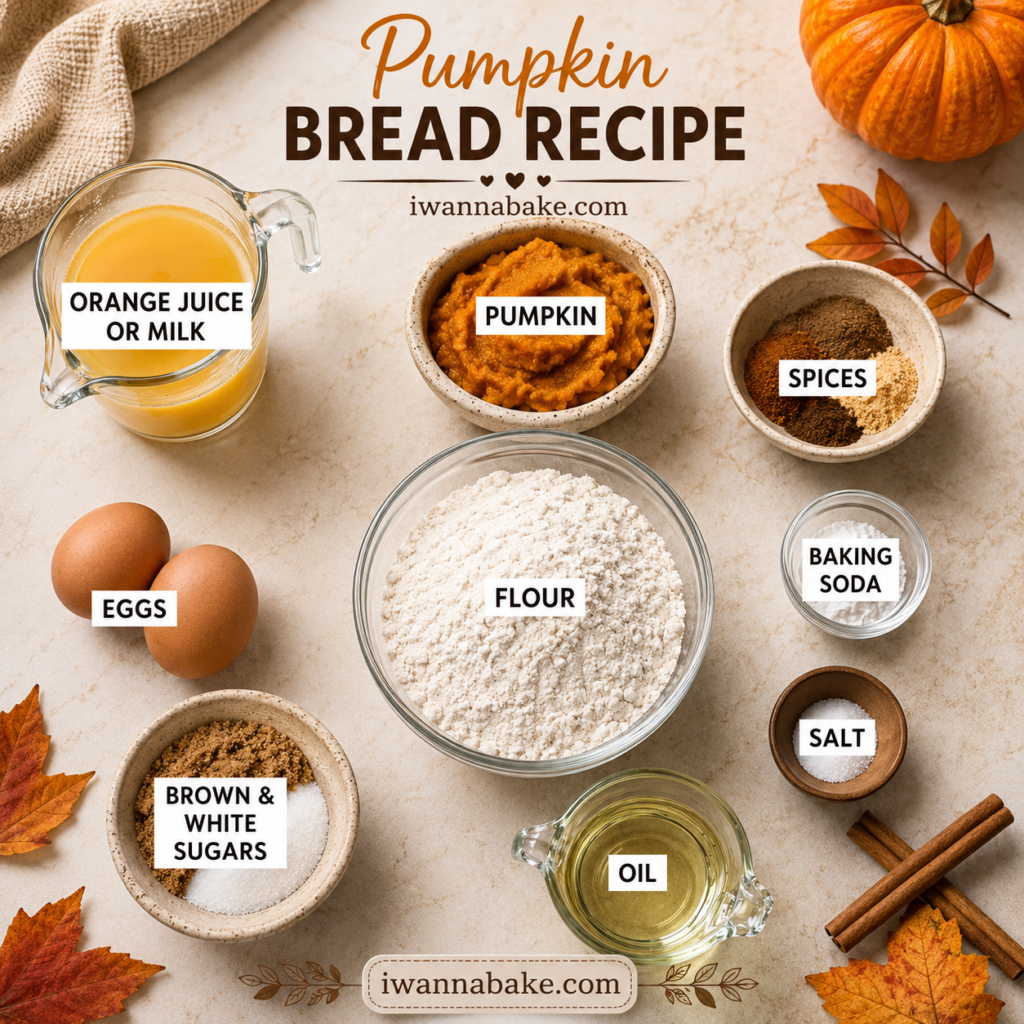
    ⦁ All-purpose flour — the base structure of the loaf
    ⦁ Baking soda and a pinch of baking powder — for a good rise without a domed, cracked top
    Pumpkin pie spice (or cinnamon, ginger, nutmeg, and cloves) — for classic fall flavor
    ⦁ Salt — balances the sweetness
    ⦁ Granulated sugar and brown sugar — brown sugar adds moisture and a light caramel note
    ⦁ Neutral oil, like vegetable or canola oil — keeps the crumb soft even after refrigeration
    ⦁ One large egg — for structure and richness
    ⦁ Canned pumpkin puree — not pumpkin pie filling, which is pre-sweetened and spiced
    ⦁ Vanilla extract — rounds out the spice flavor

    Instructions

    1. Preheat the oven to 350°F (175°C). Grease an 8×4-inch loaf pan or line it with parchment paper, leaving overhang on the sides for easy removal.
    2. In a medium bowl, whisk together the flour, baking soda, baking powder, salt, and pumpkin pie spice. Set aside.
    3. In a large bowl, whisk the granulated sugar, brown sugar, and oil until combined. Add the egg and whisk until smooth.
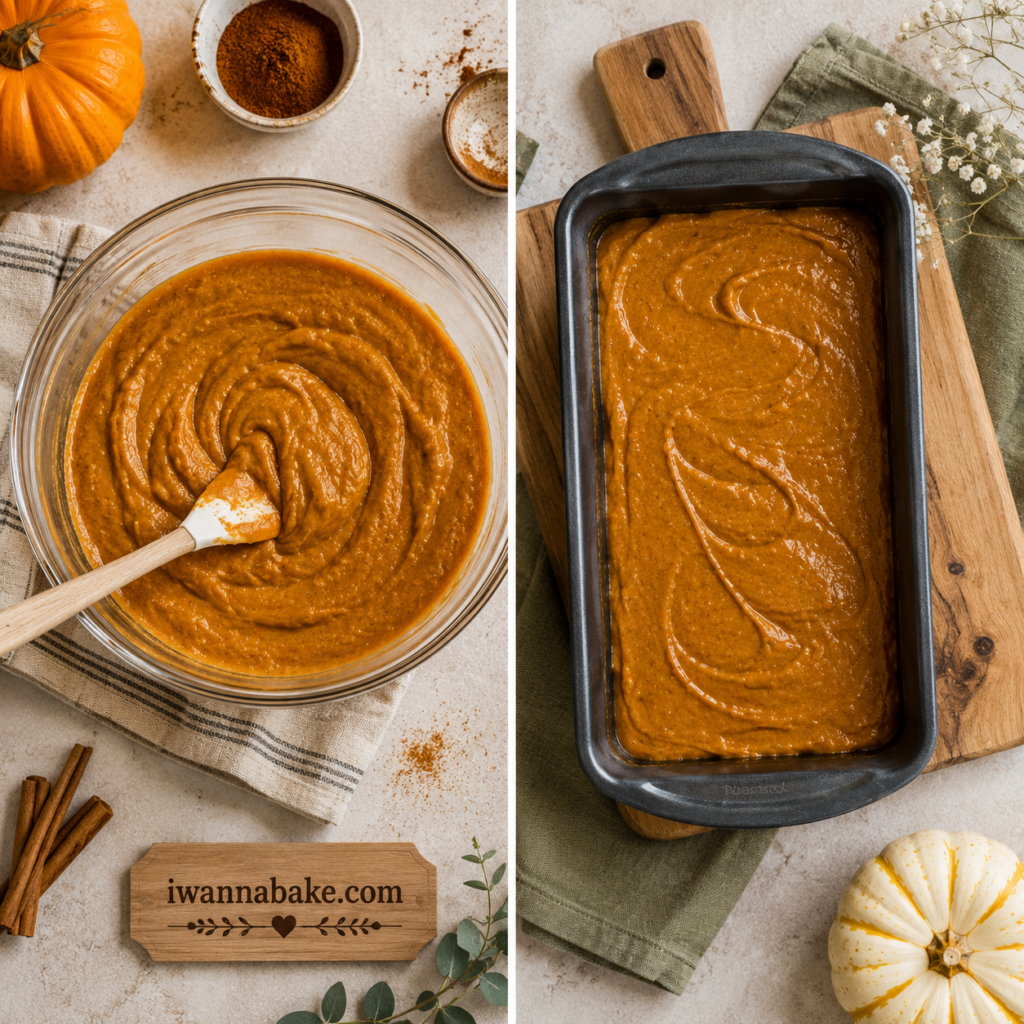
    4. Whisk in the pumpkin puree and vanilla extract until the batter is fully combined and evenly colored.
    5. Add the dry ingredients to the wet ingredients. Fold gently with a spatula just until no streaks of flour remain — do not overmix. Fold in add-ins now, if using.
    6. Pour the batter into the prepared pan and smooth the top with a spatula.
    7. Bake for 45–55 minutes, until a toothpick inserted in the center comes out clean or with a few moist crumbs. If the top is browning too quickly, loosely tent it with foil after 30 minutes.
    8. Cool the loaf in the pan for 10 minutes, then lift it out using the parchment overhang and let it cool completely on a wire rack before slicing.

    Expert Tips for Baking Success

    ⦁ Measure flour correctly. Spoon the flour into your measuring cup and level it off with a knife. Scooping directly from the bag packs in extra flour and leads to a dense, dry loaf.
    ⦁ Don’t overmix the batter. Stir just until the flour disappears. Overmixing develops gluten and makes the bread tough and rubbery instead of tender.
    ⦁ Check for doneness early. Ovens vary, so start checking at the 45-minute mark. A toothpick with a few moist crumbs (not wet batter) means it’s done.
    ⦁ Let it cool before slicing. Cutting into a warm loaf makes it seem gummy, even when it’s fully baked. Give it at least 20–30 minutes to set.

    Common Mistakes to Avoid

    ⦁ Using pumpkin pie filling instead of plain pumpkin puree, which makes the bread overly sweet and unbalanced.
    ⦁ Overbaking, which is the most common cause of dry pumpkin bread. Pull the loaf as soon as the toothpick test passes.
    ⦁ Skipping the parchment sling, which can cause the loaf to stick or break apart when removing it from the pan.
    ⦁ Adding too many mix-ins, which weighs down the batter and can cause a dense, underbaked center.

    Ingredient Substitutions

    This recipe is flexible. Here are reliable swaps if you’re missing something:

    IngredientSubstituteNotes
    Neutral oilMelted, cooled butterSlightly less moist, but still tender
    Brown sugarExtra granulated sugarLoses a little depth of flavor and moisture
    Pumpkin pie spice1 tsp cinnamon + 1/4 tsp each ginger, nutmeg, clovesSame flavor profile, built from basics
    All-purpose flour1:1 gluten-free baking flourTexture may be slightly denser
    Egg1/4 cup unsweetened applesauceMakes the loaf egg-free and slightly more moist

    Variations to Try

    ⦁ Chocolate chip pumpkin bread: fold in 1/3 cup mini chocolate chips.
    ⦁ Streusel-topped pumpkin bread: sprinkle a mix of brown sugar, flour, and softened butter over the batter before baking.
    Cream cheese swirl: dollop sweetened cream cheese over the batter and swirl gently with a knife before baking.
    ⦁ Nutty pumpkin bread: fold in 1/3 cup chopped walnuts or pecans for crunch.

    Storage Instructions

    Store the cooled loaf tightly wrapped in plastic wrap or in an airtight container at room temperature for up to 3 days, or in the refrigerator for up to a week. Bring refrigerated slices to room temperature, or warm them for 10–15 seconds in the microwave, before serving for the best texture.

    Freezing Instructions

    This small batch pumpkin bread freezes well. Wrap the fully cooled loaf (or individual slices) tightly in plastic wrap, then place it in a freezer-safe bag or container. Freeze for up to 3 months. Thaw at room temperature for a few hours, or overnight in the refrigerator, before serving.

    Troubleshooting

    Why is my pumpkin bread dense or gummy?

    This usually means the batter was overmixed, the loaf was underbaked, or the pan was too small for the batter, causing the center to stay wet while the edges set. Stick to an 8×4-inch pan and check doneness with a toothpick before removing it from the oven.

    Why did my pumpkin bread sink in the middle?

    A sunken center is often caused by underbaking, too much leavening, or opening the oven door too early. Avoid checking the loaf before the 30-minute mark, and make sure your baking soda and baking powder are fresh.

    Why is my pumpkin bread dry?

    Dryness is almost always the result of too much flour or overbaking. Spoon and level your flour rather than scooping, and pull the loaf as soon as a toothpick comes out with just a few moist crumbs.

    Frequently Asked Questions

    Can I double this recipe?
    Yes. Doubling the ingredients and baking the batter in a standard 9×5-inch loaf pan works well; expect a slightly longer bake time, closer to 60–65 minutes.
    Can I make this into muffins instead?
    Yes. Divide the batter among 8–9 lined muffin cups and bake at 350°F (175°C) for 18–22 minutes, or until a toothpick comes out clean.
    Do I need a mixer for this recipe?
    No. This recipe is designed to be mixed by hand with a whisk and spatula, which also helps prevent overmixing.
    Can I use fresh pumpkin instead of canned?
    Yes, as long as it’s well-drained. Fresh pumpkin puree can be watery, which can make the loaf dense, so press it through a fine sieve or cheesecloth to remove excess liquid before measuring.

    More Recipes You’ll Love

    If you enjoyed this small batch pumpkin bread, here are a few more Iwannabake.com recipes worth trying:
    ⦁ Small Batch Banana Bread
    2 Banana Banana Bread
    ⦁ Banana Bread Without Eggs
    ⦁ Small Batch Chocolate Chip Cookies
    Banana Chocolate Chip Muffins

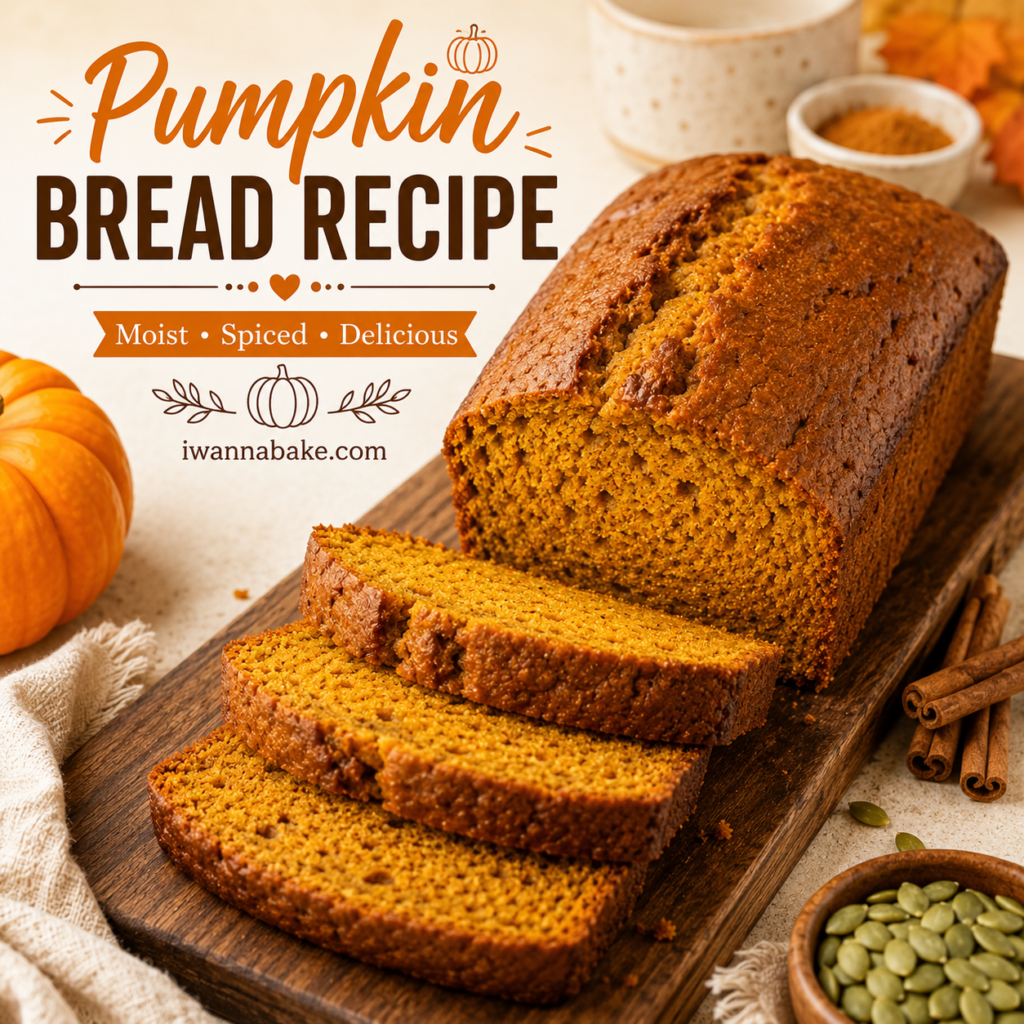
    Close-up of a sliced small batch pumpkin bread loaf with cinnamon sticks and pumpkins in the background
    iwannabake.com

    Small Batch Pumpkin Bread

    A moist, tender small batch pumpkin bread made with warm fall spices. This easy one-bowl recipe makes a single loaf, perfect for small households who don't need two loaves' worth of pumpkin bread.
    Prep Time 10 minutes
    Cook Time 50 minutes
    Total Time 1 hour
    Servings: 8 slices (1 loaf, 8×4-inch pan)
    Course: Breakfast, Snack, Dessert
    Cuisine: American
    Calories: 180

    Ingredients
      

    • 1 cup (125g) all-purpose flour
    • 1/2 tsp baking soda
    • 1/4 tsp baking powder
    • 1/2 tsp salt
    • 1 1/2 tsp pumpkin pie spice
    • 1/3 cup (65g) granulated sugar
    • 1/3 cup (65g) packed brown sugar
    • 1/3 cup (80ml) neutral oil (vegetable or canola)
    • 1 large egg, room temperature
    • 1 cup (240g) canned pumpkin puree
    • 1/2 tsp vanilla extract
    • 1/3 cup chocolate chips, chopped walnuts, or pecans

    Method
     

    1. 1. Preheat the oven to 350°F (175°C). Grease an 8×4-inch loaf pan or line it with parchment paper, leaving overhang on the sides for easy removal.
      2. In a medium bowl, whisk together the flour, baking soda, baking powder, salt, and pumpkin pie spice. Set aside.
      3. In a large bowl, whisk the granulated sugar, brown sugar, and oil until combined. Add the egg and whisk until smooth.
      4. Whisk in the pumpkin puree and vanilla extract until the batter is fully combined and evenly colored.
      5. Add the dry ingredients to the wet ingredients. Fold gently with a spatula just until no streaks of flour remain — do not overmix. Fold in add-ins now, if using.
      6. Pour the batter into the prepared pan and smooth the top with a spatula.
      7. Bake for 45–55 minutes, until a toothpick inserted in the center comes out clean or with a few moist crumbs. If the top is browning too quickly, loosely tent it with foil after 30 minutes.
      8. Cool the loaf in the pan for 10 minutes, then lift it out using the parchment overhang and let it cool completely on a wire rack before slicing

    Notes

    ⦁ Use canned pumpkin puree, not pumpkin pie filling — pie filling already contains sugar and spices, which will throw off the recipe.
    ⦁ Room-temperature egg blends more smoothly into the batter and helps the loaf rise evenly.
    ⦁ For a bakery-style domed top, place the pan on the middle oven rack and avoid opening the oven door during the first 30 minutes of baking.
  • banana bread with 2 bananas

    banana bread with 2 bananas

    Moist Banana Bread with 2 Bananas (One-Bowl Recipe)

    Introduction

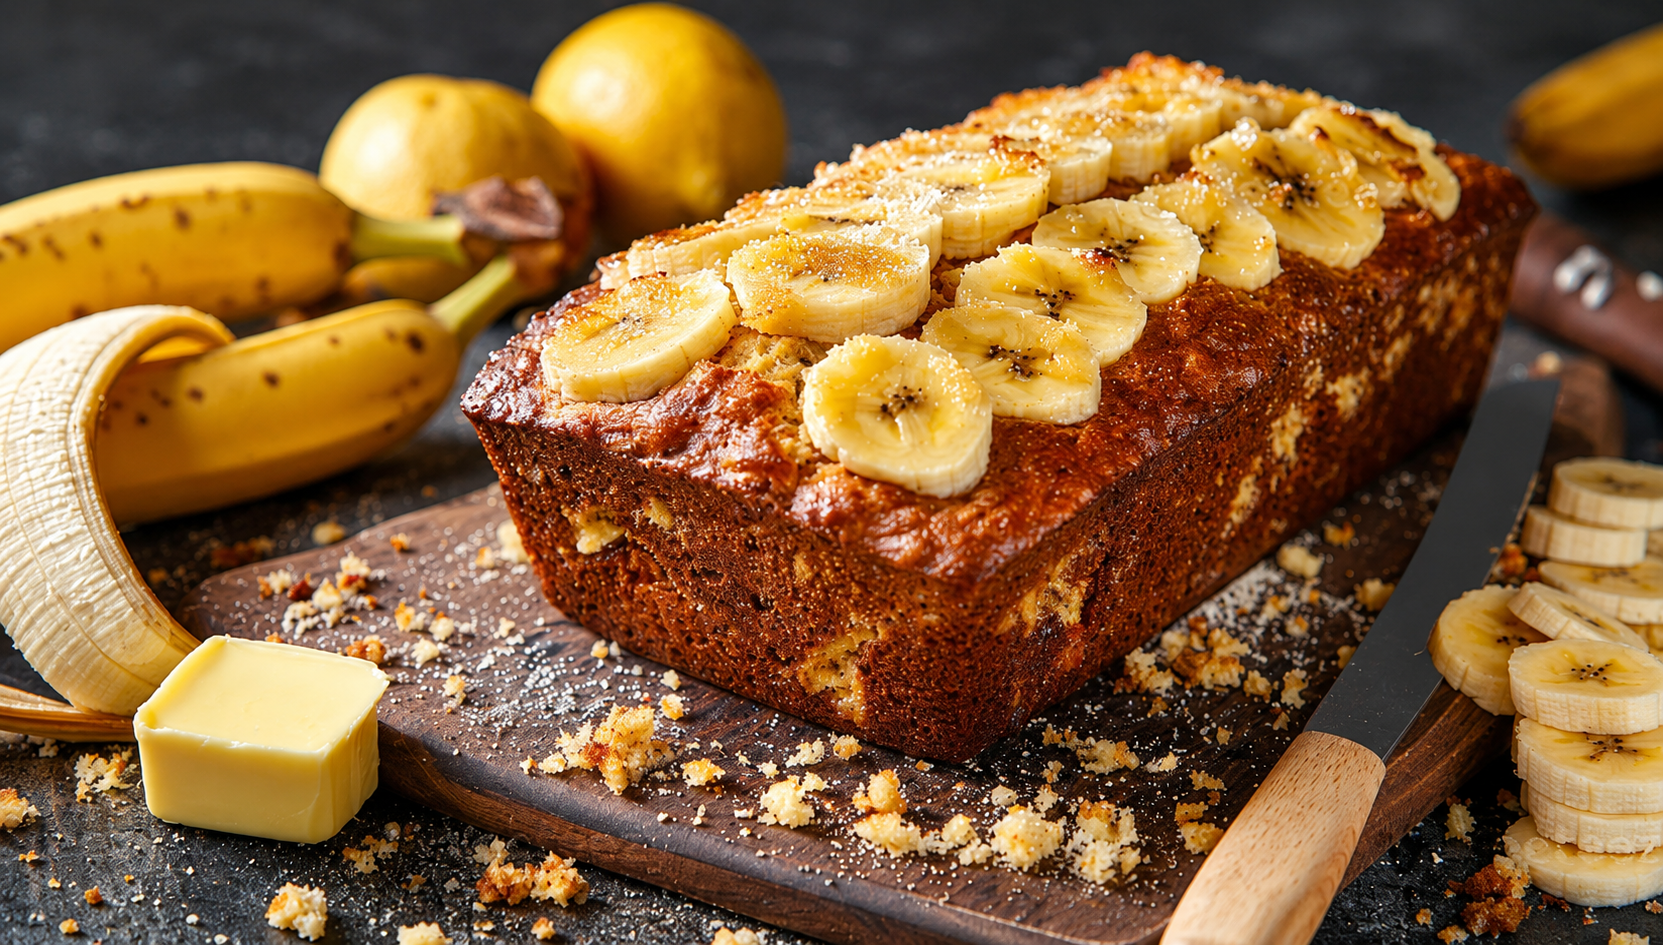
    You bought a bunch of bananas with good intentions, and now two of them are sitting on the counter covered in brown spots. Good news: you don’t need a full bunch of overripe bananas to make a great loaf. This banana bread recipe is built specifically around 2 bananas, so you get a moist, tender crumb without waiting for more fruit to ripen. It comes together in one bowl, needs no mixer, and bakes into a loaf that tastes even better the next day.
    This version leans on a few small adjustments — a touch more butter and a spoonful of sour cream or yogurt — to make up for using fewer bananas than a typical recipe, so the texture stays soft instead of dry or dense.

    Why This Banana Bread With 2 Bananas Works

    ⦁ Extra fat (butter + sour cream or yogurt) replaces the moisture a third banana would normally add.
    ⦁ Melted butter, not softened, means no mixer and no creaming step — just whisk and stir.
    ⦁ Resting the batter for 10 minutes before baking lets the flour hydrate for a more even crumb.
    ⦁ A low-and-slow bake (325°F/165°C)1keeps the center from drying out before the edges are done.

    Tips for the Best Moist Banana Bread

    ⦁ Use bananas with brown or black speckled skins — they’re sweeter and mash more easily.
    ⦁ Don’t overmix once the flour goes in; stir just until no dry streaks remain to avoid a tough, gummy loaf.
    ⦁ Test doneness with a toothpick in the very center — a few moist crumbs are fine, wet batter is not.
    ⦁ Let the loaf cool in the pan for 10 minutes, then finish cooling on a rack so the bottom doesn’t turn soggy.
    ⦁ In a hurry? Ripen bananas fast by baking them (skin on) at 300°F/150°C for 15–20 minutes until soft.

    Storage & Freezing Instructions

    ⦁ Room temperature: wrap tightly and store up to 3 days.
    ⦁ Refrigerator: up to 1 week in an airtight container.
    ⦁ Freezer: wrap sliced pieces individually and freeze up to 3 months; thaw at room temperature or microwave 20–30 seconds.

    Recipe FAQs

    Can I use only 2 bananas instead of 3?

    Yes — this recipe is designed for exactly that. The added butter and sour cream (or yogurt) make up for the missing moisture, so the loaf still turns out soft and tender.

    Why is my banana bread dense or gummy?

    The most common cause is overmixing after the flour is added, which develops too much gluten. Stir just until the streaks of flour disappear.

    Can I make this without eggs?

    Yes. Substitute each egg with 1/4 cup unsweetened applesauce or a flax egg (1 tablespoon ground flaxseed + 3 tablespoons water, rested 5 minutes).

    Can I add nuts or chocolate chips?

    Absolutely — fold in 1/2 cup chopped walnuts, pecans, or chocolate chips right before pouring the batter into the pan.

    Ingredients

    Ingredient Group Name: Wet Ingredients
    ⦁ 2 medium ripe bananas, mashed (about 3/4 cup)
    ⦁ 1/2 cup unsalted butter, melted and slightly cooled
    ⦁ 2 large eggs, room temperature
    ⦁ 1/4 cup sour cream or plain yogurt
    ⦁ 3/4 cup granulated sugar
    ⦁ 1 teaspoon vanilla extract
    Ingredient Group Name: Dry Ingredients
    ⦁ 1 3/4 cups all-purpose flour
    ⦁ 1 teaspoon baking soda
    ⦁ 1/2 teaspoon salt
    ⦁ 1/2 teaspoon ground cinnamon (optional)
    ⦁ 1/2 cup chopped walnuts or chocolate chips (optional)

    Instruction Group Name: Make the Batter

    1. Preheat the oven to 325°F (165°C). Grease a 9×5-inch loaf pan or line it with parchment paper.
    2. In a large bowl, whisk the mashed bananas, melted butter, eggs, sour cream, sugar, and vanilla until smooth and combined.
    3. Sprinkle the flour, baking soda, salt, and cinnamon over the wet mixture. Fold gently with a spatula just until no dry streaks remain — do not overmix.
    4. Fold in the walnuts or chocolate chips, if using. Let the batter rest for 10 minutes at room temperature.

    Nutrition (per slice, approximate)

    Calories215 kcal
    Carbohydrates30 g
    Protein3 g
    Fat9 g
    Saturated Fat5 g
    Sugar16 g
    Fiber1 g
    Sodium220 mg
    Sliced moist banana bread loaf made with 2 bananas on a wooden board

    Moist Banana Bread with 2 Bananas

    A soft, moist banana bread made with just 2 ripe bananas, one bowl, and no mixer — ready to bake in about an hour.
    Prep Time 10 minutes
    Cook Time 55 minutes
    Total Time 1 hour 15 minutes
    Servings: 8 slices
    Course: Breakfast, Dessert, Snack
    Cuisine: American
    Calories: 215

    Ingredients
      

    Wet Ingredients
    • 2 medium ripe bananas, mashed (about 3/4 cup)
    • ½ cup unsalted butter, melted and slightly cooled
    • 2 large eggs, room temperature
    • 1/4 cup sour cream or plain yogurt
    • 3/4 cup granulated sugar
    • 1 teaspoon vanilla extract
    Dry Ingredients
    • 3/4 cups all-purpose flour
    • 1 teaspoon baking soda
    • ½ teaspoon salt
    • ½ teaspoon ground cinnamon (optional)
    • 1/2 cup chopped walnuts or chocolate chips (optional)

    Method
     

    Make the Batter
    1. 1. Preheat the oven to 325°F (165°C). Grease a 9×5-inch loaf pan or line it with parchment paper.
    2. 2. In a large bowl, whisk the mashed bananas, melted butter, eggs, sour cream, sugar, and vanilla until smooth and combined.
    3. 3. Sprinkle the flour, baking soda, salt, and cinnamon over the wet mixture. Fold gently with a spatula just until no dry streaks remain — do not overmix.
    4. 4. Fold in the walnuts or chocolate chips, if using. Let the batter rest for 10 minutes at room temperature.
    Bake the Loaf
    1. 1. Pour the batter into the prepared pan and smooth the top with a spatula.
    2. 2. Bake for 50–60 minutes, until a toothpick inserted into the center comes out with a few moist crumbs. Tent with foil after 35 minutes if the top is browning too quickly.
    3. 3. Cool the loaf in the pan for 10 minutes, then transfer to a wire rack to cool completely before slicing.

    Notes

    For a lighter crumb, swap 1/4 cup of the flour for 1/4 cup rolled oats. Store leftovers wrapped tightly at room temperature for up to 3 days, or freeze sliced for up to 3 months.