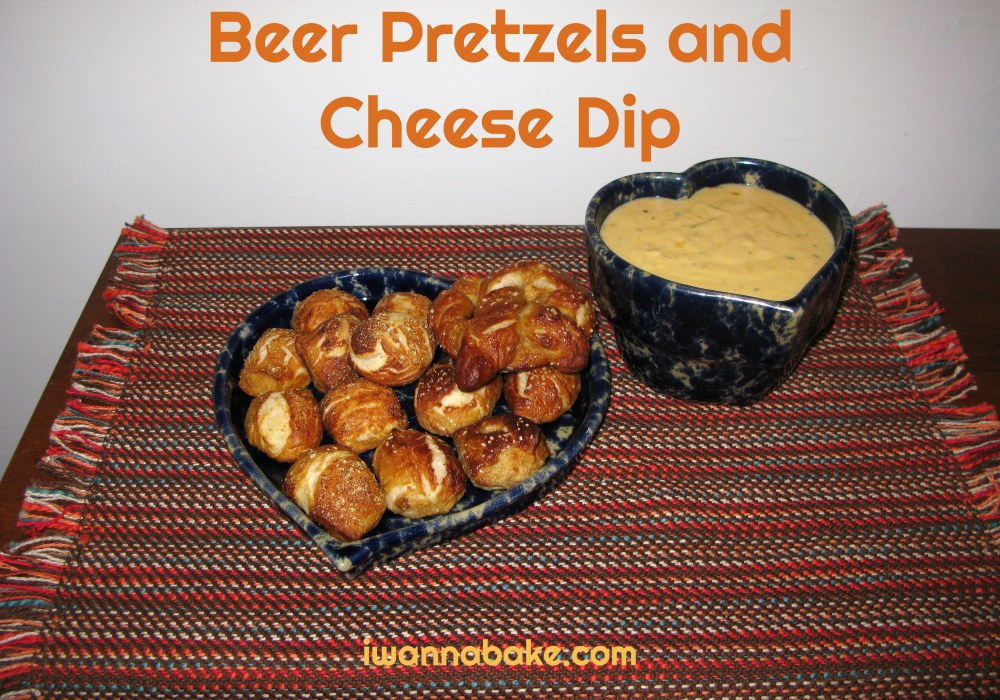
Beer Pretzels with Cheese Dip — Soft Homemade Beer Pretzel Bites Recipe
It’s the final week of Comfort Food Month! To end the month in a manner fitting with the spirit, I decided to bring you a treat that hits a few different comforts: soft beer pretzels and beer cheese dip. We’ve got chewy bread, gooey cheese, salt and spices, and a hint of beer. What more could you need?
I’ve known about this phenomenon for awhile, but since I’m really not into beer, I hadn’t tried it until my husband decided to give Applebees’ Brew Pub Pretzels with Beer Cheese Dip a try. We were both skeptical, but our apprehension was washed away in a sea of fluffy pretzels and cheddar cheese. Man, they are good! We haven’t been to Applebee’s in some time now due to a frustrating experience involving a cup of potato soup we didn’t order but still ended up paying for (it was supposed to be beer cheese dip, actually), but the pretzels and cheese are still on my mind from time to time. I’ve been saying for a long time that I would try to recreate this appetizer, and now I’ve finally gotten around to it.
I kluged together two different pretzel recipes for this: Alton Brown’s Homemade Soft Pretzels and Taste of Home’s Soft Beer Pretzels. As I mentioned earlier, I’m not much of a fan of beer, so I reduced the volume to 8 ounces and added 4 ounces of water to make up the difference. There was a hint of beer aftertaste, but I didn’t notice it right away. This was right up my alley, but if you want to taste the beer a bit more, you can use the full 12 ounces. It also works out well because the cheese dip calls for 4 ounces of beer, so you can make the whole thing with one bottle. I used a bottle of Great Lakes Dortmunder Gold that I bought at Trader Joe’s, since they allow you to buy them by the bottle rather than by the six pack. Feel free to experiment with whatever beer you prefer (and if there are any that you think would lend themselves particularly well to pretzels and cheese, by all means please let me know because I am beer illiterate).
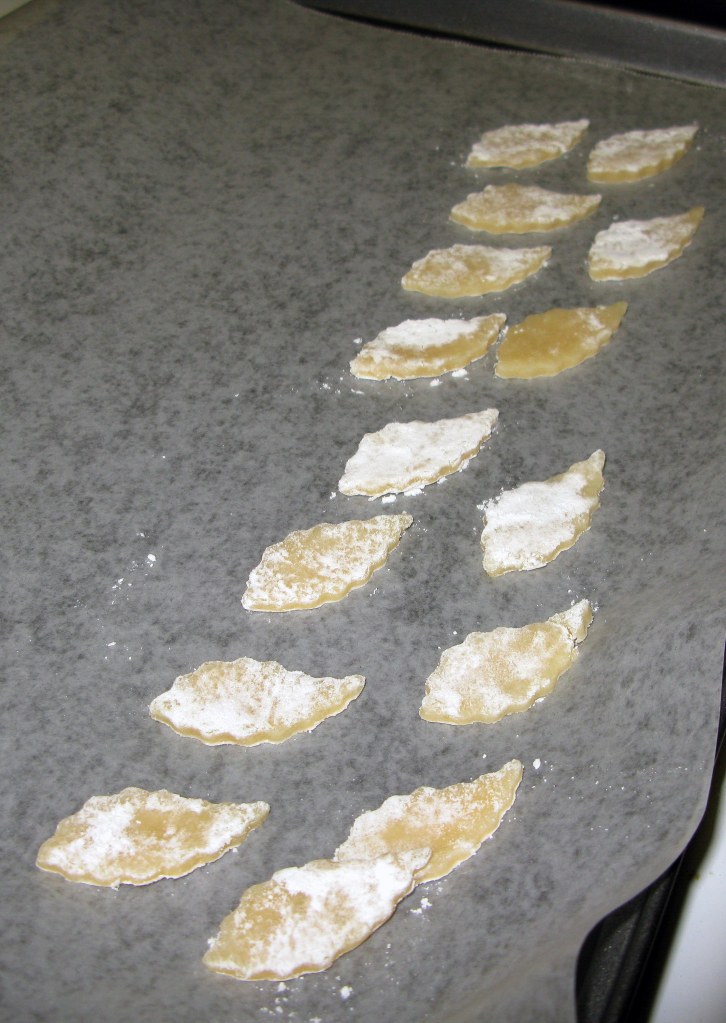
My original plan was to make twisted pretzel sticks, but that turned out to be a no-go (this time, anyway). I’ve always had a bit of trouble with pretzel dough, and this time was no exception. The dough is very soft and sticky, so it was nearly impossible to get my pretzel sticks to stay straight in transit from the flat surface they were resting on to the baking soda bath and back again in one piece. I ended up throwing out the first pile of pretzel mush that came out of the baking soda bath and just cut my pretzel dough into nuggets moving forward. Thankfully, this was successful (and hey, everyone likes bite-sized food, right?). It even gave me enough confidence to make a handful of small, regular-shaped pretzels, which turned out ok. If you have any tips on making pretzels keep their shape without tearing your hair out, please share your wizardry with me!
I’ve included a seasoning blend in the recipe that you can sprinkle on top of the pretzels, but if you prefer traditional, salted soft pretzels, they’ll taste great too. I tried it both ways, and I can’t really say which I preferred. Seasoning measurements are really meant to represent that you should use an equal amount of each seasoning in the blend, so you may need more or less depending on how many pretzels you have. Again, feel free to experiment if you have the urge.
I will admit that the pretzels take a long time to make and are a bit of a pain, but don’t let this make you skip the dip! The dip is the complete opposite story. I was able to make it during commercial breaks while half watching The Mick (thankfully, both the show and the dip don’t require particularly rapt attention). There are a few variables you can play with to make the flavors suit your tastes: beer choice, cheese choice, and seasonings. I used the rest of the Dortmunder Gold I had saved from the pretzels, but you’re not tied to using the same beer in both recipes if you don’t want. I used my new favorite cheese, Double Gloucester with onion and chive, but any melty cheese will do (think Cheddar family). Finally, I stuck with the familiar and seasoned with onion and garlic, but this dip would lend itself well to cayenne pepper, paprika, or even a little bit of hot sauce. Just go with what you like, and you (probably) can’t go wrong
Why You Will Love These Beer Pretzels
Better than Applebee’s — seriously
Authentic soft pretzel texture — baking soda bath gives real pretzel flavor
Bite sized and crowd friendly — perfect for sharing at parties
One bottle of beer — used in both the pretzels and the dip
Completely customizable — change the beer, change the cheese, make it your own
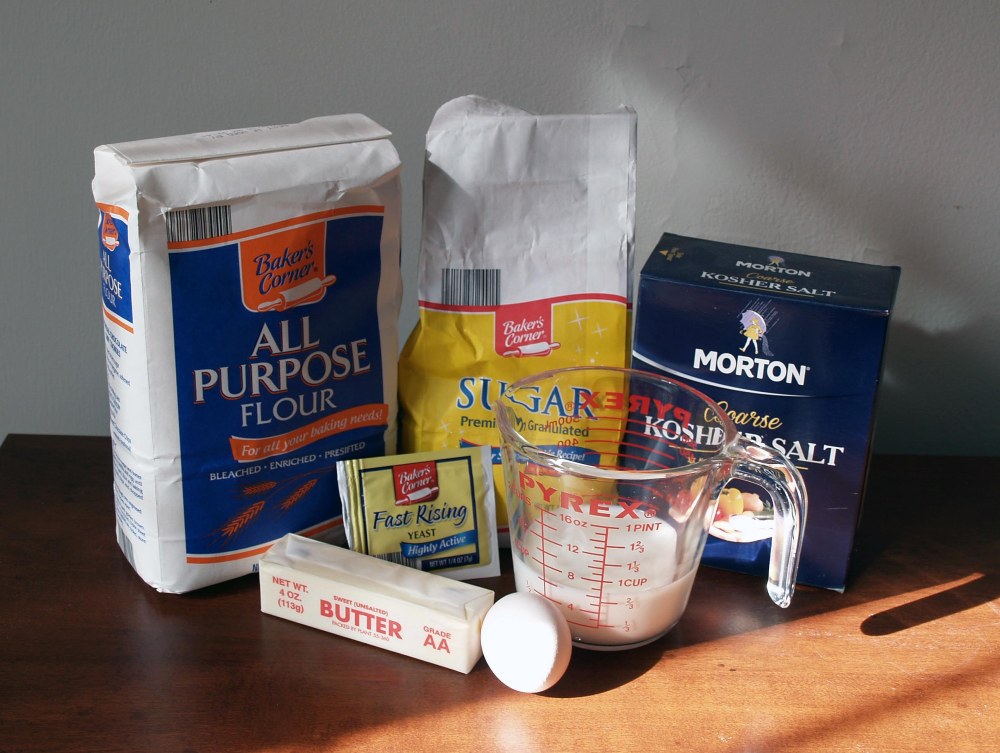
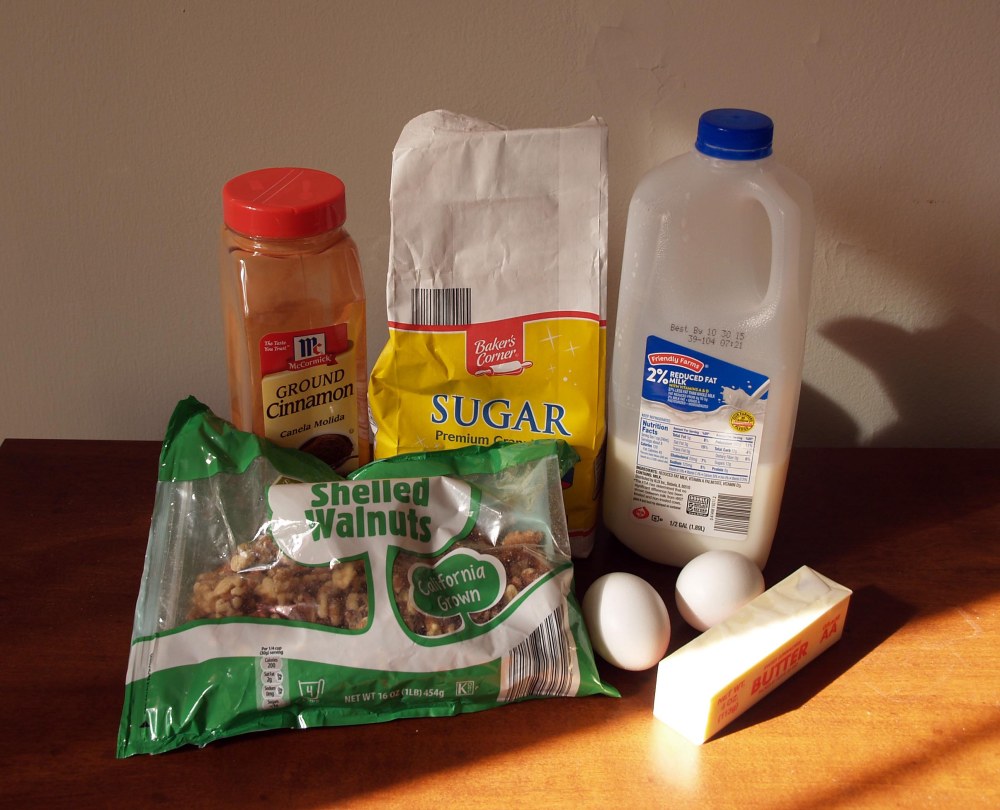
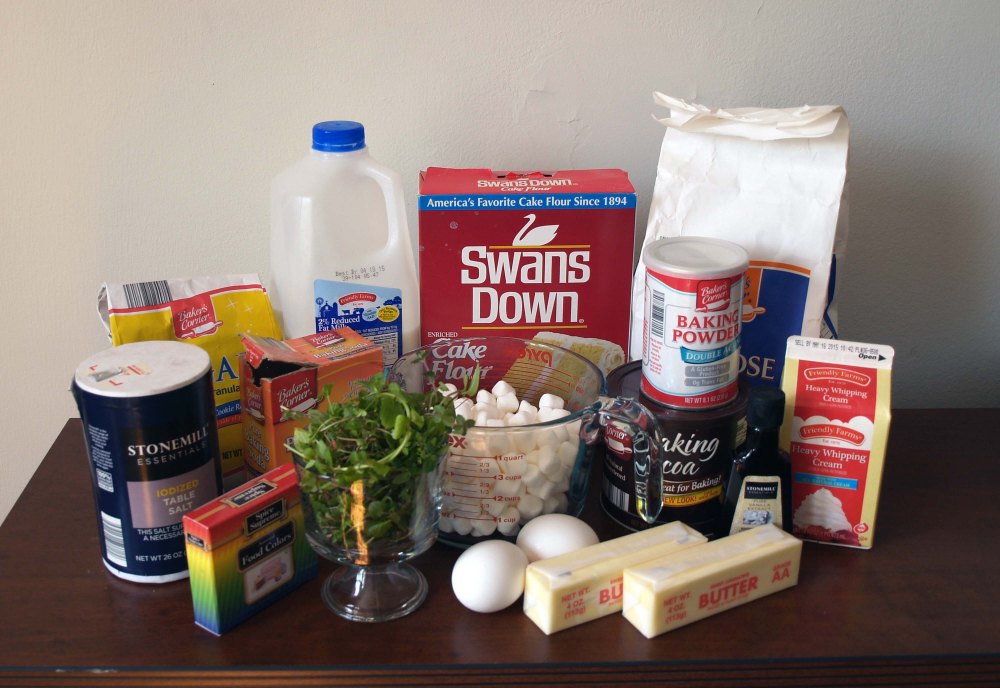
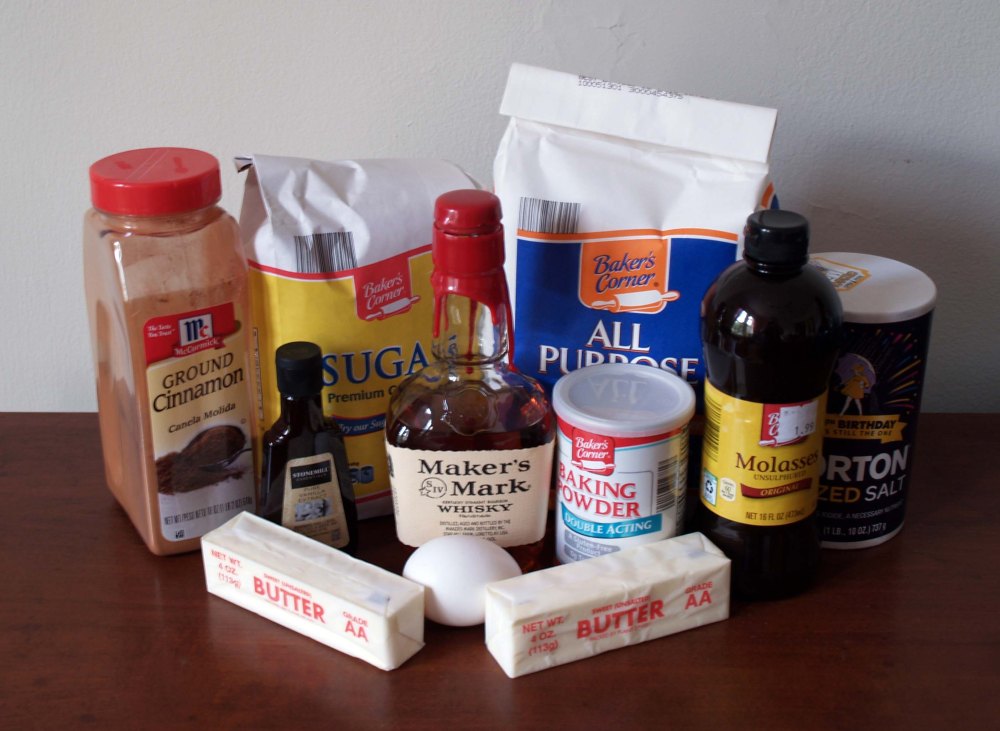
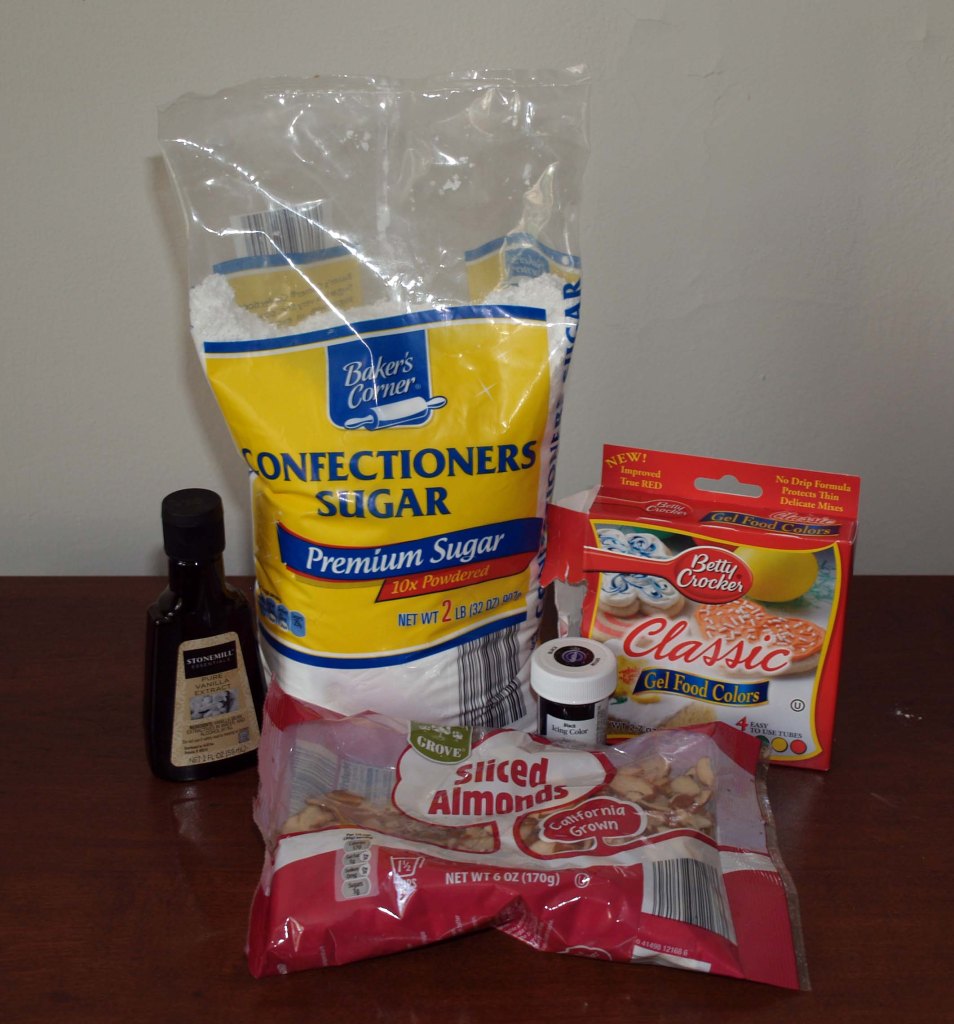
You will need the following ingredients:
Ingredients for Beer Pretzels with Cheese Dip
Ingredients for Beer Pretzels with Cheese Dip
- 8 oz. beer of choice
- 4 oz. water
- 1 Tbsp. granulated sugar
- 1 packet active dry yeast
- 2 tsp. Kosher salt, plus more for finishing
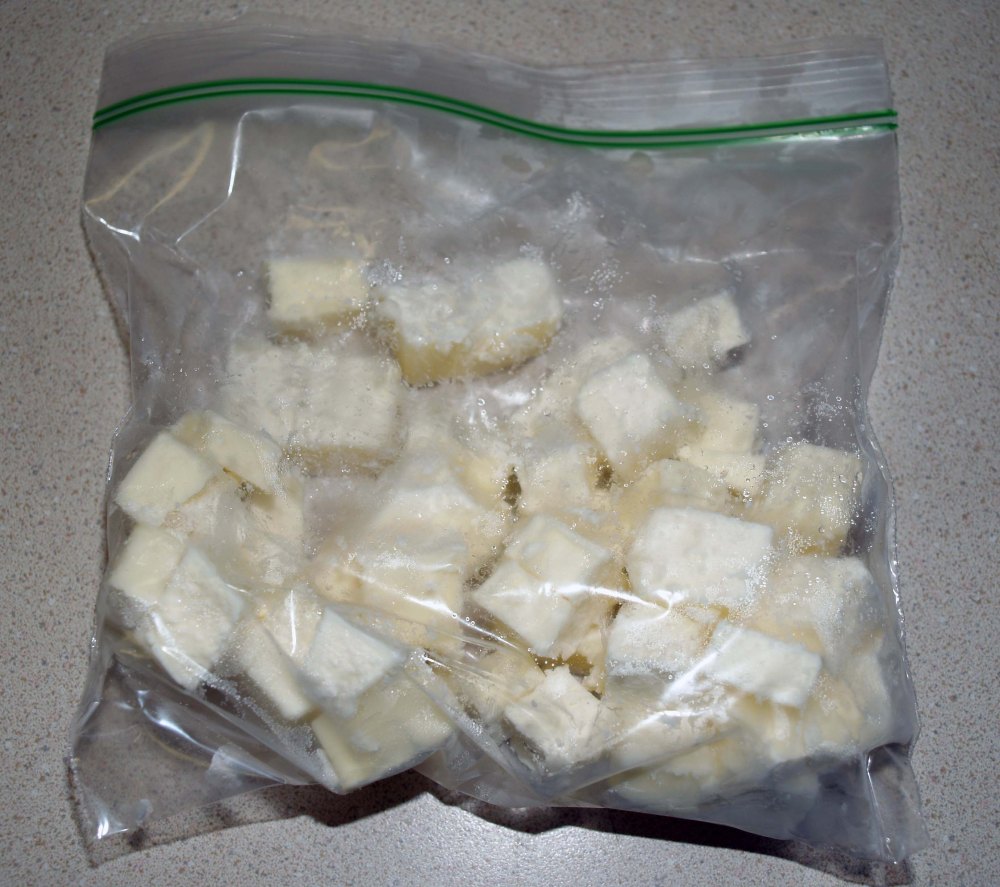
- 2 oz. unsalted butter, melted
- 22 oz. all-purpose flour
- 10 cups water
- ⅔ cup baking soda
- 1 egg yolk
- 1 Tbsp. water
- 1 tsp. ground mustard (optional)
- 1 tsp. onion powder (optional)
- 1 tsp. garlic powder (optional)
For the dip:
- 2 Tbsp. unsalted butter
- 2 Tbsp. all-purpose flour
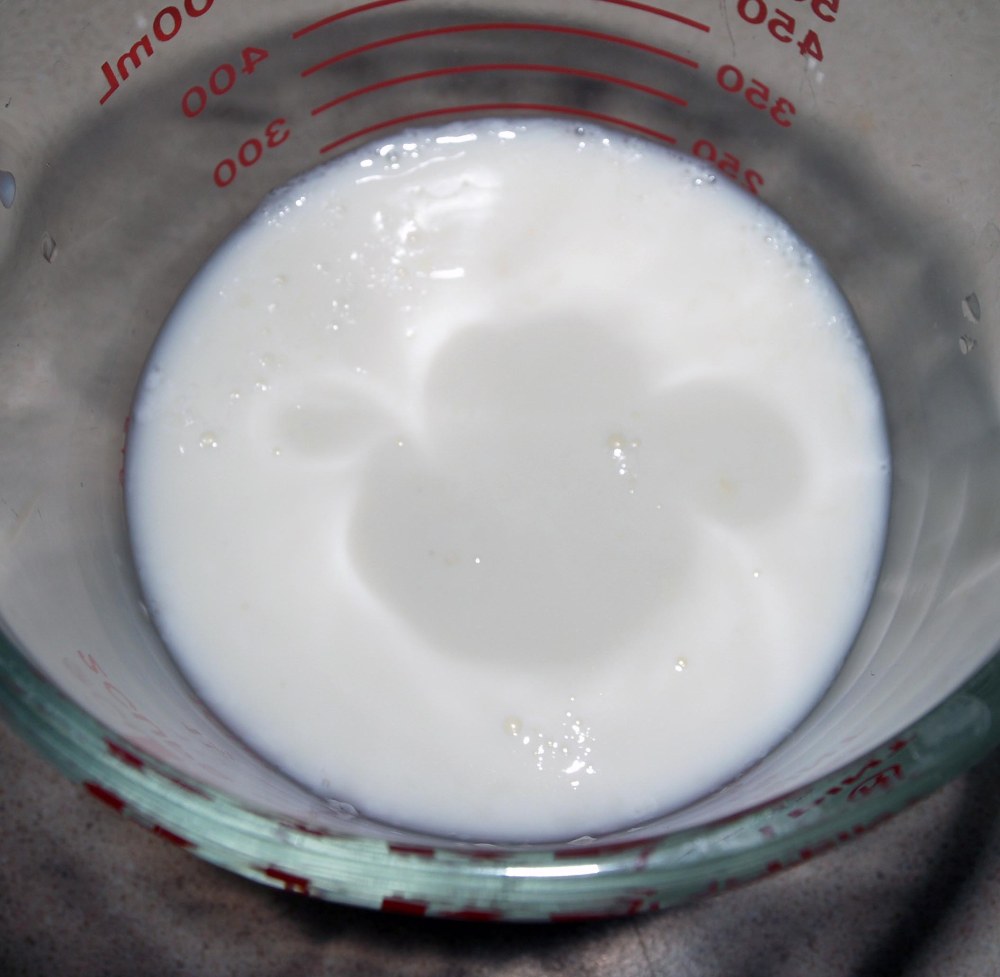
- 1 cup milk
- 4 oz. beer
- 2 tsp. brown mustard
- ¼ tsp. onion powder
- ¼ tsp. garlic powder
- pinch of salt (optional)
- 7 oz. Double Gloucester cheese, grated
Ingredient Notes:
Beer choice: Any lager or amber ale works well. One 12oz bottle covers both the pretzels and the dip perfectly.
Cheese choice: Any melting cheese from the cheddar family works. Double Gloucester with onion and chive adds incredible flavor. Avoid pre-shredded cheese — always grate fresh for smoother melting.
Less beer flavor: Use 8oz beer and 4oz water for the pretzels as written. For stronger beer flavor use the full 12oz beer.
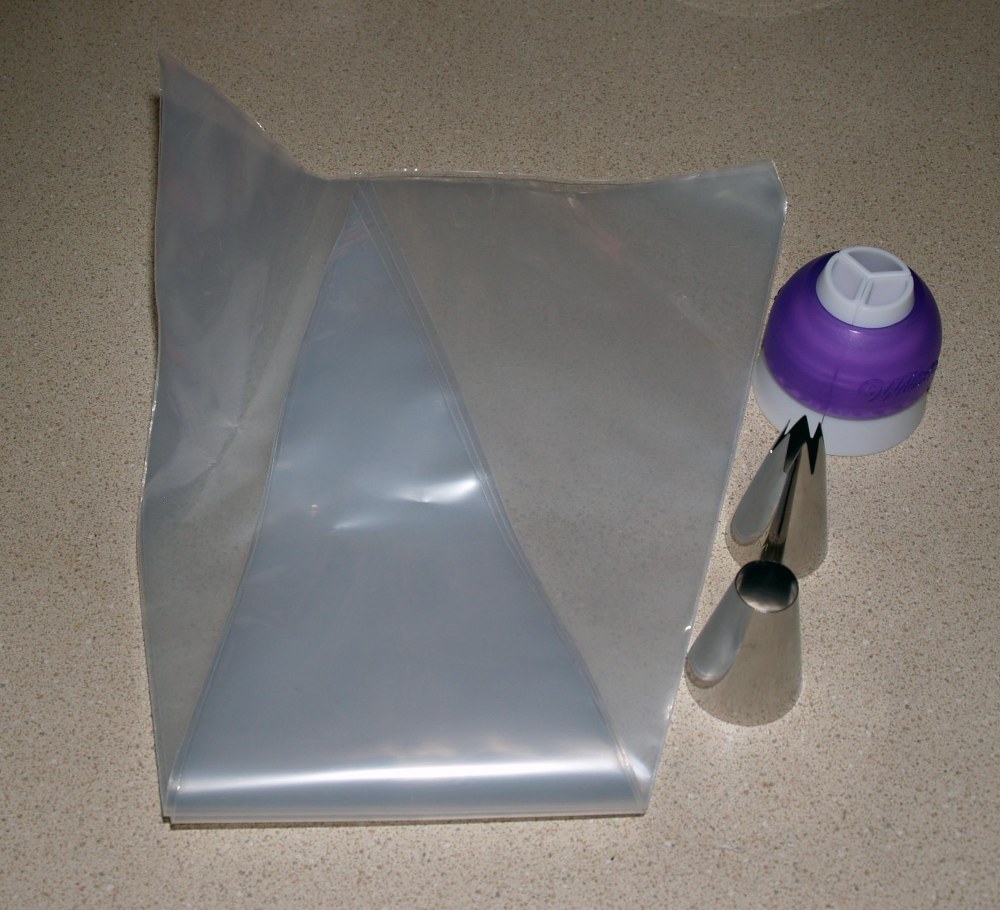
Equipment You Will Need
Stand mixer with dough hook (or large bowl for hand kneading)
Large wide pot (for baking soda bath)
2 large baking sheets
Parchment paper
Slotted spoon
Small saucepan (for cheese dip)
Whisk
For baking ambiance:
I decided to give everyone a break from my glam binge (for now), and instead put on some Stevie Wonder this week. It was a nice change of pace, and I would recommend his music to anyone who has ears. Seriously, his voice is made of melted caramel (or any other silky, smooth indulgence you prefer).
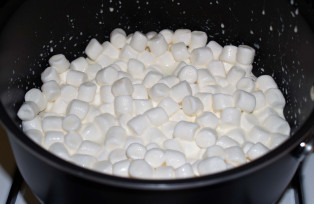
How to Make Beer Pretzels with Cheese Dip
Step:1
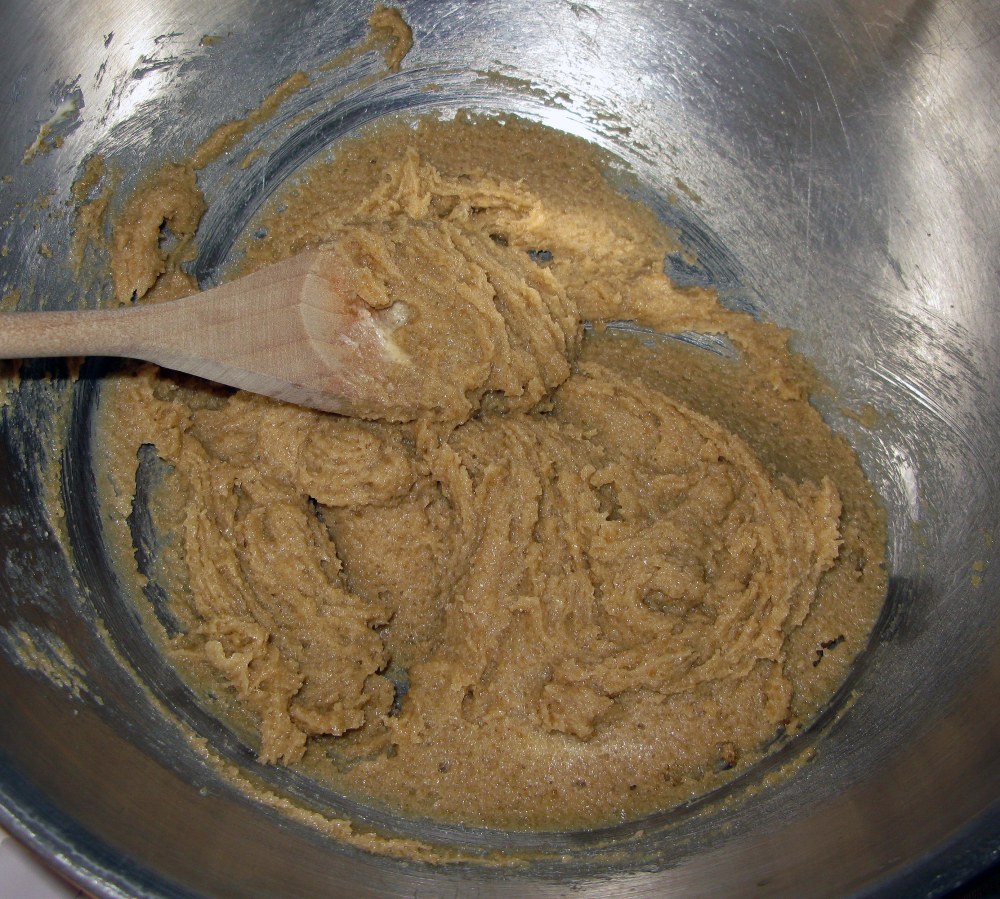
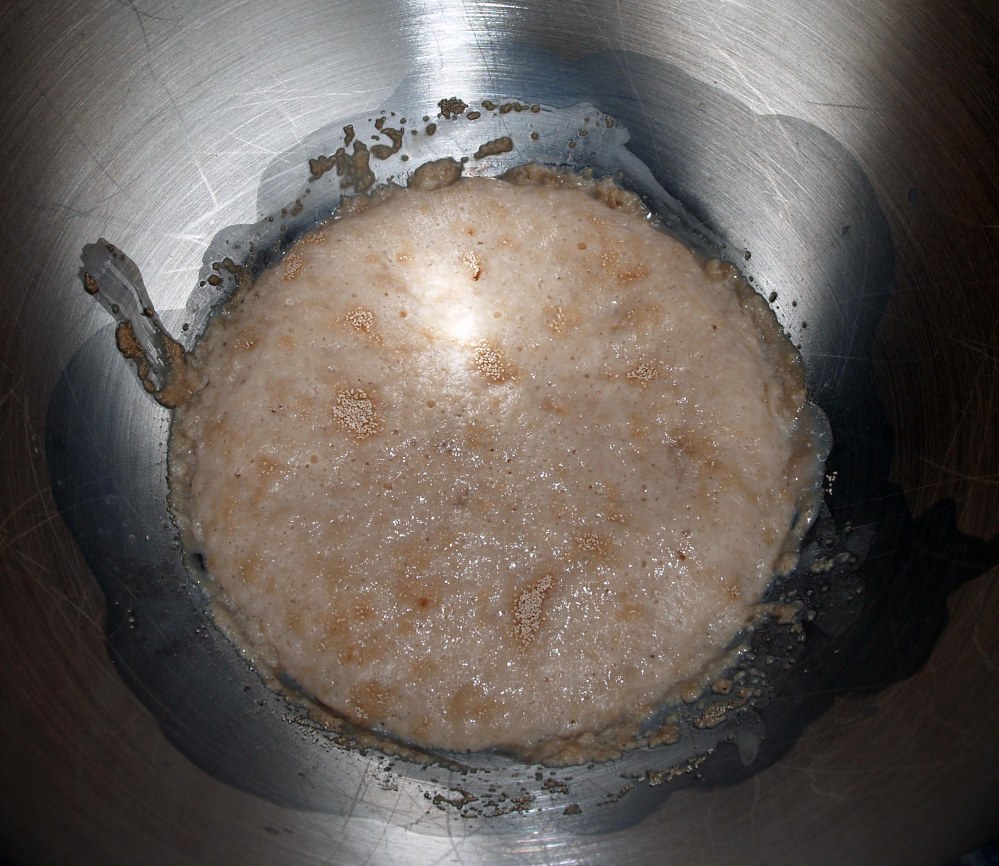
Heat the beer and water to lukewarm. In the bowl of a stand mixer, dissolve the sugar in the beer and water and sprinkle the yeast on top.
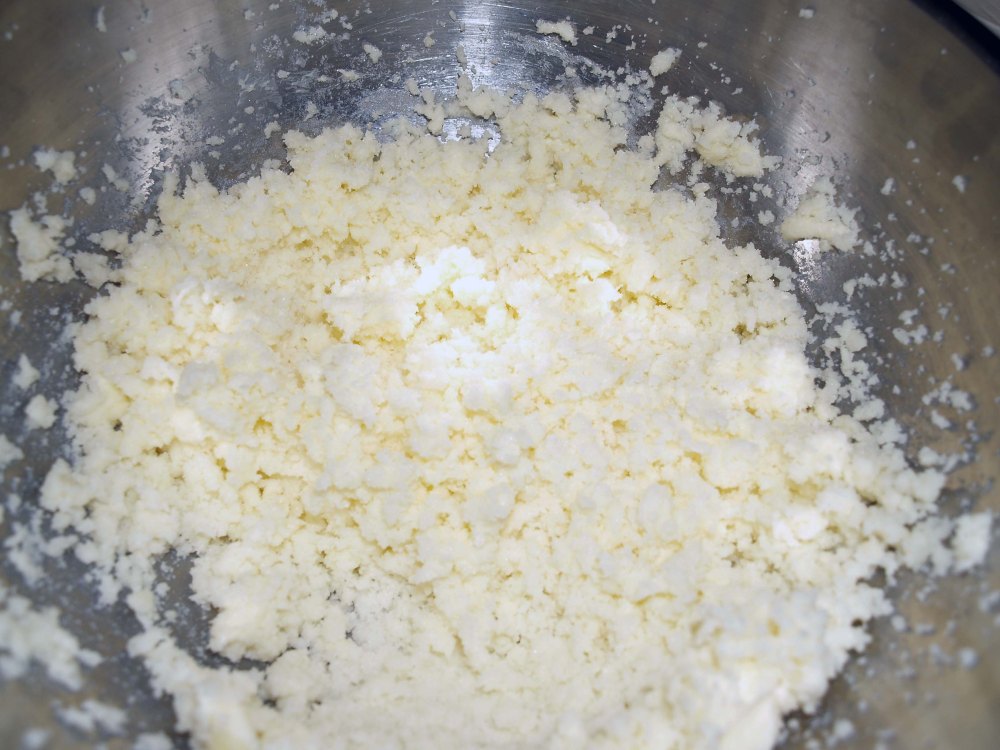
Step:2 Let the yeast stand until creamy, about 5 minutes.
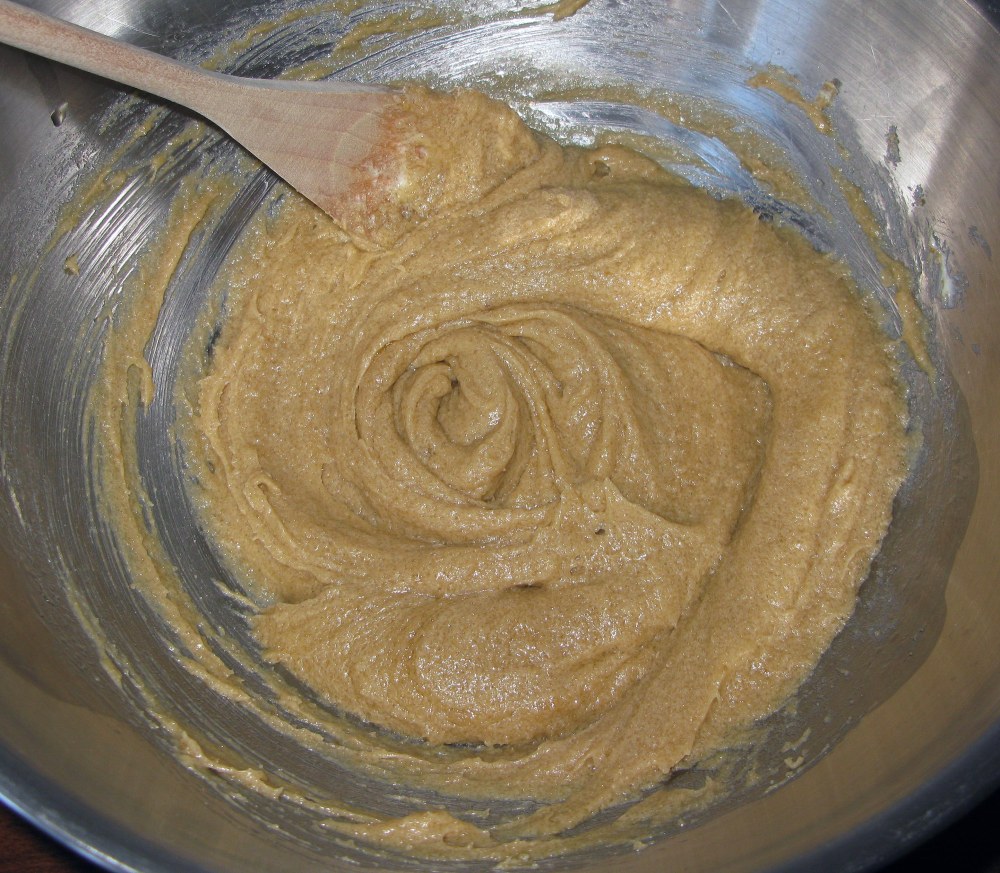
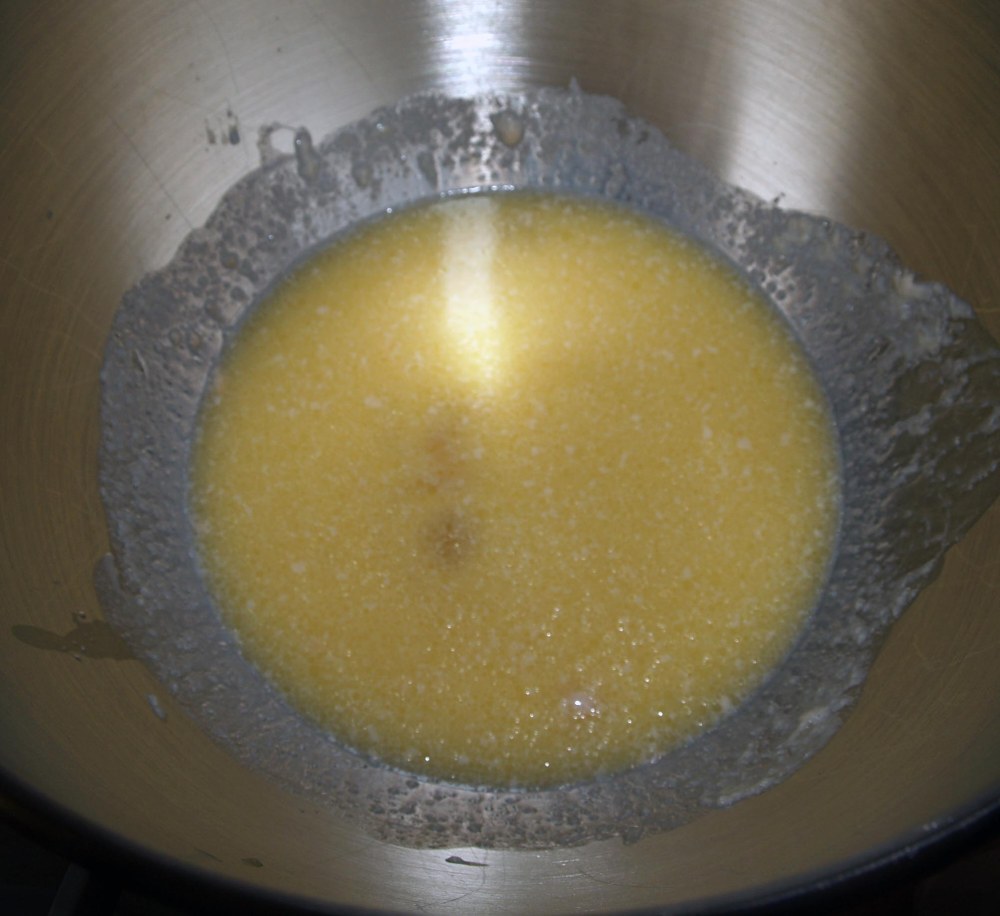
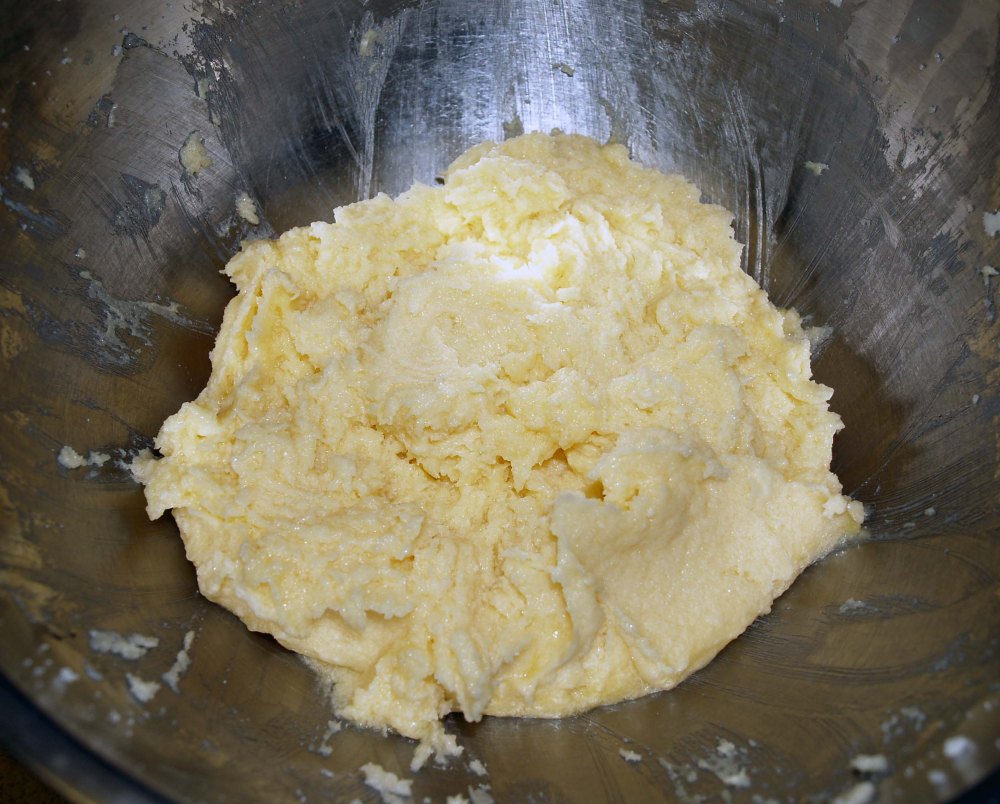
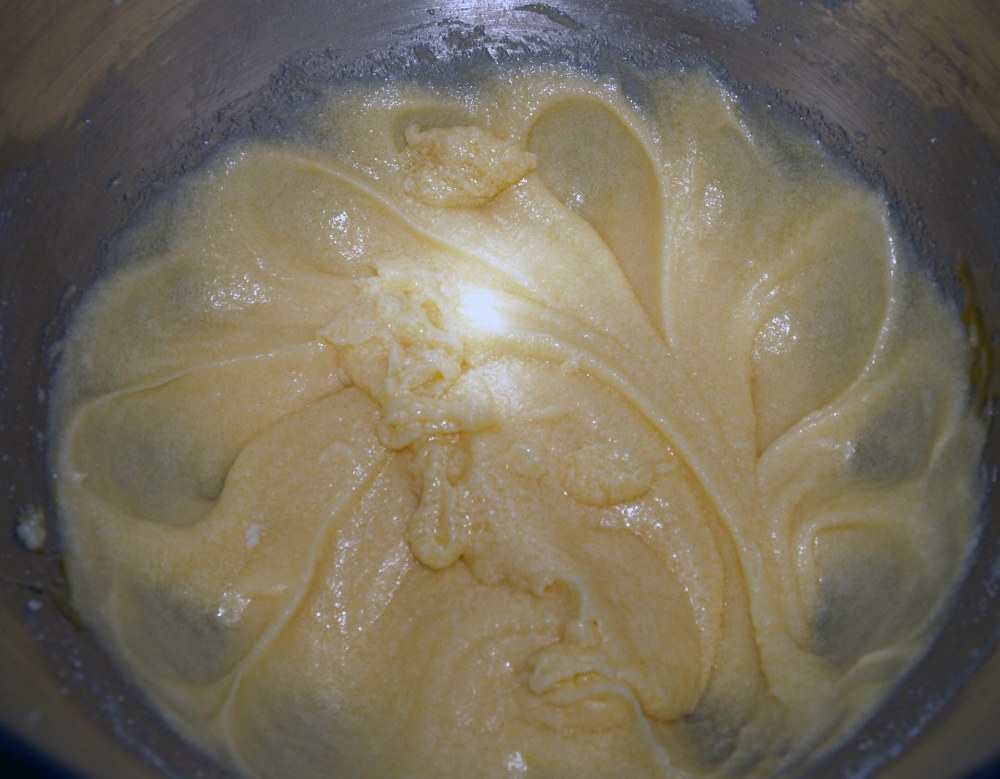
Stir in the Kosher salt and melted butter until well–combined.
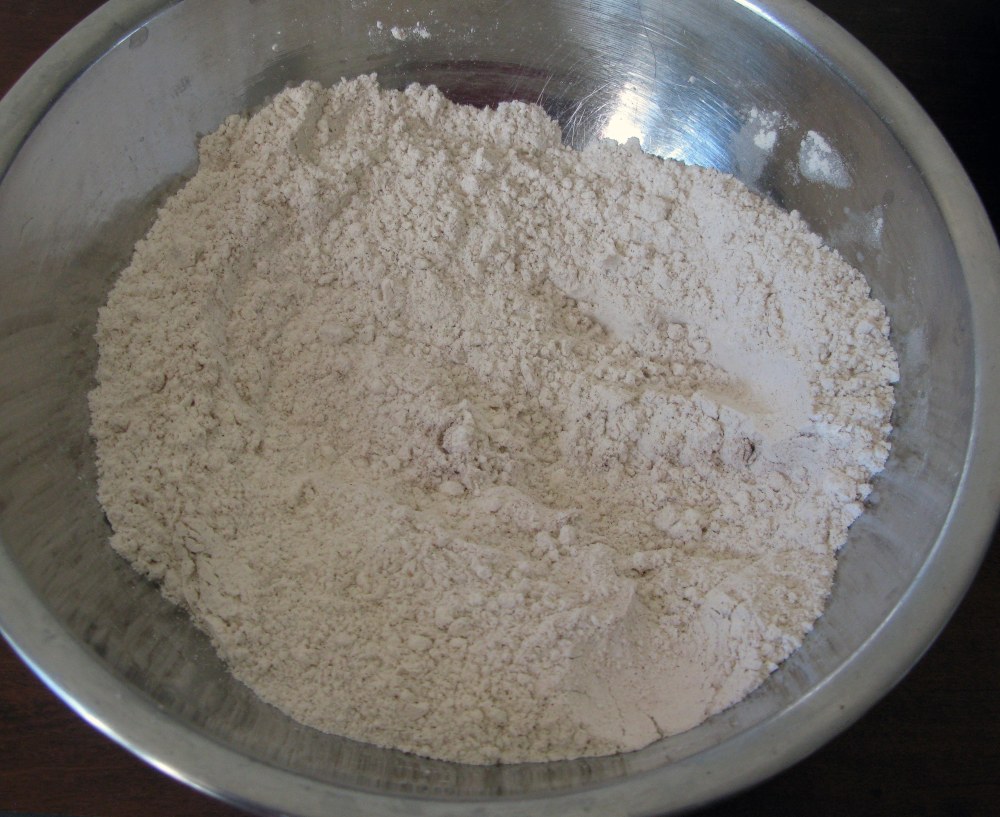
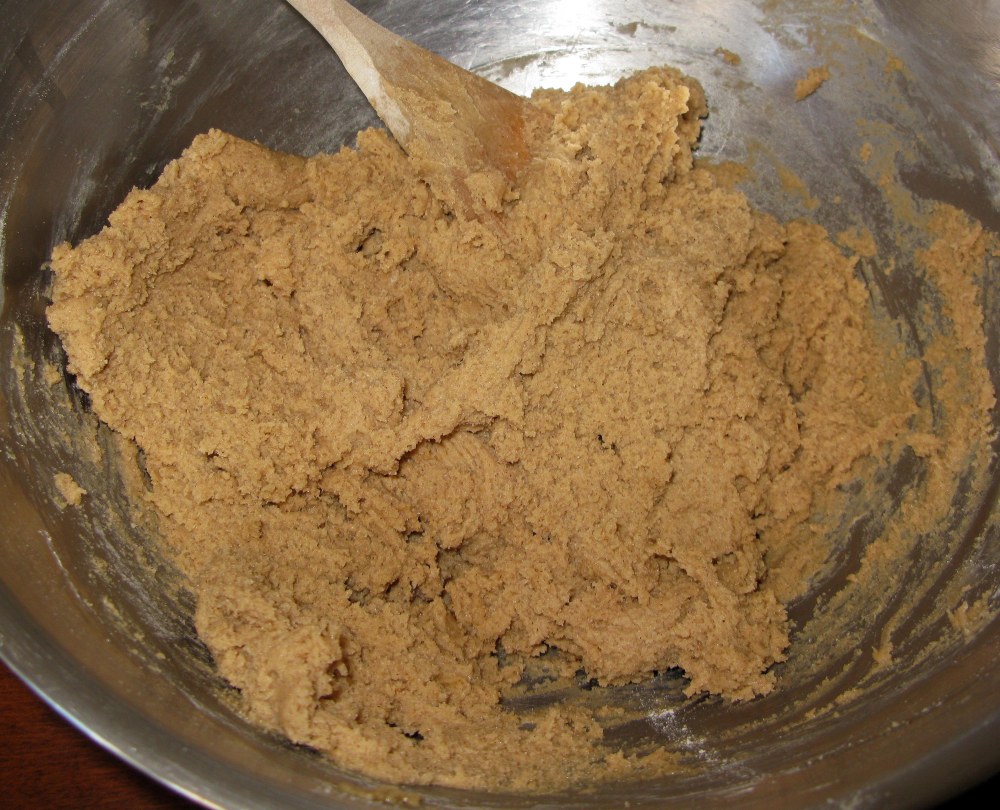
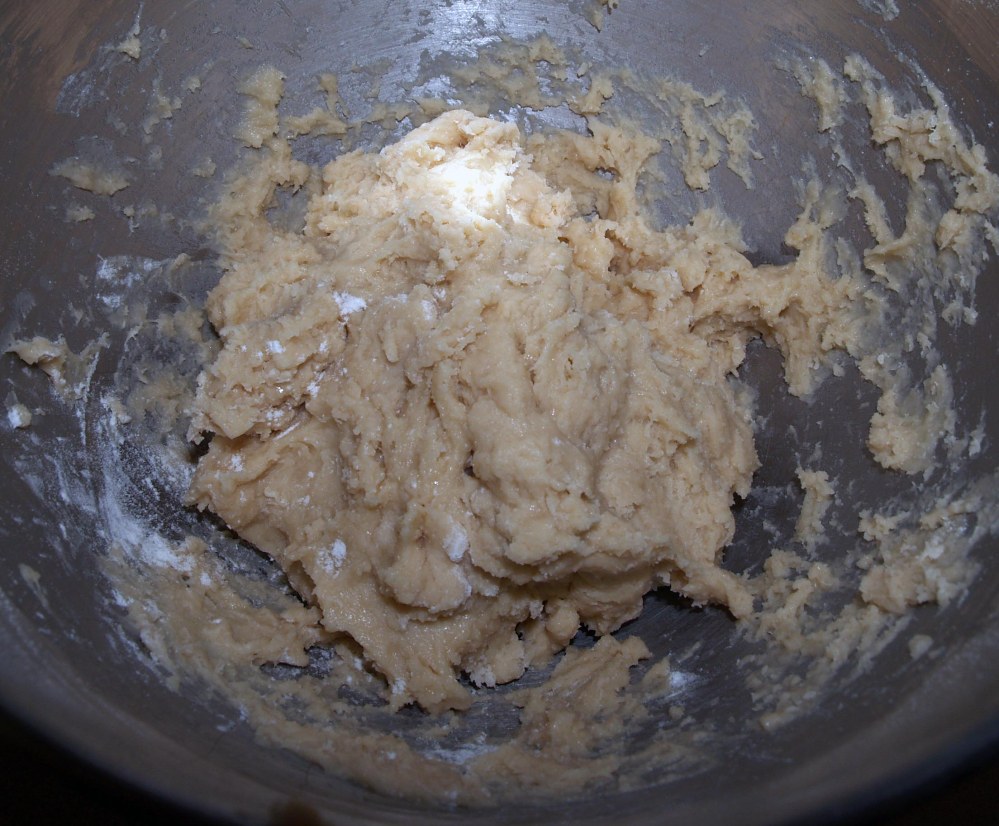
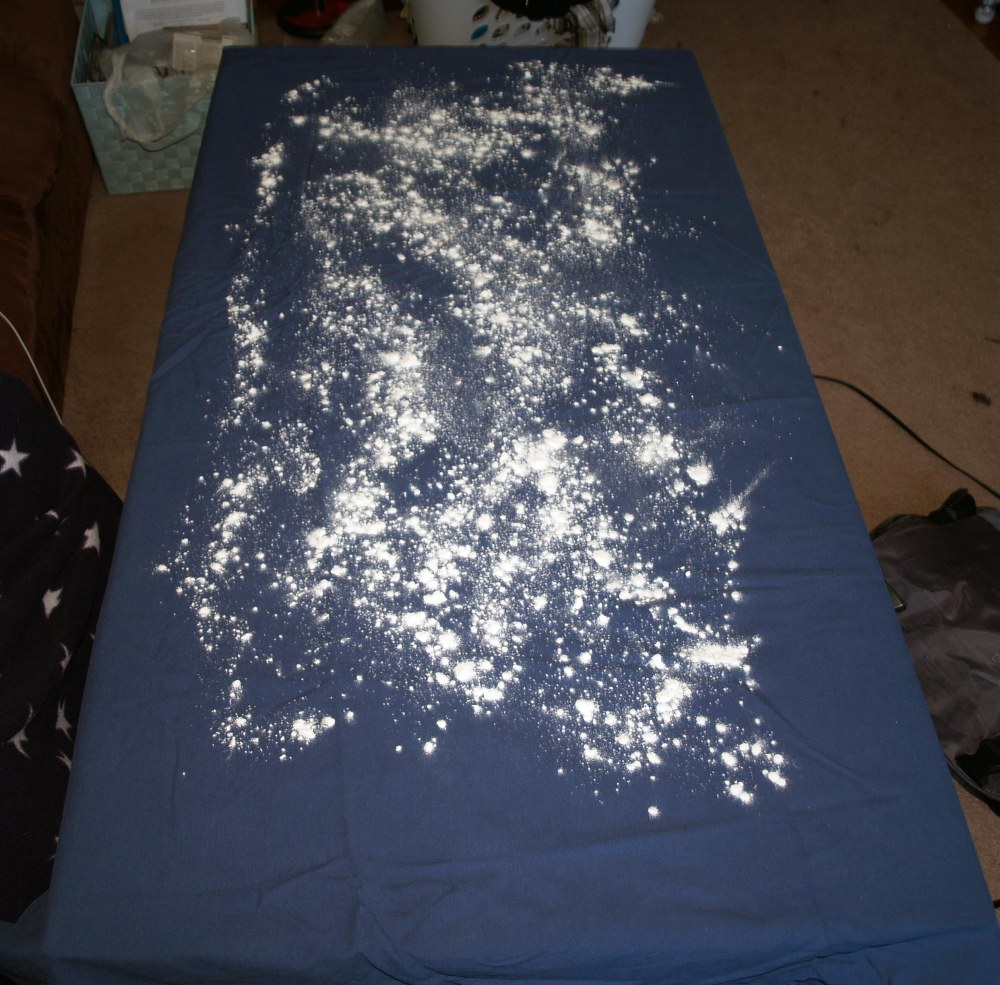
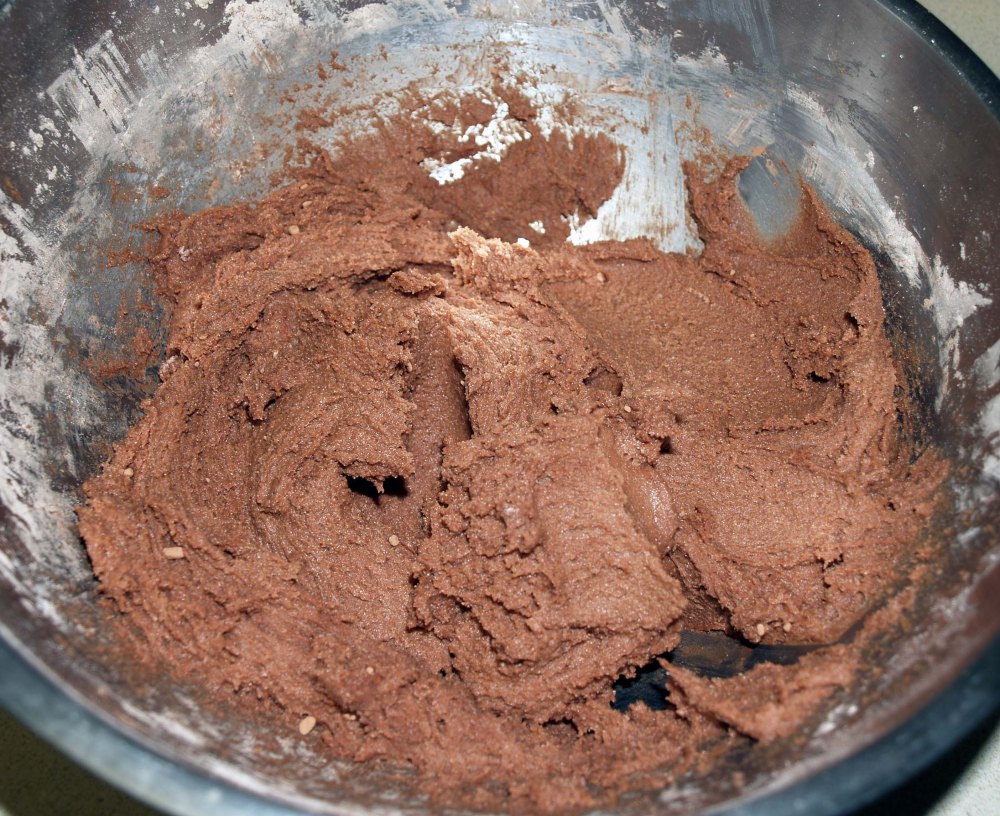
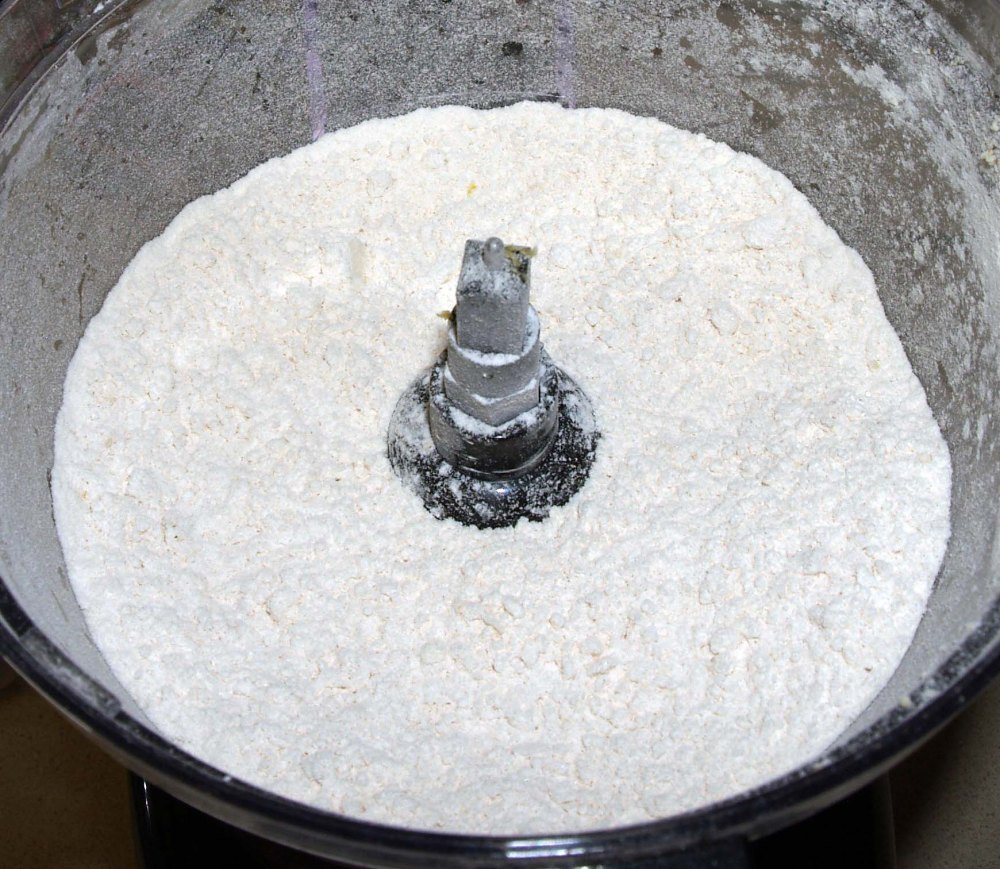
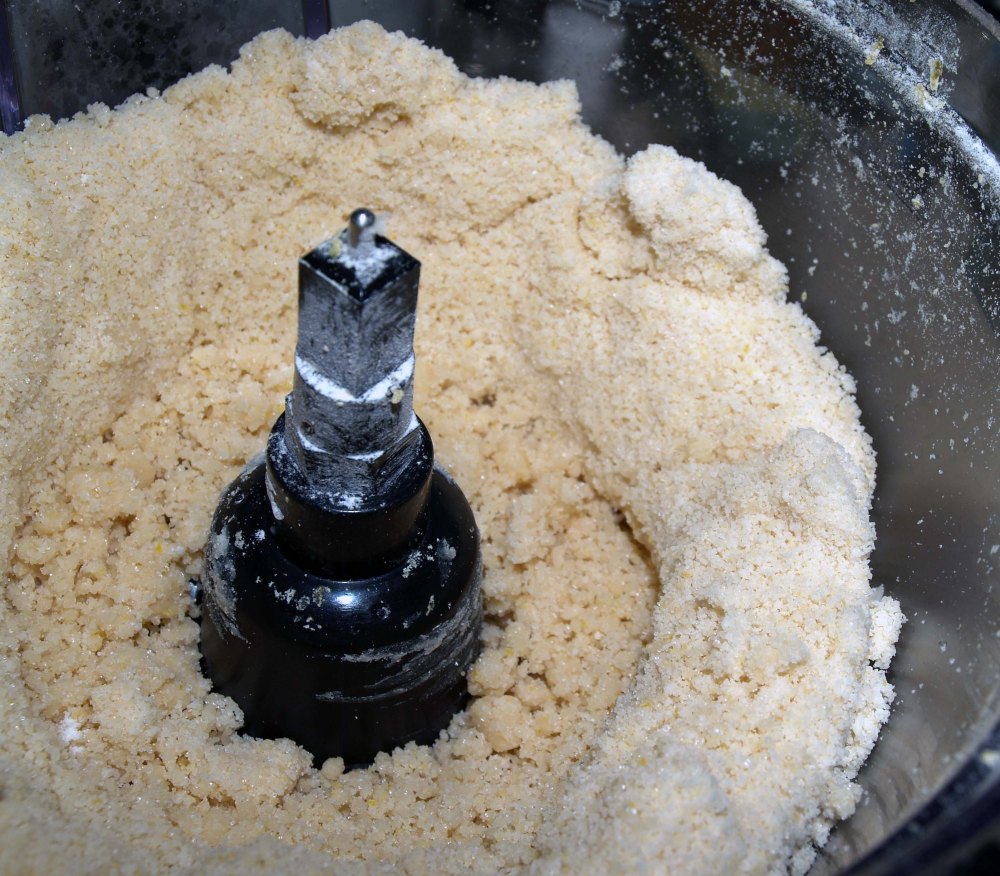
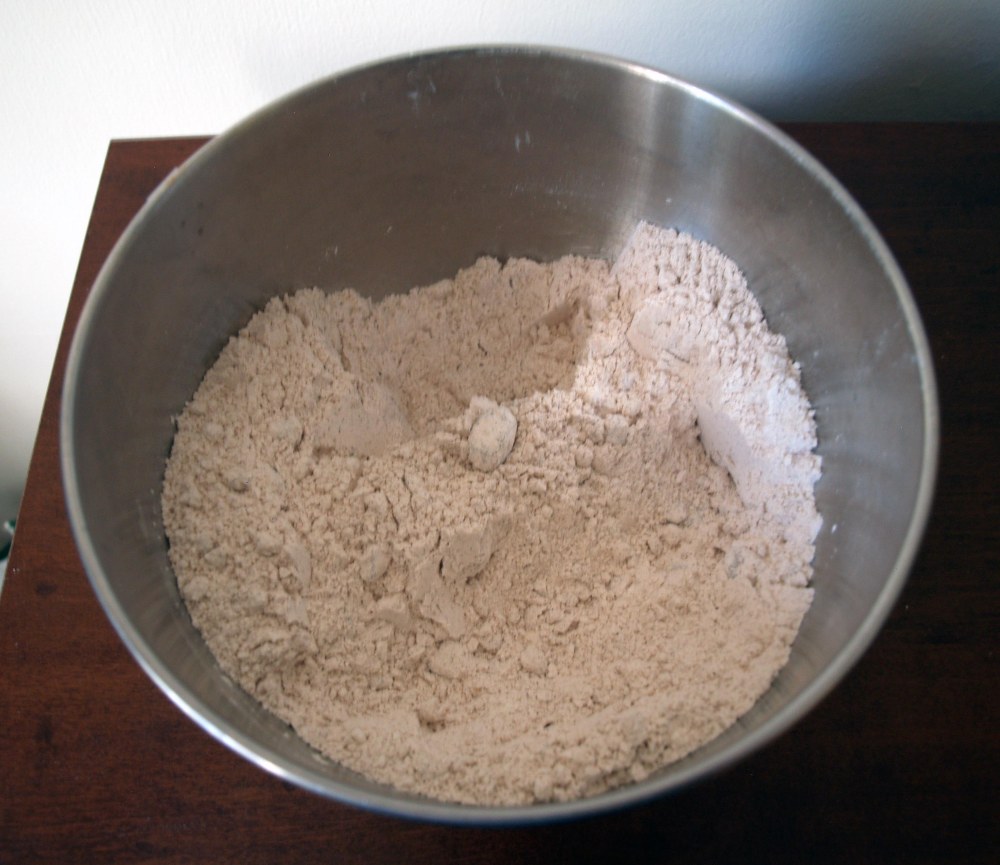
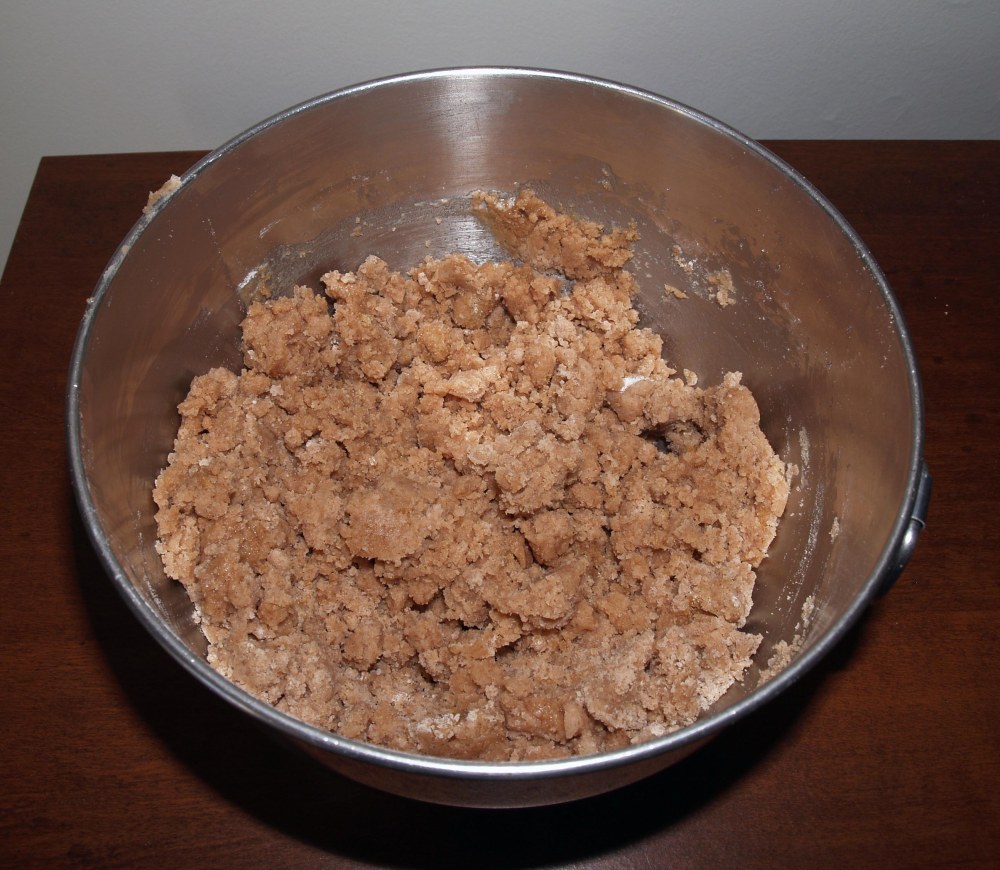
Step:3 Using a dough hook, stir in the flour until the mixture is smooth. Increase the mixer’s speed to medium and let it knead the dough until it pulls away from the side of the bowl, about 5 minutes. If you are doing this by hand, oil your work surface and hands to prevent sticking.
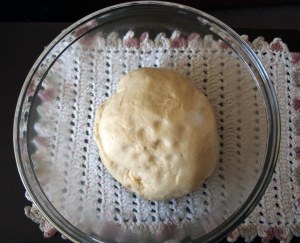
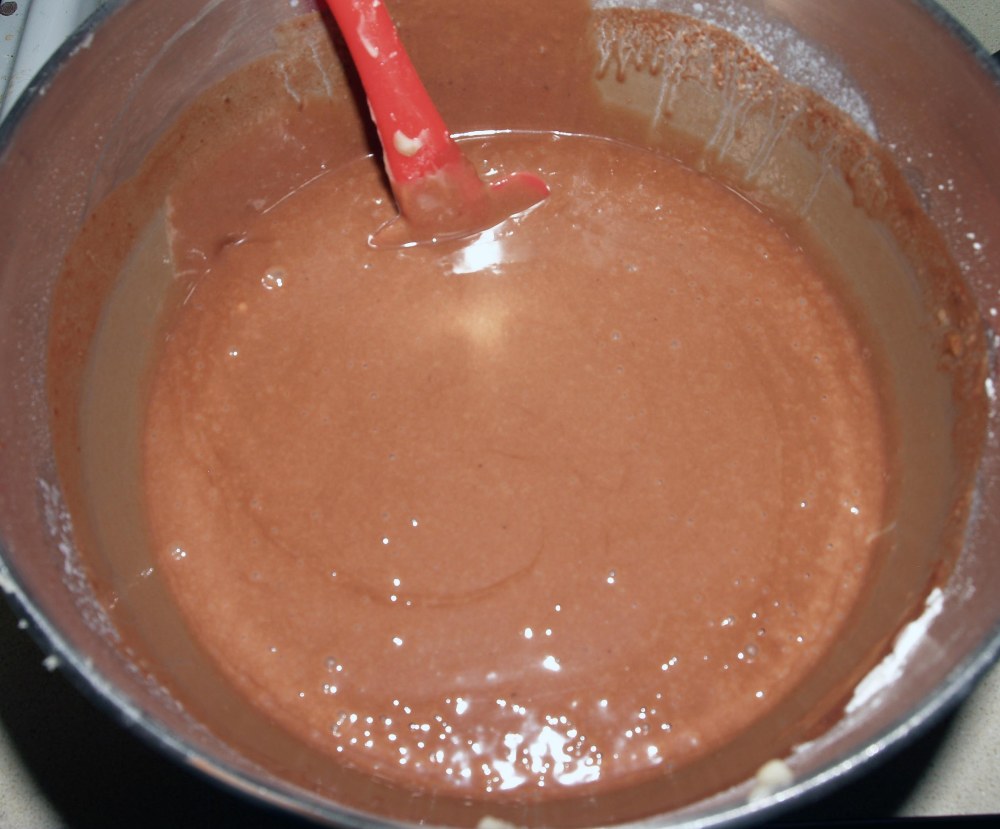
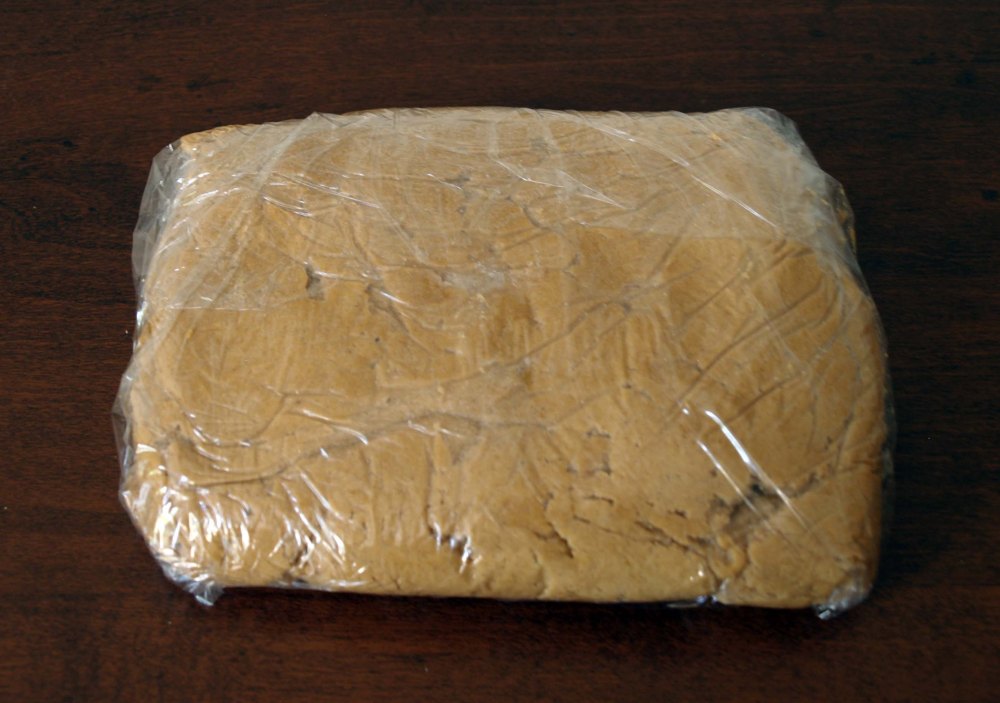
I found the consistency of the dough to be similar to oobleck, so my usual method of greasing the mixing bowl and putting the dough back into it wasn’t going to work (waaay too sticky). Instead, I greased a second bowl, then dumped the dough into that and turned it to coat. I’d suggest doing the same.
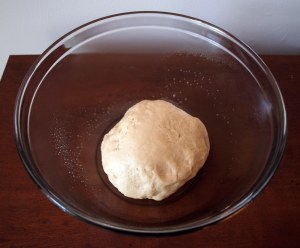
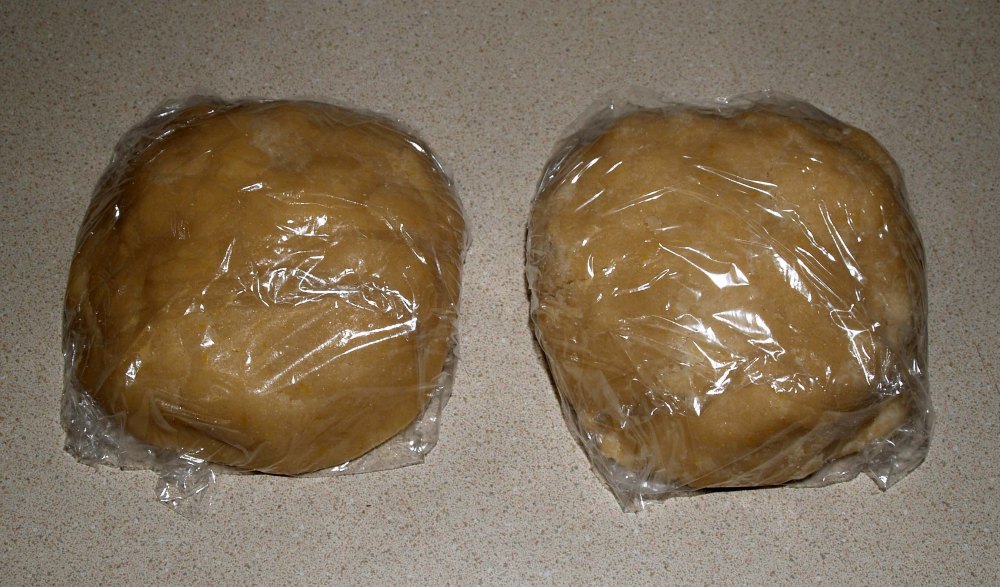
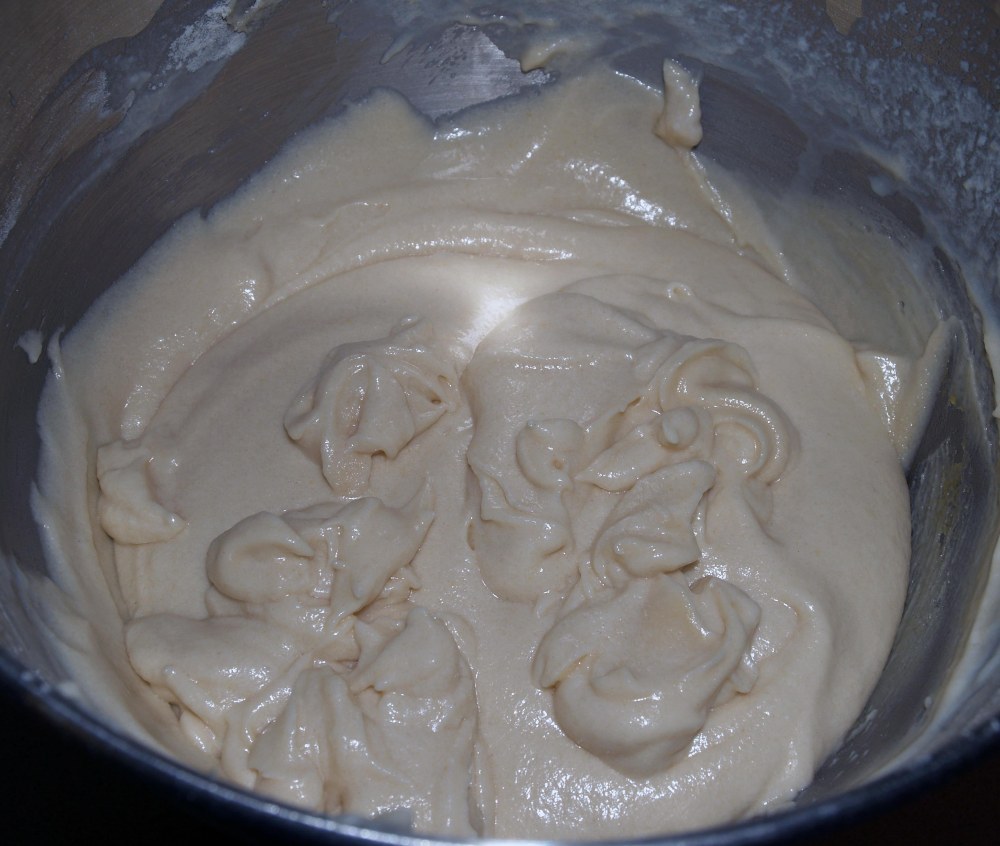
Step:4 Cover the bowl and leave it to rise in a warm place until doubled in size, about 50-55 minutes. Pro tip: heat your oven to 200°F, then turn it off and put the bowl inside. The poor man’s proofing drawer works like a charm.
Step:5 When the dough has risen, preheat the oven to 450°F. Line cookie sheets with parchment paper and grease the paper. Set aside.
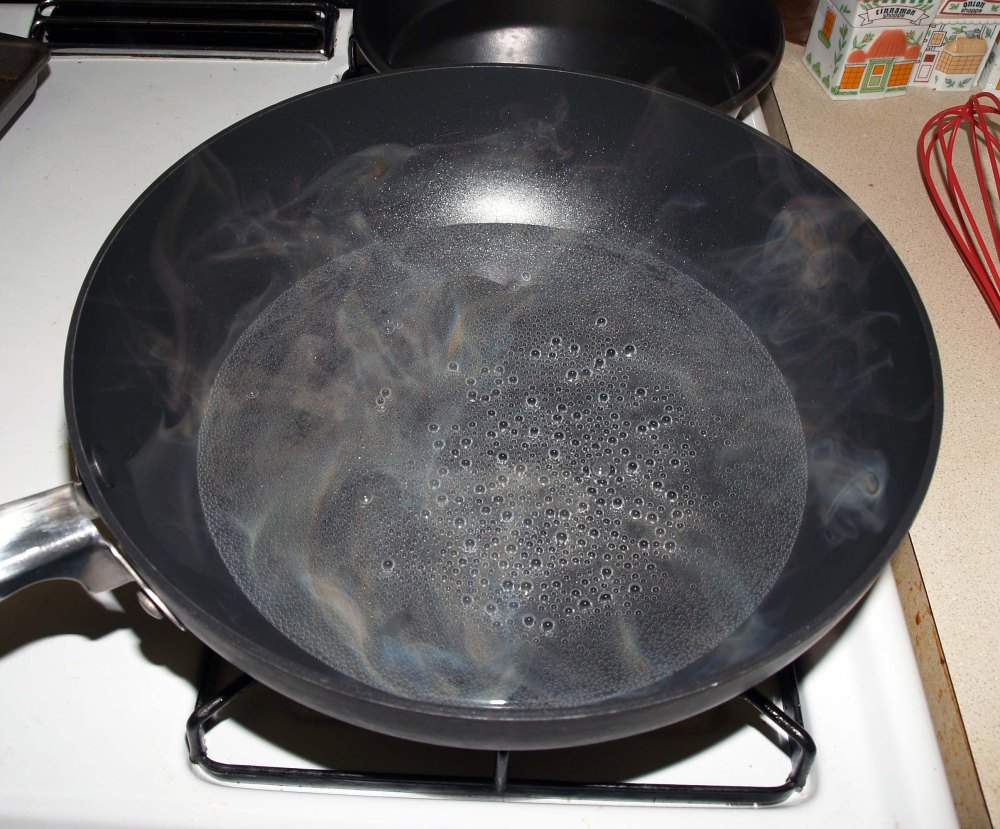
Step:6 In a large, wide pot, whisk the baking soda into the 10 cups of water and bring to a rolling boil.
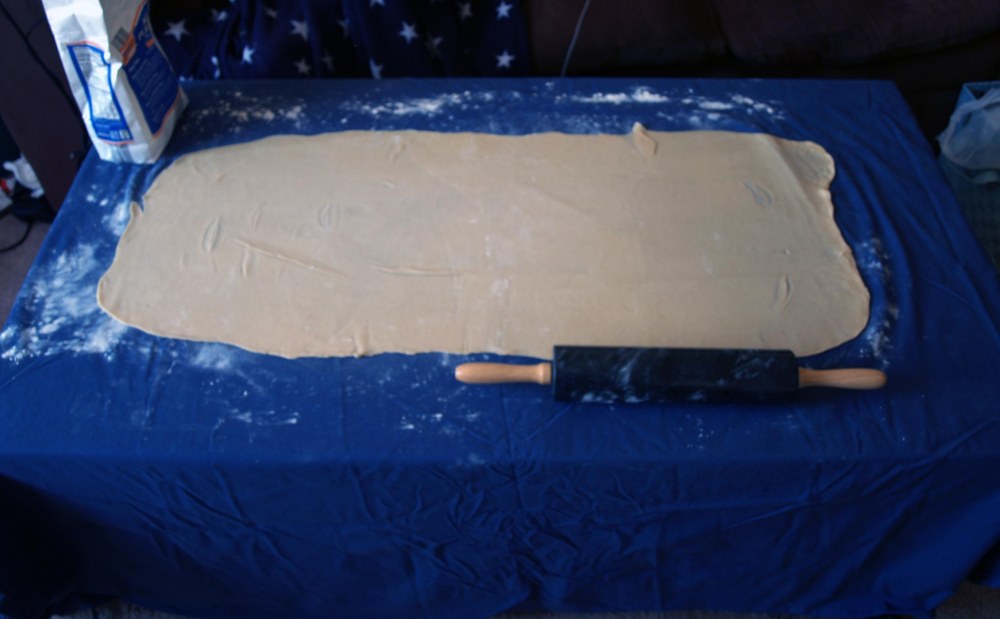
While the oven is preheating and the water is getting up to a boil, turn the dough out onto a lightly-greased work surface.
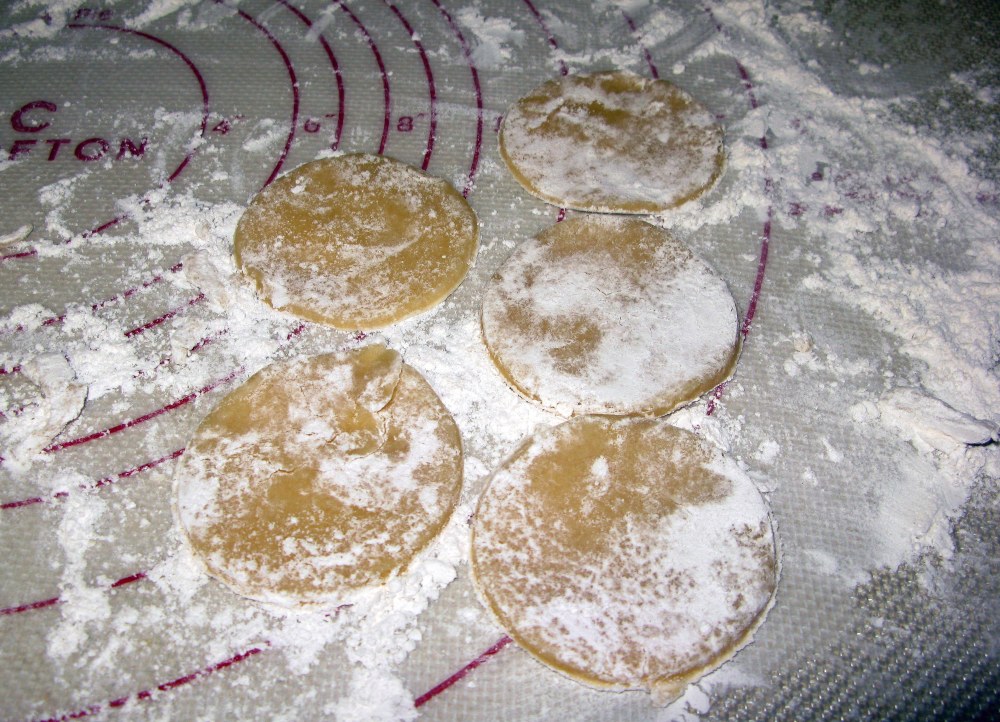
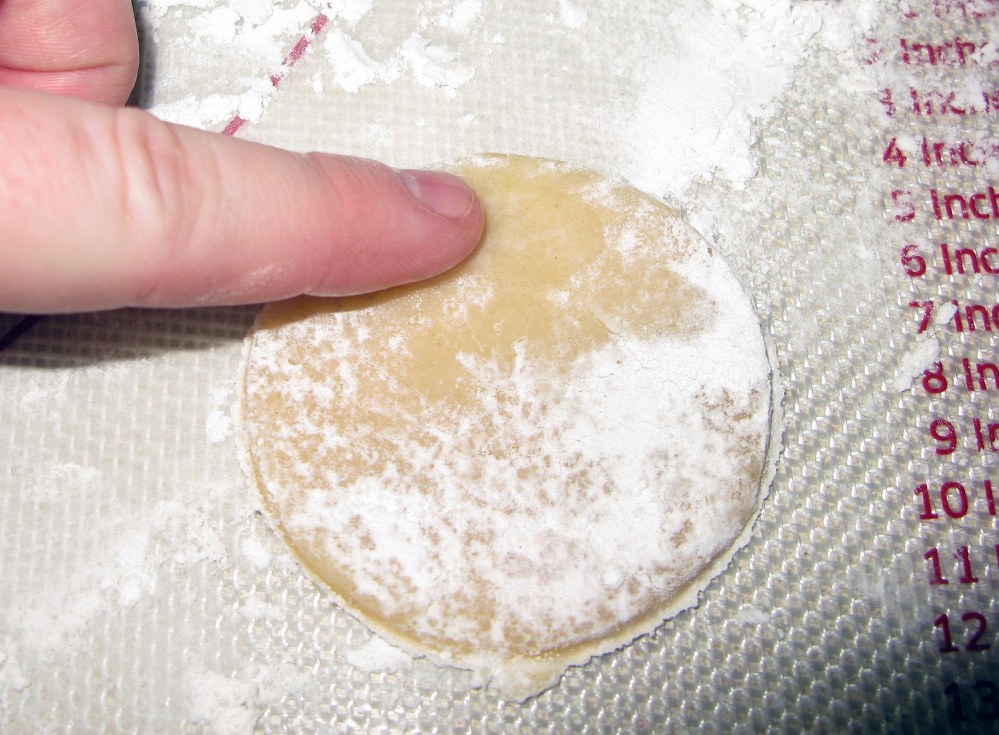
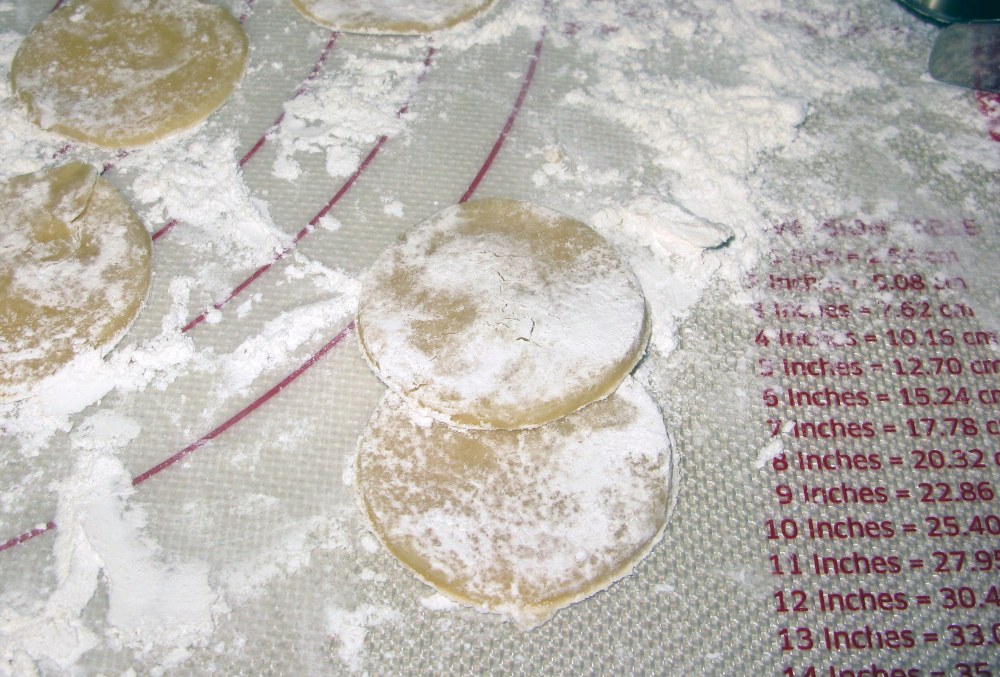
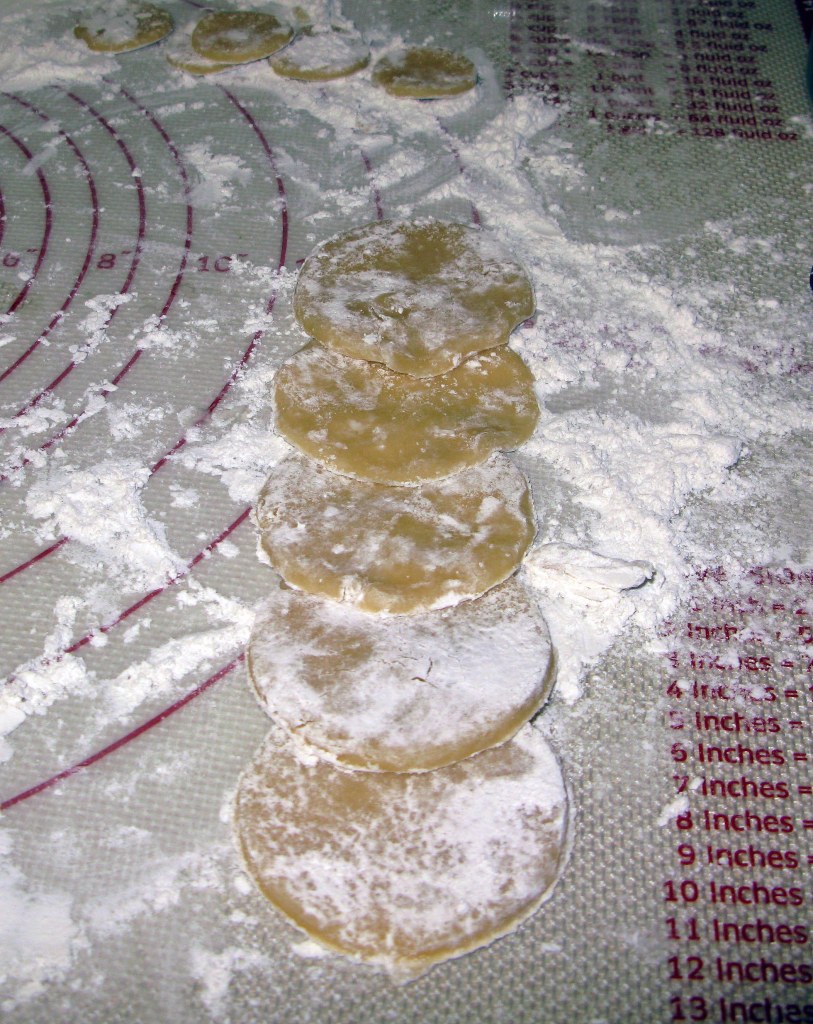
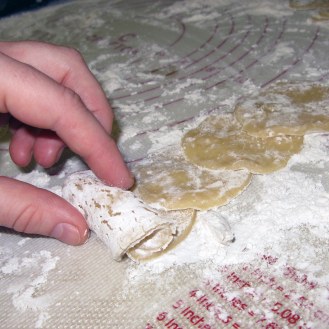
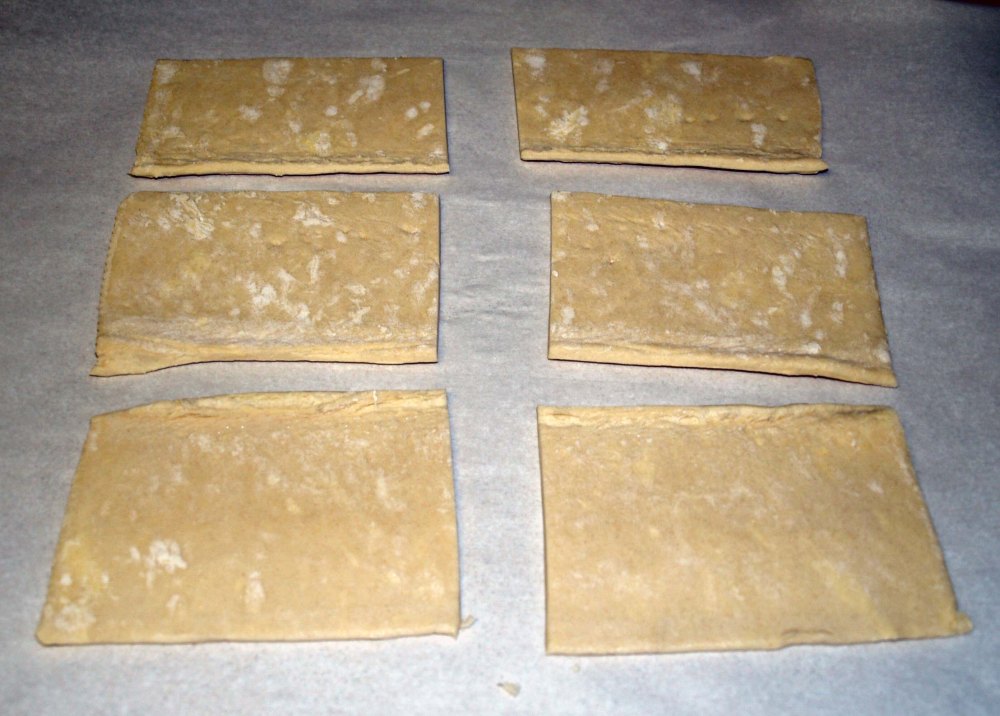
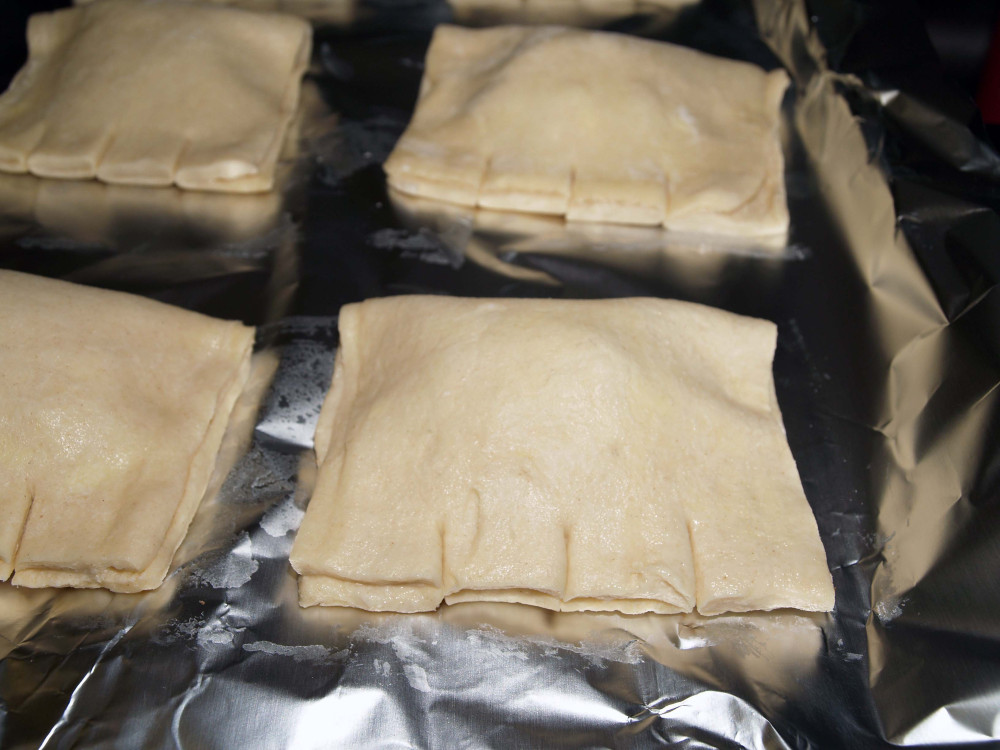
Step:7 Cut the dough into 4 pieces, then cut each piece into another 4 pieces (you’ll have 16 in total). Roll one piece of dough into a log approximately 1″ thick.
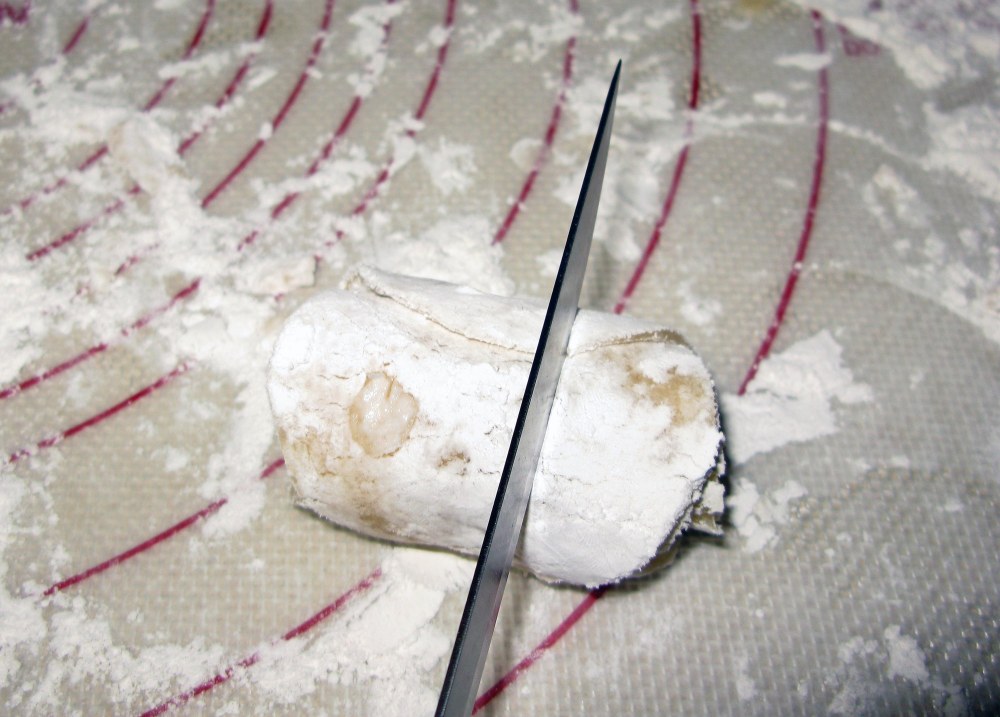
Cut the log into 1″-2″ pieces, then repeat the process with the remaining dough. If you are running out of space, transfer the nuggets temporarily to the greased cookie sheets.
Step:8 When the baking soda bath is boiling furiously, drop 4 pretzel nuggets at a time into the water. Leave them in there for only 30 seconds, flipping them once halfway through. Don’t skip the flip, as it ensures that both sides of the nuggets get pre-treated.
Step:9 Using a slotted spoon, remove the pretzel nuggets to paper towels to drain. Repeat the process until all of the pretzel nuggets have gotten their time in the baking soda bath.
Step:10 In a small bowl, beat together the egg yolk and tablespoon of water until smooth. Brush the tops of all of the pretzel nuggets with egg wash.
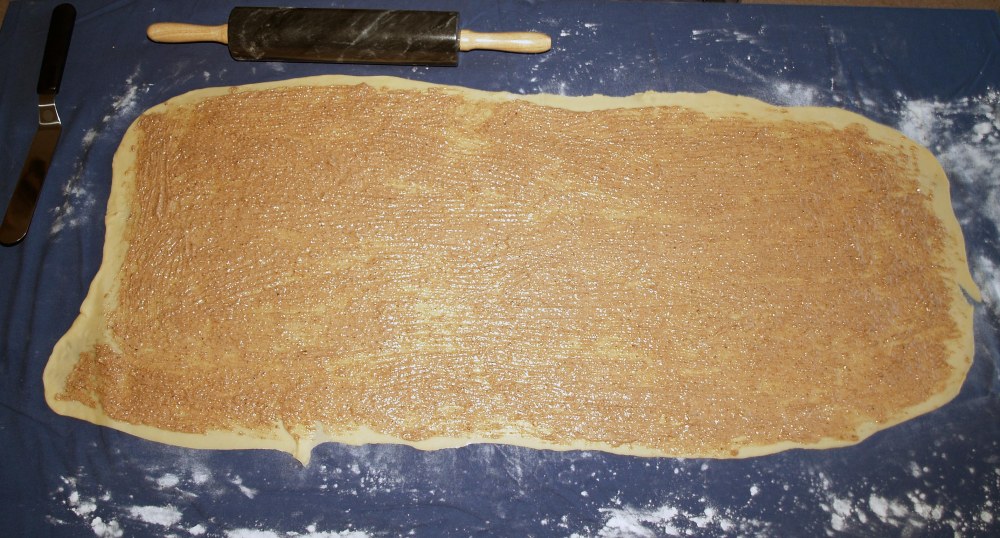
In another small bowl, stir together the ground mustard, onion powder, and garlic powder until well-combined, then sprinkle a light layer on top of the pretzels. Alternatively, you can sprinkle a layer of Kosher salt on them instead for more traditional soft pretzels.
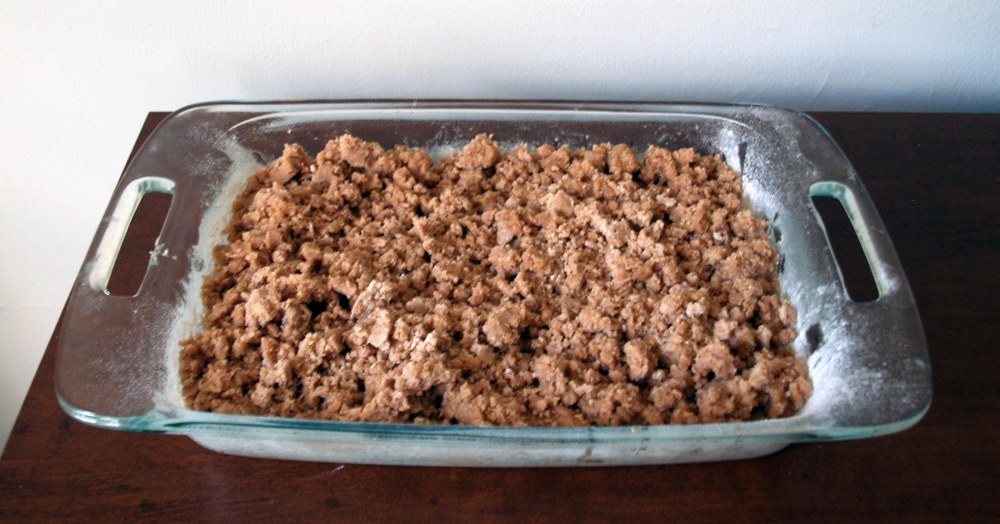
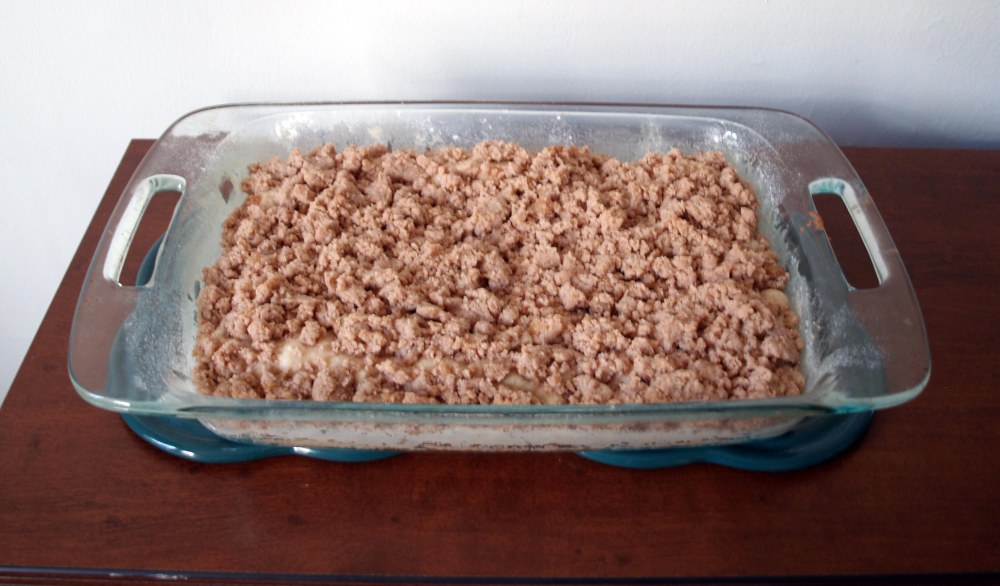
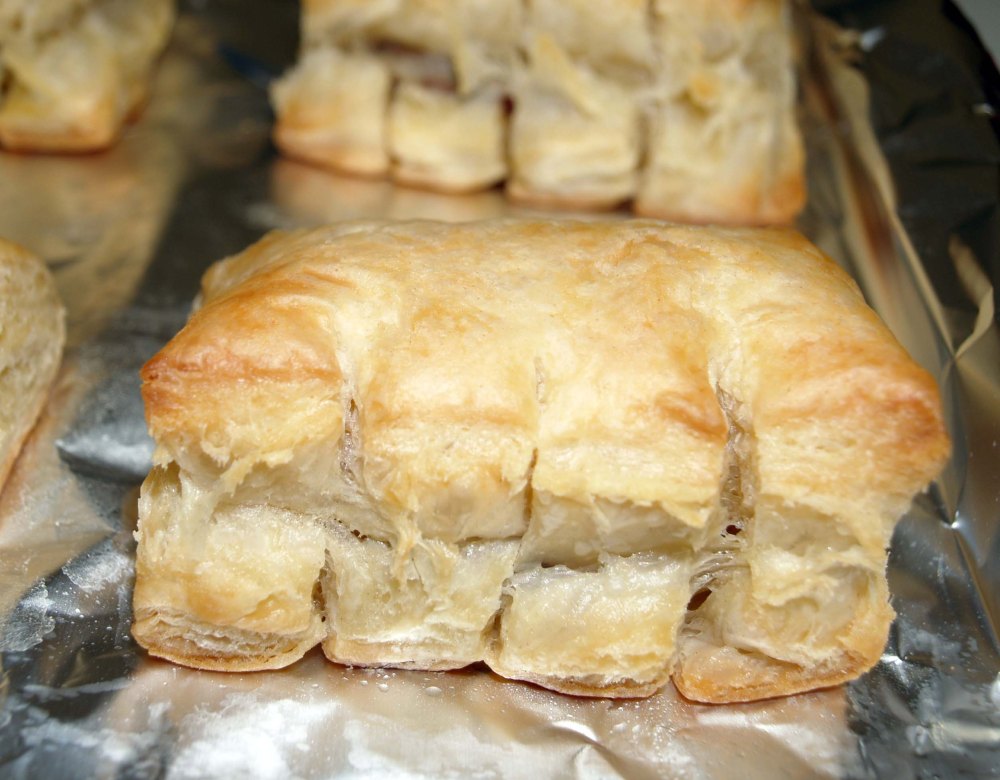
Step:11 Transfer the prepared pretzel nuggets to the cookie sheets (you don’t have to leave too much space because they’re not going to grow much during baking). Bake for 12-14 minutes, or until the tops are a nice golden brown. This is difficult for me because I usually prefer my baked goods to be a little bit underdone, but you don’t want underdone pretzels (yuck). Fortunately, most people know what a soft pretzel looks like (here are some visuals if you don’t), so it’s not too hard to see when it’s time to take them out of the oven.
When they’re done, transfer them to a cooling rack to cool while you make the cheese dip. This should be just enough time for the danger of mouth burns to be avoided.
Step: 12 Now, for the dip. If you haven’t done this already, grate the cheese, then set it aside.
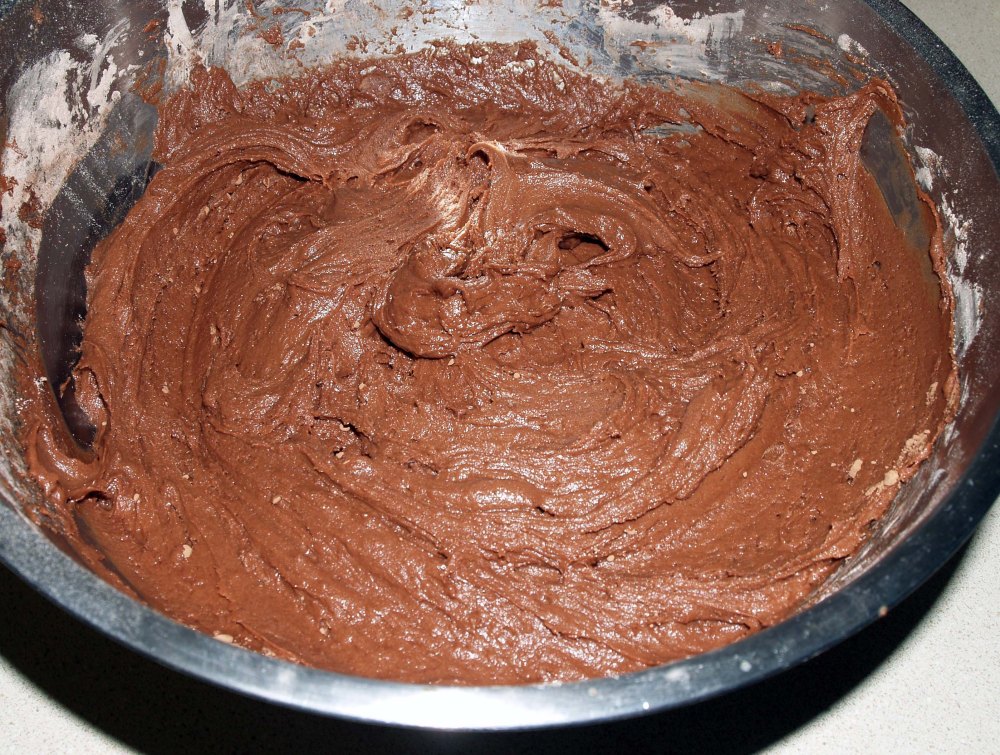
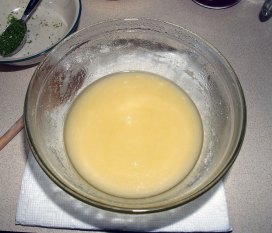
In a small saucepan, melt the butter over medium heat. Whisk in the flour until smooth (like we talked about last week, this is called a roux).
Cook the roux, whisking occasionally, until it browns a little, about 5 minutes.
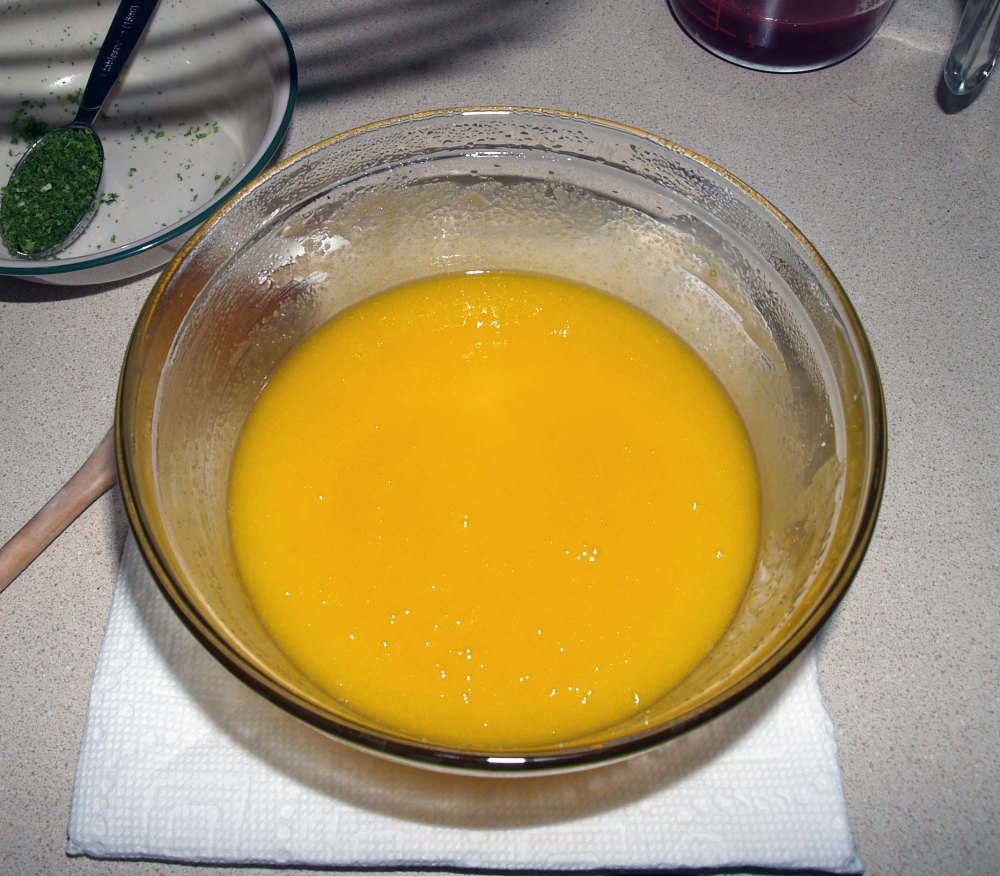
Step:13 Now start whisking the roux continuously and simultaneously pour in ¼ cup of the milk. Keep whisking until a thick paste forms.
Repeat the process above with the remaining milk, ¼ cup at a time, until it’s all incorporated.
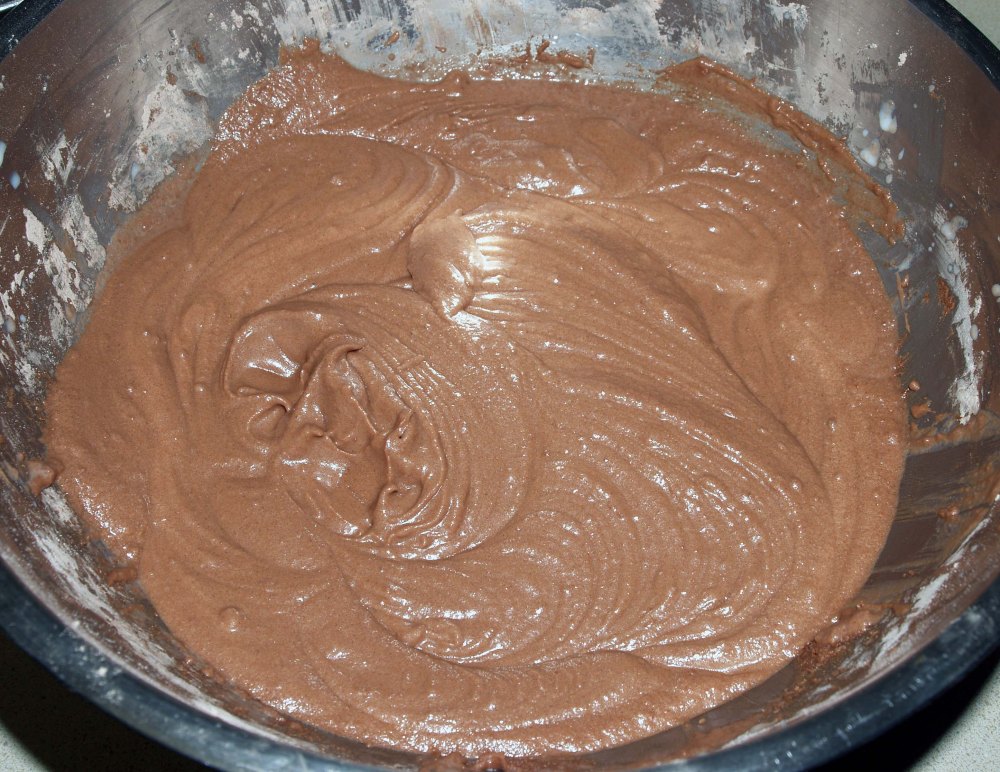
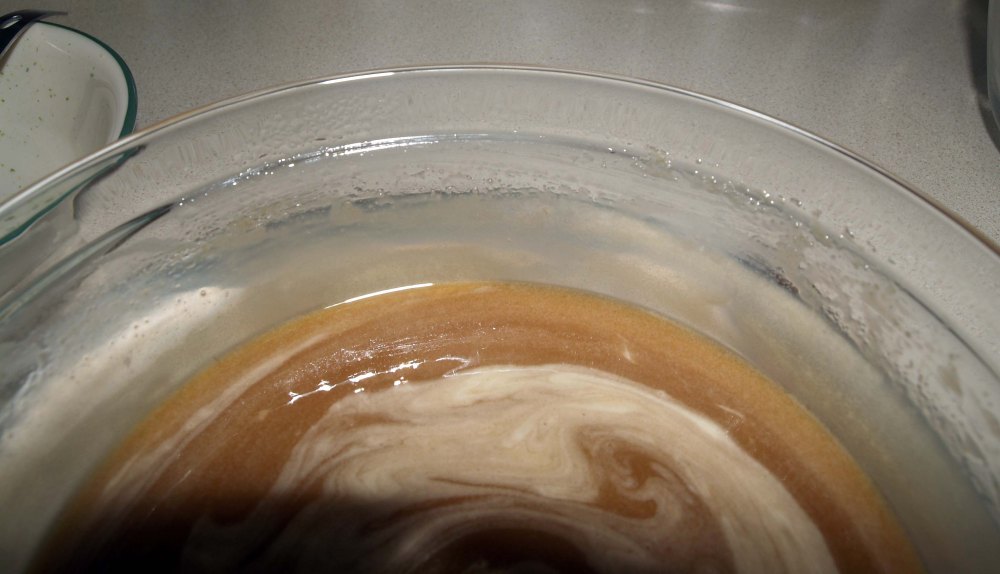
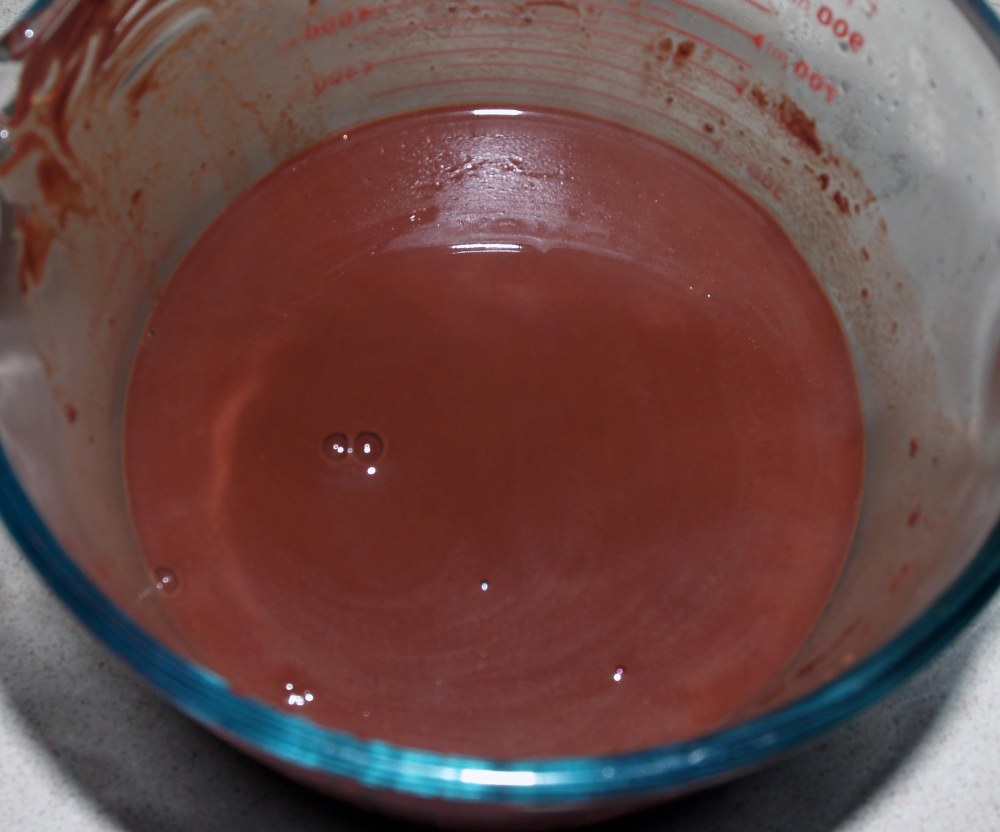
Next, whisk in the beer, followed by the brown mustard, followed by the garlic powder, onion powder, and salt.
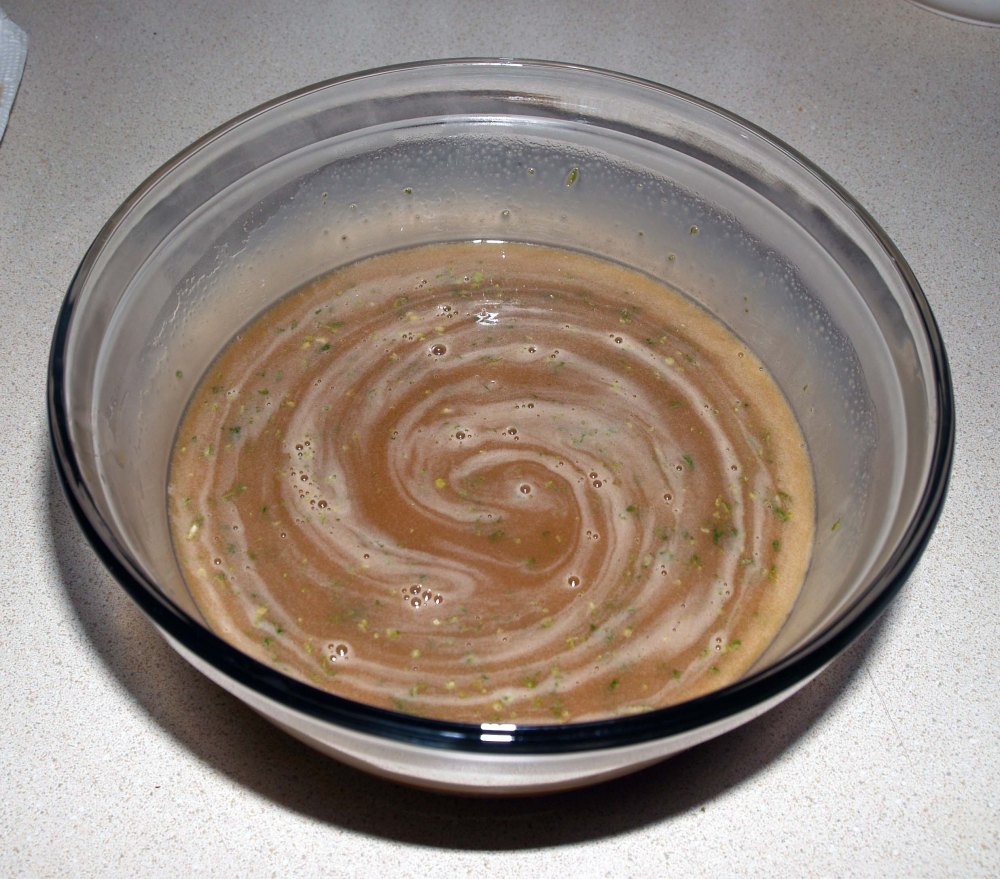
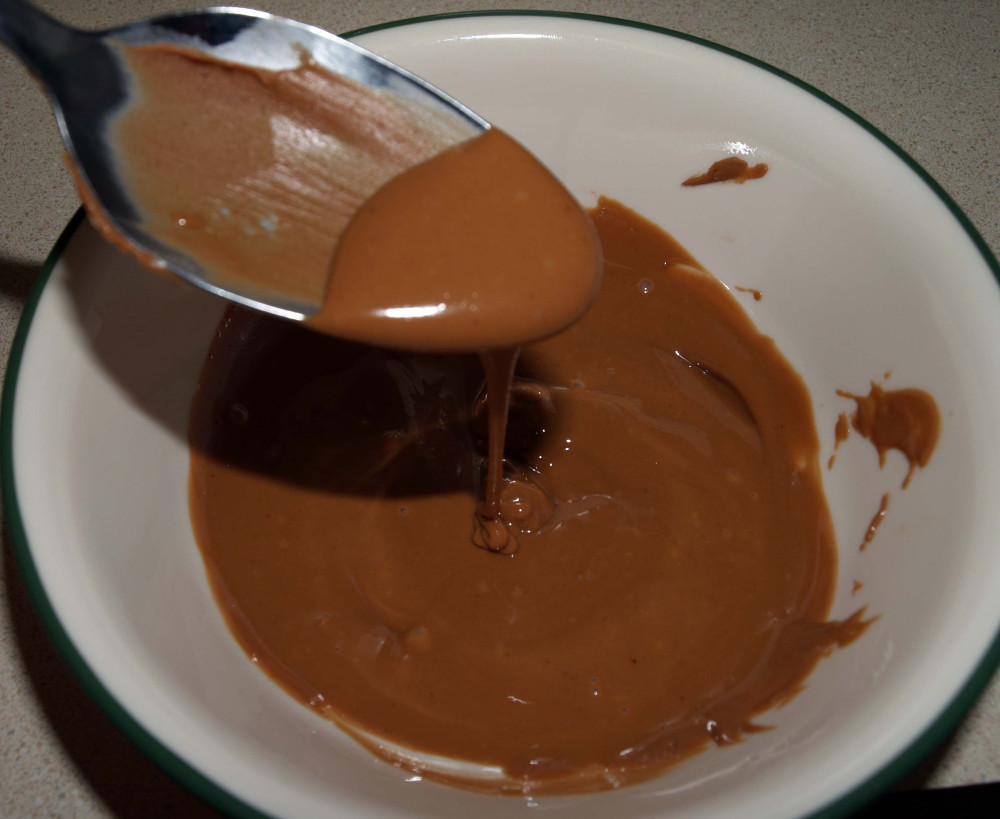
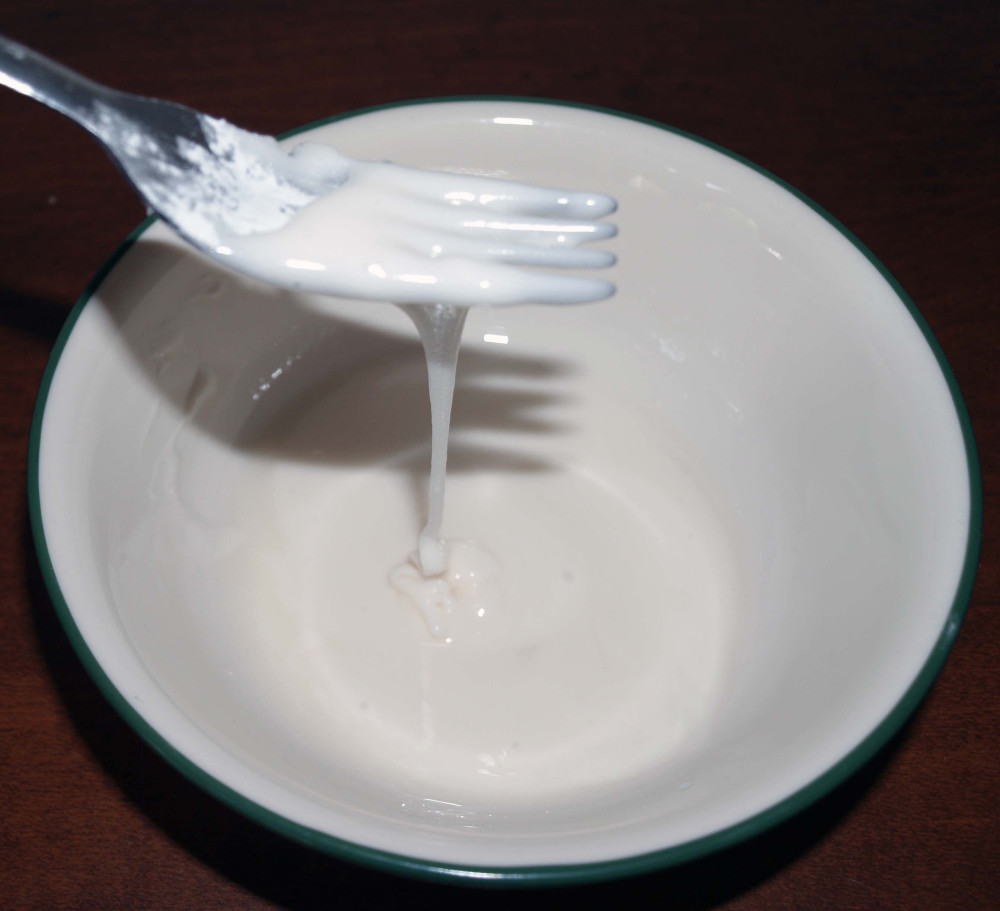
Step:14 Bring the sauce to a simmer, whisking regularly, and cook until thickened, about 5 minutes.
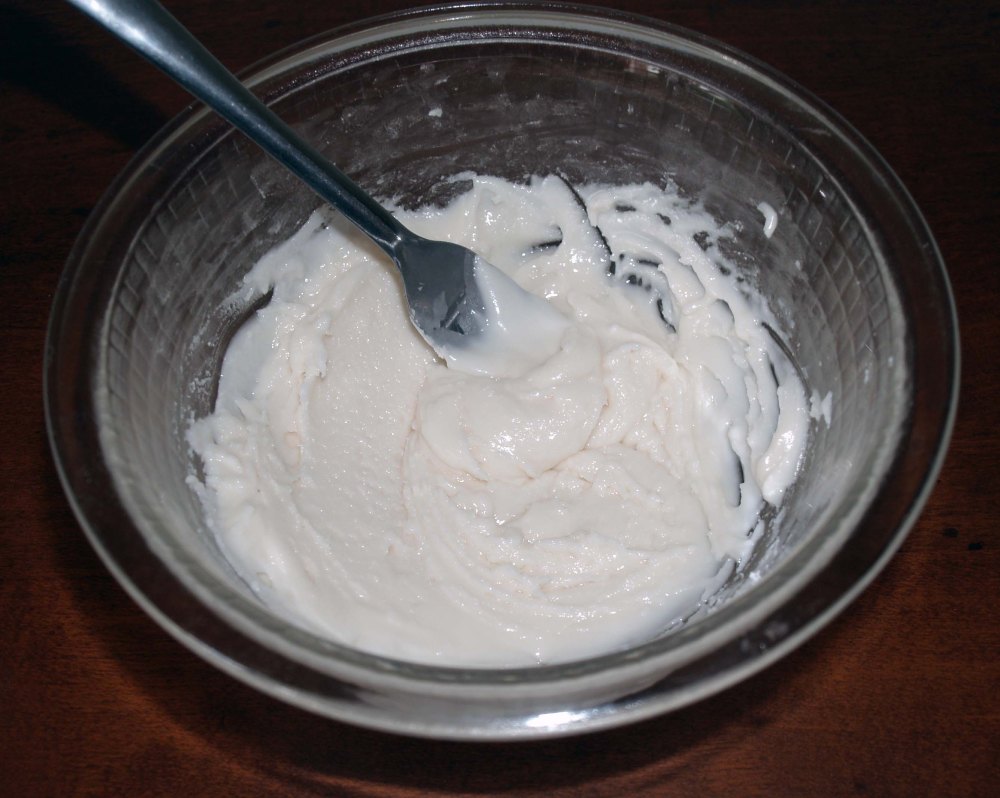
Remove the sauce from the heat and either whisk the grated cheese into it, or pour it over the grated cheese and whisk them together. Normally, I do the former, but this time I did the latter because my saucepan was too small to comfortably whisk the cheese into. It’ll work about the same either way, so do whatever works for you. Just be sure to keep whisking until the cheese is fully melted and the dip is smooth.
Transfer the dip to your serving vessel of choice and serve warm with warm beer pretzels.
Step:15 Refrigerate leftover dip and store leftover pretzels at room temperature in an airtight container. The pretzels are best eaten fresh, but you can microwave day-old for about 30 seconds to soften them up a bit.
Pro Tips for Perfect Beer Pretzels
- Do not skip the baking soda bath — this is non-negotiable for real pretzel texture
2. Flip in the bath — 15 seconds each side ensures even treatment
3. Grease your parchment paper — pretzel bites will stick without it
4. Grate your own cheese — pre-shredded cheese contains anti-caking agents that prevent smooth melting
5. Serve immediately — pretzels are best fresh and warm
6. Make dip during baking — the 12 minutes baking time is exactly enough time to make the cheese dip
Common Mistakes and How to Fix Them
Problem: Dough is too sticky to work with
Cause: Beer pretzel dough is naturally very soft and sticky.
Fix: Grease your hands and work surface with oil instead of adding more flour. Extra flour makes dense tough pretzels.
Problem: Pretzels are pale and not golden brown
Cause: Baking soda bath was skipped or too short.
Fix: Always do the full 30 second bath. Make sure water is at a full rolling boil before adding pretzels.
Problem: Cheese dip is lumpy
Cause: Cheese was added while sauce was too hot or pre-shredded cheese was used.
Fix: Remove pan from heat before adding cheese. Always grate fresh cheese.
Problem: Pretzels lost their shape
Cause: Dough too soft for twisting or sticks.
Fix: Make nuggets or bites instead — they taste identical and are much easier to handle.
Frequently Asked Questions
Q: Can I make beer pretzels without beer?
Yes. Replace beer with equal amounts of warm water or non-alcoholic beer. The flavor will be slightly milder but the texture will be identical.
Q: What beer is best for soft pretzels?
A light lager or amber ale works best. Avoid very bitter IPAs as the bitterness can overpower the dough. One 12oz bottle is enough for both the pretzels and the cheese dip.
Q: Why do you boil pretzels in baking soda water?
The baking soda bath gives pretzels their signature chewy texture, deep brown color, and that distinctive slightly salty pretzel flavor. Skipping it results in plain bread rolls not real pretzels.
Q: Can I make the dough ahead of time?
Yes. After kneading, cover the dough and refrigerate overnight instead of doing the room temperature rise. The next day take it out, let it come to room temperature for 30 minutes, then continue from Step 4.
Q: What cheese works best for beer cheese dip?
Any cheese from the cheddar family melts well. Sharp cheddar, Double Gloucester, Colby, or Monterey Jack all work beautifully. Avoid hard cheeses like Parmesan as they do not melt smoothly into a dip.
Q: Can I make full sized pretzels instead of bites?
Yes. Roll each dough piece into a long rope and shape into a traditional pretzel. Increase baking time to 15 to 16 minutes and watch carefully for the right golden brown color.
Made these beer pretzels with cheese dip? Leave a star rating below — it helps other home bakers find this recipe and keeps this little food blog going!
Check Out My Latest New Recopies
For the Pretzels
- 8 oz beer of choice
- 4 oz water
- 1 tbsp granulated sugar
- 1 packet active dry yeast
- 2 tsp Kosher salt, plus more for finishing
- 2 oz unsalted butter, melted
- 22 oz all-purpose flour
- 10 cups water
- ⅔ cup baking soda
- 1 egg yolk
- 1 tbsp water
Seasoning (Optional)
- 1 tsp ground mustard
- 1 tsp onion powder
- 1 tsp garlic powder
For the Cheese Dip
- 2 tbsp unsalted butter
- 2 tbsp all-purpose flour
- 1 cup milk
- 4 oz beer
- 2 tbsp brown mustard
- ¼ tbsp onion powder
- ¼ tbsp garlic powder
- 1 pinch salt (optional)
- 7 oz Double Gloucester cheese, freshly grated
Make the Dough
Heat the beer and water until lukewarm. In the bowl of a stand mixer, dissolve the sugar in the beer and water, then sprinkle the yeast on top
Let the yeast stand until creamy, about 5 minutes. Stir in the Kosher salt and melted butter until well combined
Using a dough hook, stir in the flour until smooth. Increase speed to medium and knead until the dough pulls away from the sides of the bowl, about 5 minutes. If kneading by hand, oil your surface and hands to prevent sticking
Grease a second bowl, transfer the dough into it, and turn to coat. Cover and leave in a warm place to rise until doubled in size, about 50–55 minutes. Pro tip: heat your oven to 200°F, turn it off, then place the bowl inside
Shape & Boil
When the dough has risen, preheat the oven to 450°F. Line cookie sheets with parchment paper and grease the paper. Set aside
In a large wide pot, whisk the baking soda into 10 cups of water and bring to a rolling boil
Turn the dough out onto a lightly greased surface. Cut into 4 pieces, then cut each piece into 4 more (16 pieces total). Roll each piece into a log about 1 inch thick, then cut into 1–2 inch nuggets
Drop 4 pretzel nuggets at a time into the boiling baking soda bath. Leave for 30 seconds, flipping once halfway through. Do not skip the flip
Remove with a slotted spoon and drain on paper towels. Repeat until all nuggets are done
Bake the Pretzels
Beat the egg yolk and 1 tablespoon of water together until smooth. Brush the tops of all pretzel nuggets with egg wash
Mix together the ground mustard, onion powder, and garlic powder and sprinkle lightly over the pretzels. Alternatively, sprinkle with Kosher salt for a traditional finish
Transfer to prepared cookie sheets. Bake for 12–14 minutes until tops are a deep golden brown. Transfer to a wire rack to cool while you make the dip
Make the Cheese Dip
Grate the cheese and set aside. In a small saucepan, melt the butter over medium heat. Whisk in the flour until smooth to form a roux
Cook the roux, whisking occasionally, until it browns slightly, about 5 minutes
Whisking continuously, pour in ¼ cup of milk at a time until all the milk is incorporated and a smooth sauce forms
Whisk in the beer, then the brown mustard, garlic powder, onion powder, and salt
Bring to a simmer and cook, whisking regularly, until thickened, about 5 minutes
Remove from heat and whisk in the grated cheese until fully melted and smooth. Transfer to a serving bowl and serve warm alongside the pretzels
Storage
Refrigerate leftover dip in an airtight container. Store leftover pretzels at room temperature in an airtight container. Microwave day-old pretzels for about 30 seconds to soften
Do not skip the baking soda bath — it gives pretzels their signature chewy texture and golden color. Always grate your own cheese; pre-shredded cheese contains anti-caking agents that prevent smooth melting. For stronger beer flavor in the pretzels, use the full 12 oz of beer and skip the water. One 12 oz bottle of beer is enough for both the pretzels and the dip. Make the cheese dip during the 12–14 minute baking time — the timing works out perfectly.