Tag: crust

  • How to Make Pie Crust Roses

    How to Make Pie Crust Roses


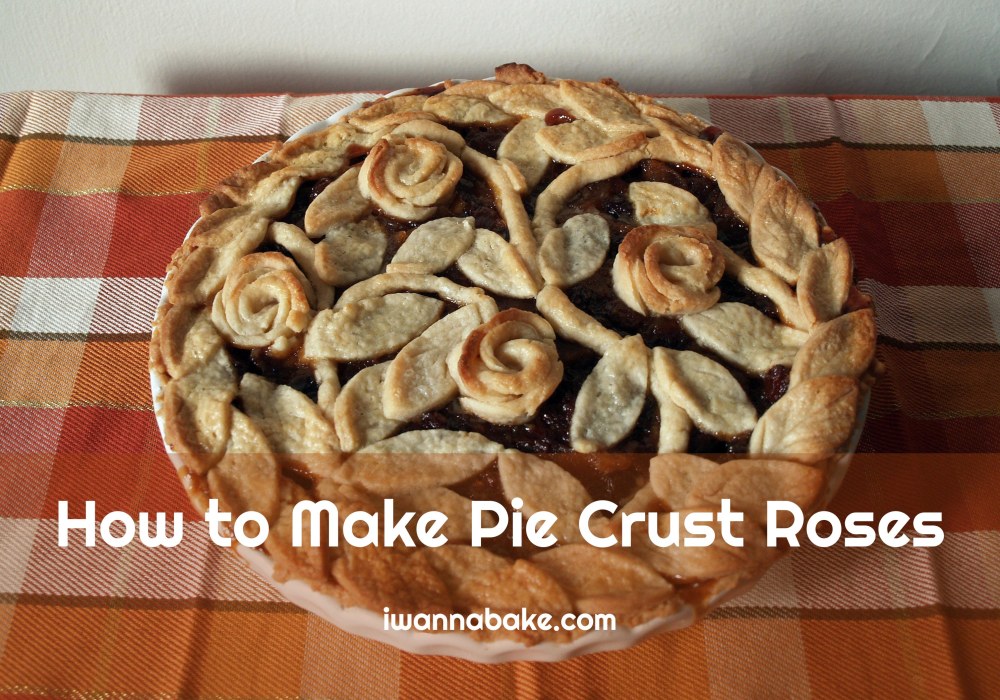
    Today, I bring you part two in my pie crust embellishment series.  This one is probably my personal favorite: roses!  These look really impressive, but as was the case with leaf borders, they’re deceptively easy to make.

    Seriously, all this takes is 5 circles cut out of a pie crust, a few drops of water, two cuts, and a little finessing. You can use the roses on their own, or you can add some leaves, vines, and/or different-sized roses to add an extra level of fanciness. I’ve also tried using colored sugar to make my roses red and my leaves green with some success.

    Once again, I’ll urge you to use homemade pie crust for this, but if you’re pressed for time or just don’t feel like dealing with it, you can use store-bought pie crust just fine. You might need an extra roll if you’re making a full arrangement with leaves and vines like I did, but you might be able to get by with just one if you’re careful with your scraps.

    For Pie Crust Roses You will need the following ingredients/supplies:

    • ½ recipe sweet pie crust or 1 roll store-bought pie crust (you will need more for the bottom crust)
    • heavy cream (optional)
    • decorating or colored sugar (optional)
    • circular cookie cutter or drinking glass
    • sharp knife
    • waxed or parchment paper

    Line a cookie sheet or large plate with waxed paper and set it aside.

    On a lightly-floured surface, roll out your pie crust until it’s about ⅛”-¼” thick.

    Cut 5 circles of crust for each two roses you will need (I like to use 4 or 5 roses, so 10-15 circles). Dust off as much flour as possible. You can use any excess dough to make leaves and vines.

    Dip your finger in some water and wet the top of one circle of dough.

    Place another circle on top of the wet part and gently press it down, overlapping approximately ⅓ of the first circle.

    Repeat the process with the remaining three dough circles until you have a chain 5 circles long.

    Starting from the end closest to you, roll the dough circles up into a tube. When you reach the end of the roll, wet the end of the last dough circle before pressing it against the roll to seal it.

    Using a sharp knife, slice off one end of the roll a little bit off-center. The piece you cut off should be a bit more than a third of the width of the entire roll.

    Repeat on the other side of the roll. Stand your two pieces up on their cut ends and gently flare the petals.

    Carefully transfer your roses to the lined cookie sheet and refrigerate them for at least half an hour before use.

    Meanwhile, gather together any remaining crust scraps and mush them together. Roll the ball into a rope about as thick as a pencil. The rope will likely break as you go, but that’s ok. You can either pinch the pieces back together or use them separately for different branches of vine.

    Refrigerate your vine pieces long enough to prevent them from stretching and tearing too much when you place them.

    When you’re ready to assemble your pie, take everything out of the fridge. First, arrange your vines as you like.

    If you are adding a leaf border, add it on now so that you can adjust your vine as needed.

    Now place your roses. I like to put them at the ends of the vines, but really, it’ll look nice as long wherever you place them.

    Finally, add in some extra leaves to fill out your design and cover more of the pie filling (here are a few different examples).

    Put the pie back in the fridge while your oven preheats. This will help maintain the shapes of your crust pieces. If they’re too warm, they will melt and burn.

    Mini Rose Crust Pie

    When your oven gets up to temperature, take the pie out again and brush the top crust with heavy cream.  Adjust the pieces as needed, as they will inevitably shift during this part.  Sprinkle with decorating sugar if you want a little sparkle and crunch (or used colored sugar if you want to try something different).

    Bake the pie as directed, checking after 30 minutes to make sure the roses and leaves aren’t browning too quickly. If they are, cover the browning parts of the crust with foil for the remainder of the baking time.

    That’s all there is to it. Now go forth and decorate some pies!

    Subscribe to Blog via Email

    Enter your email address to subscribe to this blog and receive notifications of new posts by email.

    Share this:

    How to Make Pie Crust Roses

    How to Make Pie Crust Roses

    A step-by-step tutorial for making beautiful rolled pie crust roses that look impressive but only take 5 circles of dough and a few minutes to make. Perfect for dressing up any two-crust pie
    Prep Time 20 minutes
    Total Time 50 minutes
    Servings: 6
    Course: Basics, Tips and Techniques
    Cuisine: American

    Ingredients
      

    • ½ recipe sweet pie crust or 1 roll store-bought pie crust
    • heavy cream for brushing (optional)
    • decorating sugar or colored sugar (optional)

    Method
     

    Make the Roses
    1. Line a cookie sheet or large plate with waxed or parchment paper and set aside
    2. On a lightly floured surface, roll out the pie crust to about ⅛ to ¼ inch thick. Cut 5 circles of dough for every 2 roses you need — plan on 4 or 5 roses total so cut 10–15 circles. Dust off as much excess flour as possible. Save any scraps for leaves and vines
    3. Dip a finger in water and wet the top of one circle of dough. Place a second circle on top overlapping approximately one third of the first circle and press gently to adhere
    4. Continue wetting and overlapping until all 5 circles are connected in a chain
    5. Starting from the end closest to you, roll the chain of circles up tightly into a tube. When you reach the end, wet the last circle before pressing it against the roll to seal
    6. Using a sharp knife, slice off one end of the roll slightly off-center — the piece you cut off should be just over one third of the total width of the roll. Repeat on the other end. You will have two rose pieces
    7. Stand each piece up on its cut end and gently flare the petals outward with your fingers
    8. Carefully transfer the roses to the lined sheet and refrigerate for at least 30 minutes before using
    Make the Vines (Optional)
    1. Gather remaining crust scraps and press together into a ball. Roll into a rope about as thick as a pencil. It may break as you roll — pinch pieces back together or use them separately as different vine branches
    2. Refrigerate the vine pieces until firm enough to handle without stretching or tearing
    Assemble and Bake
    1. When ready to assemble the pie, remove all pieces from the fridge. Arrange the vines on top of the filled bottom crust first, then add any leaf border, then place the roses at the ends of the vines or wherever desired. Fill in gaps with extra leaves
    2. Return the pie to the fridge while the oven preheats — keeping everything cold helps the shapes hold during baking
    3. When the oven is ready, remove the pie and brush the top crust with heavy cream. Gently adjust any pieces that shifted. Sprinkle with decorating or colored sugar if desired
    4. Bake the pie according to your pie recipe directions. Check after 30 minutes — if the roses or leaves are browning too quickly, cover those areas loosely with foil for the remainder of the bake time

    Notes

    Keep all crust pieces cold at every stage — warm dough will lose its shape, melt together, and burn during baking. Refrigerate roses, vines, and leaves before placing on the pie and again after assembly while the oven preheats. Colored sugar can be used to make roses red and leaves green for a more realistic look. You may need an extra roll of store-bought crust if making a full arrangement with roses, vines, and leaves
  • Turn Your Pies Into Works of Art with These Easy Floral Crust Tutorials

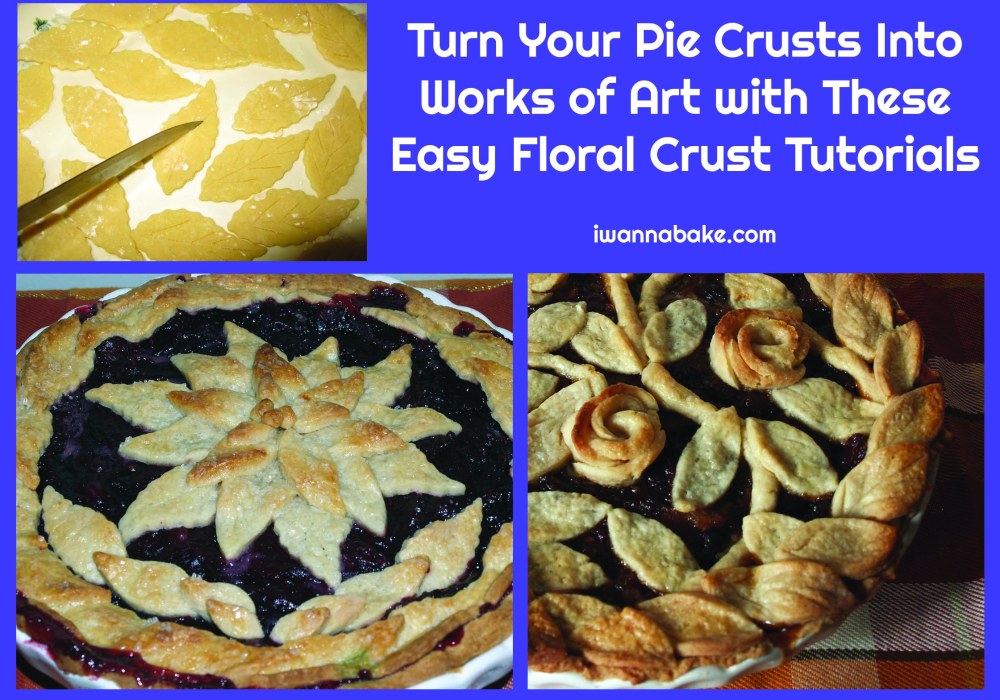
    Turn Your Pies Into Works of Art with These Easy Floral Crust Tutorials

    Happy Pi Day! In honor of one of my favorite nerd holidays (and my two-year wedding anniversary), I’m wrangling together my three decorative pie crust tutorials in one post for easy access.

    The tutorials below work great for any two-crust pie.  All of these decorations will turn out just fine with store-bought pie crust, but here’s my favorite sweet pie crust recipe if you’d like to step it up a bit.  For savory pie, try this recipe.  If you need a pie recipe, I’ve got you covered.  Without further ado, let’s make some pie!

    Add a Leaf Border

    A leaf border is a simple way to dress up the edge of your pie crust and hide any ugly, ragged edges of your bottom crust.  You can make your leaves using a leaf-shaped cookie cutter, or you can get creative with a circle-shaped cutter, a glass, or any round object and a knife.  See the full tutorial right here.

    Make a Vine of Roses

    Want to know a secret?  The gorgeous pie crust you see above was beyond easy to make.  If you can roll out and cut circles out of a pie crust, you can do this.  Follow along using this tutorial and impress everyone with your next-level top crust skills.

    Make a Poinsettia

    Looking for a way to wow everyone at your next holiday party?  Add an edible poinsettia to the top of your pie, and your mission will be accomplished.  Check out this tutorial to find out how it’s done.

    Share this:

  • How to Make Sweet Pie Crust

    How to Make Sweet Pie Crust

    Sweet Pie Crust !
    Two weeks ago, I brought you savory pie crust.  This week, let’s take a look at sweet pie crust.  Once again, this recipe is made much easier with a food processor.  I usually use this pie crust as-is without any additions to let the flavor of the filling stand out (and because it tastes sort of like a sugar cookie).  In this instance, I’ve used grated lemon zest to complement an apple lemon pie I make in the summer, but you could substitute spices, other citrus zest, or anything else you like as long as it’s not too wet.

    For Sweet Pie Crust You will need the following ingredients:

    • 1 3/4 cups all-purpose flour
    • 1/2 cup granulated sugar
    • 10 Tbsp. butter
    • 3 Tbsp. cold heavy cream
    • 1 large egg yolk
    • zest of 1 lemon (optional)

    Start out by cutting your butter into 1/2″ cubes. Put your butter cubes in a resealable plastic bag and freeze it for at least half an hour. If you are planning on making a lot of pies, you can cut your butter in advance and save it in pre-portioned baggies in the freezer for when you’re ready to use it.

    Once your butter is sufficiently frozen, combine the flour, sugar, and lemon zest (or your seasoning of choice) in a food processor or stand mixer. If you don’t have either of those, you can still do this, but it will be much more difficult. Pulse the dry ingredients together to mix them. Add the butter and pulse until your mixture is the consistency of coarse sand.

    Add in the egg yolk and heavy cream. Pulse until the dough just begins to come together. It will still be pretty crumbly. You may need to work it with your hands a little to make it hold together.

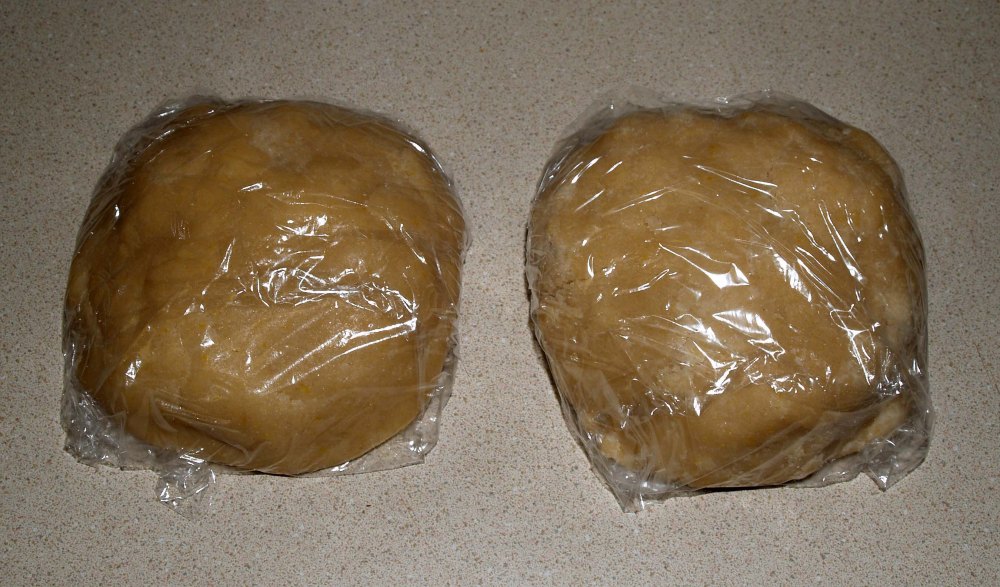
    Form your dough into two discs and wrap them in plastic wrap.

    Refrigerate the dough for at least an hour, or freeze up to two months. When you are ready to use the dough, roll it on a lightly floured surface and fit it to the baking dish of your choice.

    Do you have any delicious sweet pies you plan to make with this crust? Share in the comments!

    How to Make Sweet Pie Crust

    Sweet Pie Crust

    A buttery, sugar cookie-style pie crust made easily in a food processor. Perfect for fruit tarts, cream pies, and any sweet filling. Makes two crusts and freezes beautifully
    Prep Time 13 minutes
    Total Time 1 hour 45 minutes
    Servings: 2
    Course: Basics, Dessert
    Cuisine: American

    Ingredients
      

    • cups all-purpose flour
    • ½ cup granulated sugar
    • 10 tbsp unsalted butter, cut into ½ inch cubes and frozen
    • 3 tbsp cold heavy cream
    • 1 large egg yolk
    • zest of 1 lemon (optional)

    Method
     

    1. Cut the butter into ½ inch cubes, place in a resealable bag, and freeze for at least 30 minutes. If baking often, keep pre-portioned bags of butter cubes in the freezer ready to go
    2. Combine the flour, sugar, and lemon zest or other seasoning of choice in a food processor or stand mixer. Pulse to mix the dry ingredients together
    3. Add the frozen butter cubes and pulse until the mixture resembles coarse sand
    4. Add the egg yolk and cold heavy cream. Pulse until the dough just begins to come together — it will still look fairly crumbly. Work it briefly with your hands if needed to help it hold together
    5. Divide the dough into two equal portions and form each into a disc. Wrap tightly in plastic wrap
    6. Refrigerate for at least 1 hour before using, or freeze for up to 2 months. When ready to use, roll out on a lightly floured surface and fit into your baking dish

    Notes

    Keeping the butter as cold as possible is the key to a flaky, tender crust — do not skip the freezing step. You can substitute the lemon zest with other citrus zest, cinnamon, nutmeg, or any dry flavoring that complements your filling. Avoid anything too wet as it will affect the dough texture. This crust tastes similar to a sugar cookie on its own, so it pairs well with fruit fillings, custard tarts, and cream pies. Dough discs can be frozen for up to 2 months — thaw overnight in the refrigerator before rolling