
Rock N’ Roll Cookies With Frosted Almond Fingernails – How To Make – Easy Home Baking Tips & Tricks
These cookies have been in the pipeline since before I started this blog. As a matter of fact, they were part of the inspiration for the blog. I was sitting at work one Friday daydreaming wistfully (during my lunch break, of course) about the upcoming weekend and what I wanted to do, and I thought to myself “I wanna bake.” Since just about any phrase can trigger a spontaneous burst of song in my head, this immediately launched a parody of “I Wanna Rock” by Twisted Sister in my twisted mind.
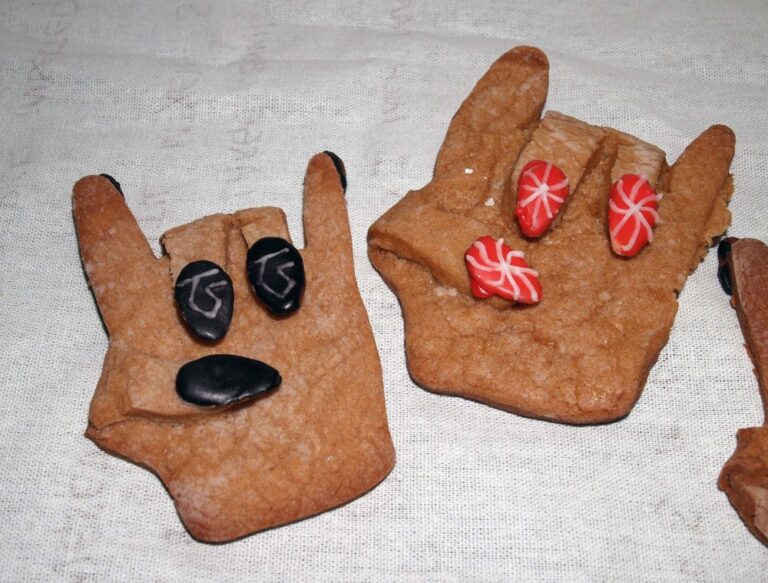
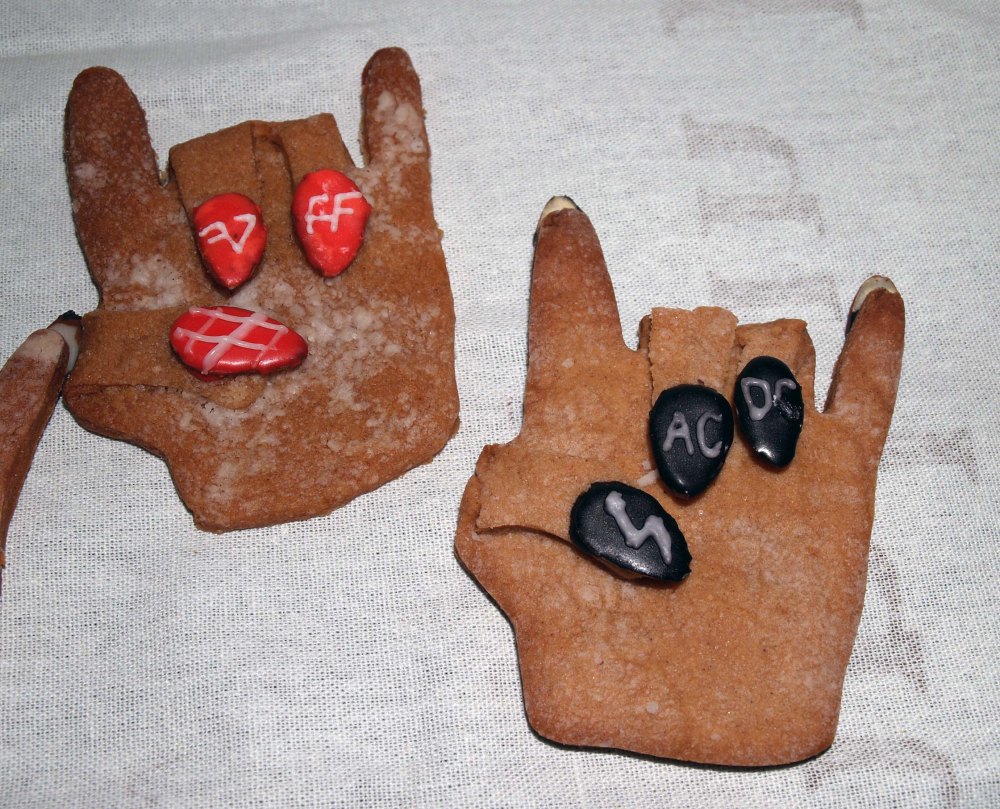
Rock N Roll Cookies with Frosted Almond Fingernails
Ingredients
Method
- STEP 1 : Mix Dry IngredientsIn a medium bowl combine flour, baking powder, salt, and cinnamon. Whisk together and set aside.
- STEP 2 : Cream Butter and SugarIn a large bowl or stand mixer cream butter and sugar together until light and fluffy. Beat in molasses, egg, vanilla, and bourbon until fully combined.
- STEP 3 : Combine Wet and Dry IngredientsAdd dry ingredients into wet ingredients half at a time. Stir until a soft dough forms.
- STEP 4 : Chill the DoughScrape dough onto plastic wrap and shape into a flat rectangle. Refrigerate for at least 1 hour or overnight.
- STEP 5 : Prepare Almond FingernailsWhile dough chills select the most nail-shaped almond slices. Sort into sets of five per cookie.
- STEP 6 : Make the Royal IcingStir together powdered sugar, vanilla, and 2 tablespoons milk. Add more milk drop by drop until piping consistency is reached. Divide into portions and add gel food coloring to each.
- STEP 7 : Paint the Almond NailsSpread thin flood consistency icing onto one side of each almond slice using a toothpick. Dry completely on wax paper before adding designs.
- STEP 8 : Pipe Designs on NailsOnce base coat is fully dry pipe designs onto almond nails using piping consistency icing. Allow to dry completely on wax paper.
- STEP 9 : Cut and Shape CookiesPreheat oven to 350°F. Roll chilled dough on powdered sugar dusted surface. Cut into hand shapes using cookie cutter. Fold middle finger ring finger and thumb inward to form devil horns.
- STEP 10 : Bake the CookiesTransfer to lined baking sheet. Bake for 10 to 15 minutes until lightly golden. Cool on baking sheet for 5 minutes then transfer to wire rack.
- STEP 11: Attach the FingernailsOnce cookies are completely cool apply a drop of icing to the back of each almond nail. Press onto upward facing fingers first then flip and attach remaining nails. Allow to set completely.
Notes
Replace bourbon with 1 tablespoon of water or
leave it out entirely without affecting texture. Icing tip:
Make two separate bowls for each color — one
piping consistency and one flood consistency.
Never mix them or your designs will bleed. Black food coloring warning:
Wilton black gel coloring stains everything it
touches including your tongue and fingers. Use
sparingly and wash hands immediately. Finger cracking tip:
If cookie fingers crack when shaping simply press
dough back together gently. Chilling the dough
thoroughly before shaping reduces cracking. Make ahead:
Dough can be refrigerated overnight. Painted almond
nails can be made 1 to 2 days ahead and stored
on wax paper at room temperature.
This was my divine spark. What would be more fun than baking every weekend while listening to music? Doing that, then blogging about it, of course. Because part of the fun is in sharing your results. You may not win friends with salad, but you certainly do with sugar.
I don’t remember the seminal parody anymore, but the idea of rock n’ roll cookies has stuck with me since. Follow along with me as a we go on yet another rock n’ roll bakeventure!
You will need the following ingredients:
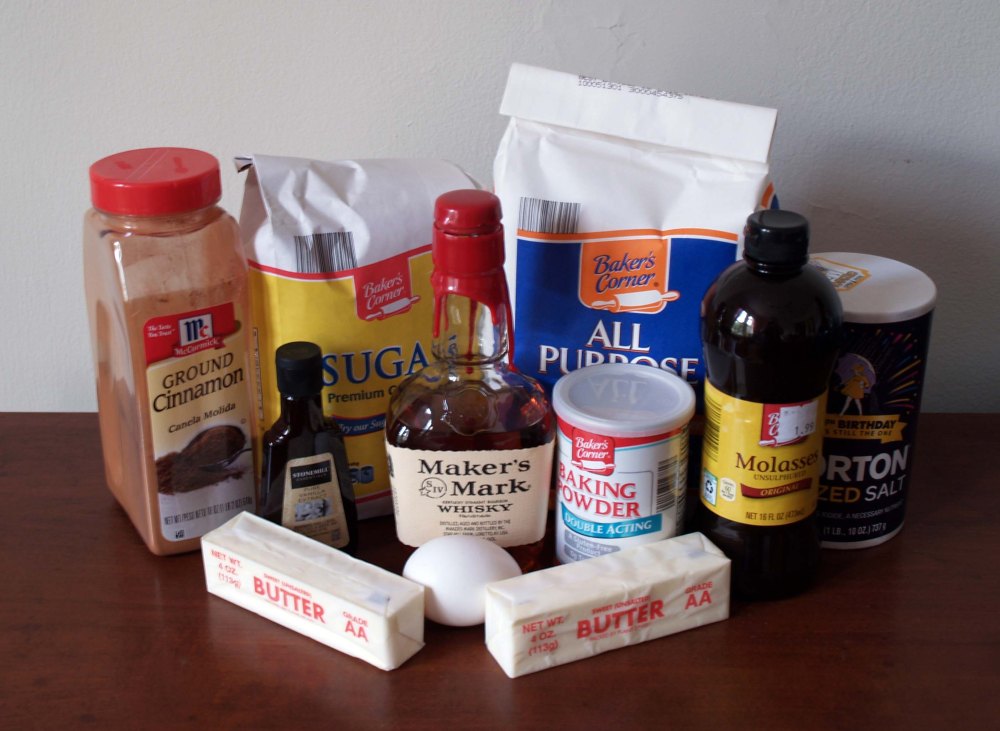
- 3 cups all-purpose flour
- 1 tsp. baking powder
- 1/2 tsp. salt
- 1 tsp. cinnamon
- 1 cup (2 sticks) butter, softened
- 1 cup granulated sugar
- 1/4 cup molasses
- 1 egg
- 2 tsp. vanilla extract
- 1 Tbsp. bourbon (optional)
For the frosted almond fingernails:
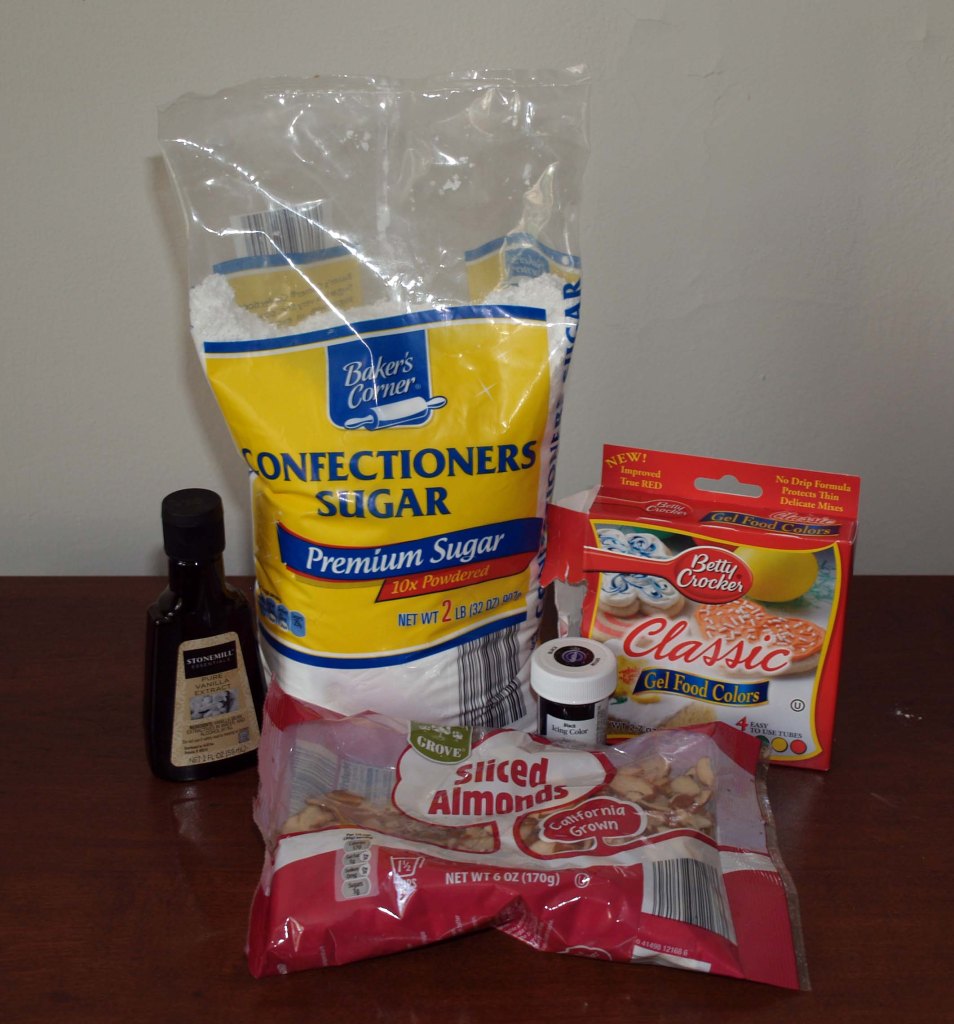
- 2 cups powdered sugar
- 1 tsp. vanilla extract
- enough milk to make your icing piping consistency and flooding consistency, approximately 2 Tbsp.
- food coloring of choice (I suggest gel colors so you don’t have to use as much to achieve more vibrant colors)
- enough sliced almond pieces for the number of cookies you plan to make (five each)
For baking ambiance:
In honor of the inspiration for I Wanna Bake!’s name, I rocked out to Twisted Sister for these cookies. I dare you not to start headbanging and singing “I Wanna Rock” (or your own version of “I Wanna Bake”) every time you visit this site from now on. You’re welcome.
Now that I’ve established a punny mood, we are gonna bake it!
Start off by mixing together the flour, baking powder, salt, and cinnamon in a medium mixing bowl.
Next, cream the butter and sugar in a large bowl or a stand mixer. Once the mixture is homogeneous, beat in the molasses, eggs, vanilla, and bourbon until well-combined. If you don’t want to use the bourbon (even though rock n’ roll is fueled by booze), you can either substitute water or leave it out entirely.
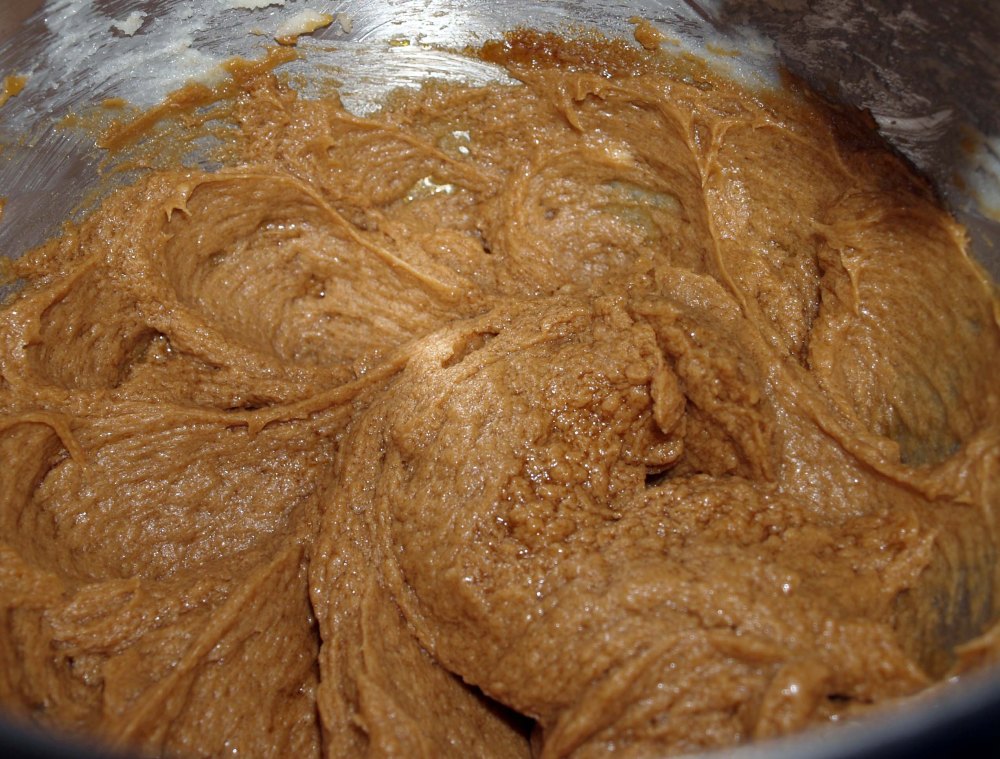
Now stir the dry ingredients into the wet ingredients (add half at a time to make the stirring easier).
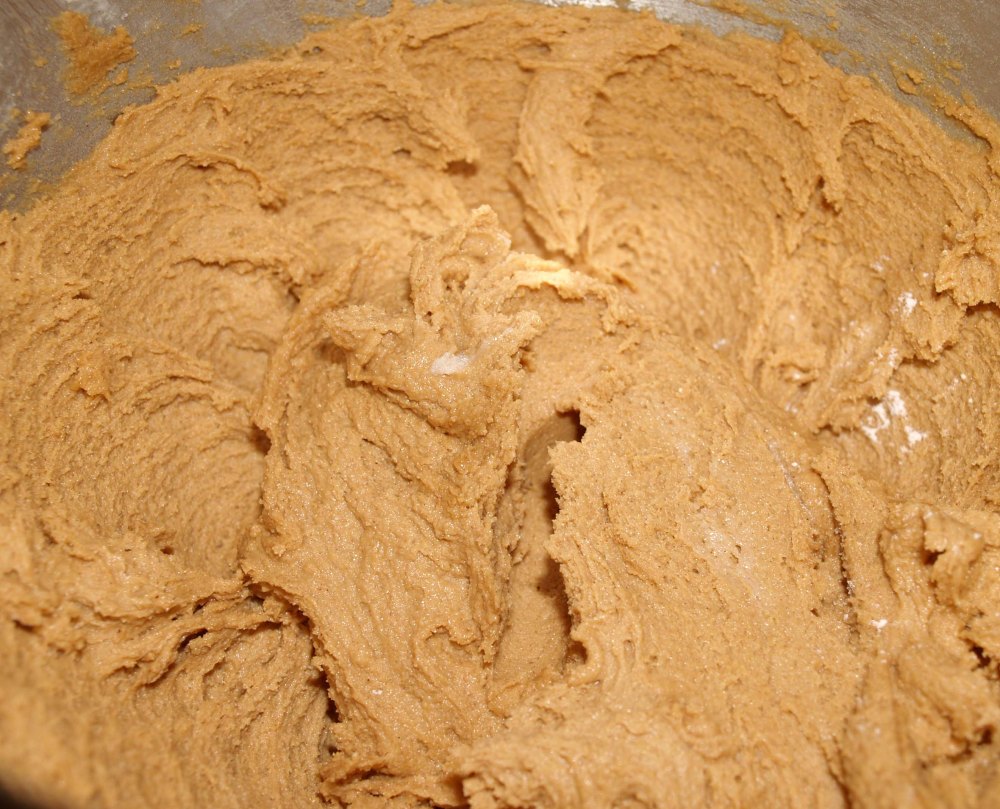
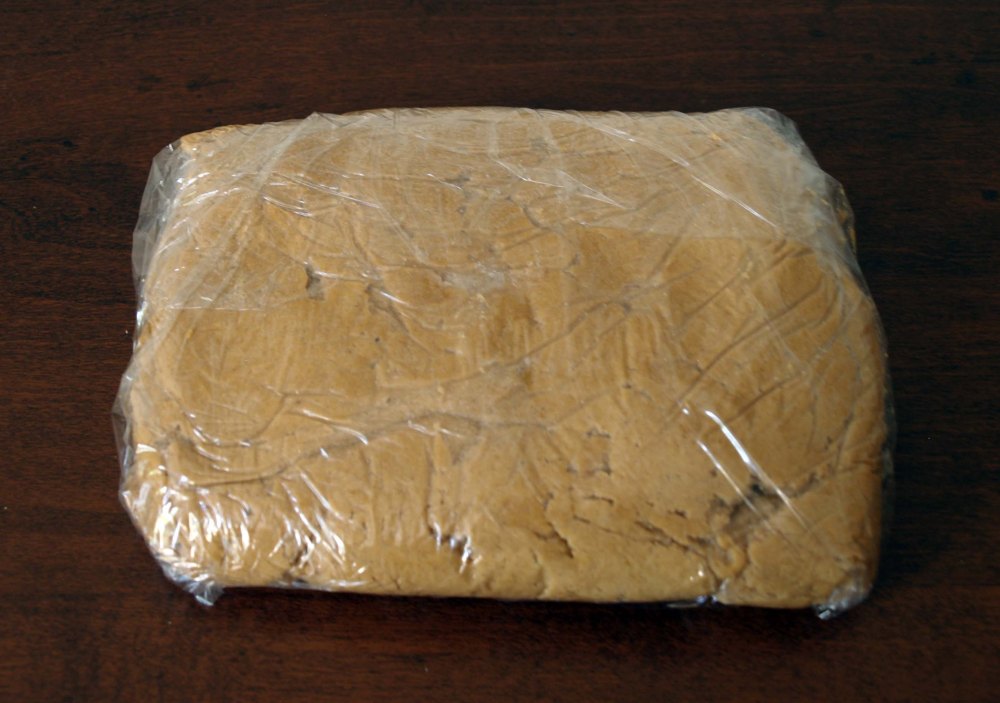
Scrape the dough out of the bowl onto a sheet of plastic wrap and wrap it into a flat rectangle (the dimensions are unimportant). Refrigerate the dough for at least one hour or up to overnight.
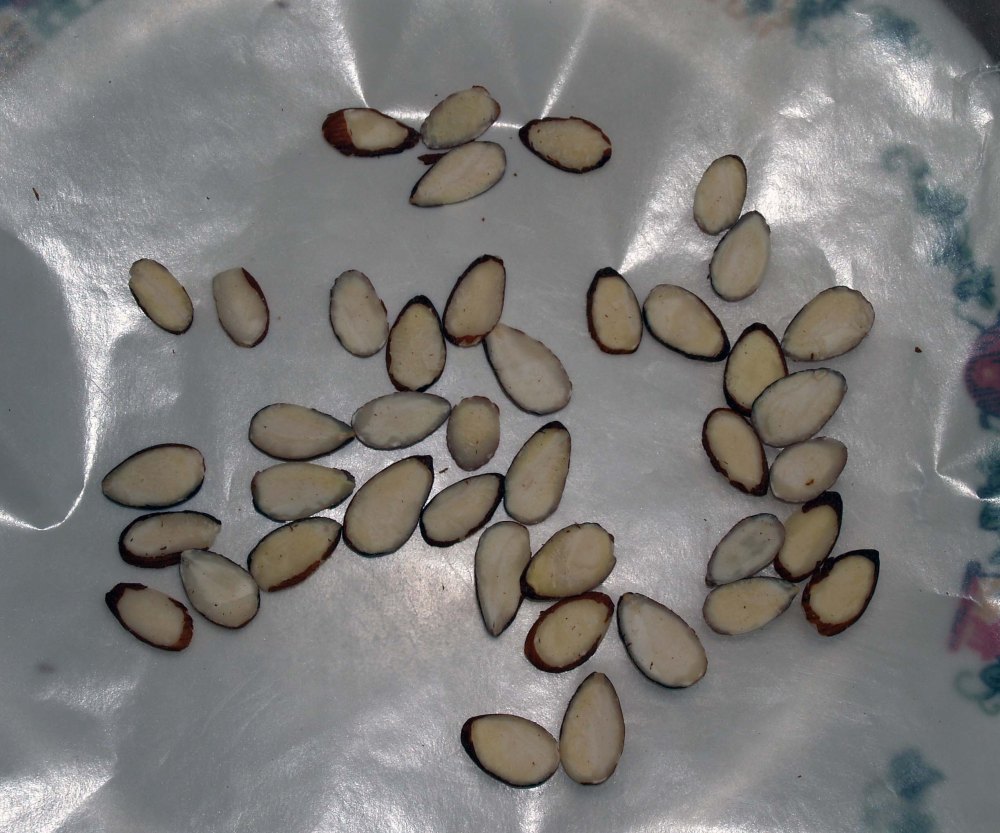
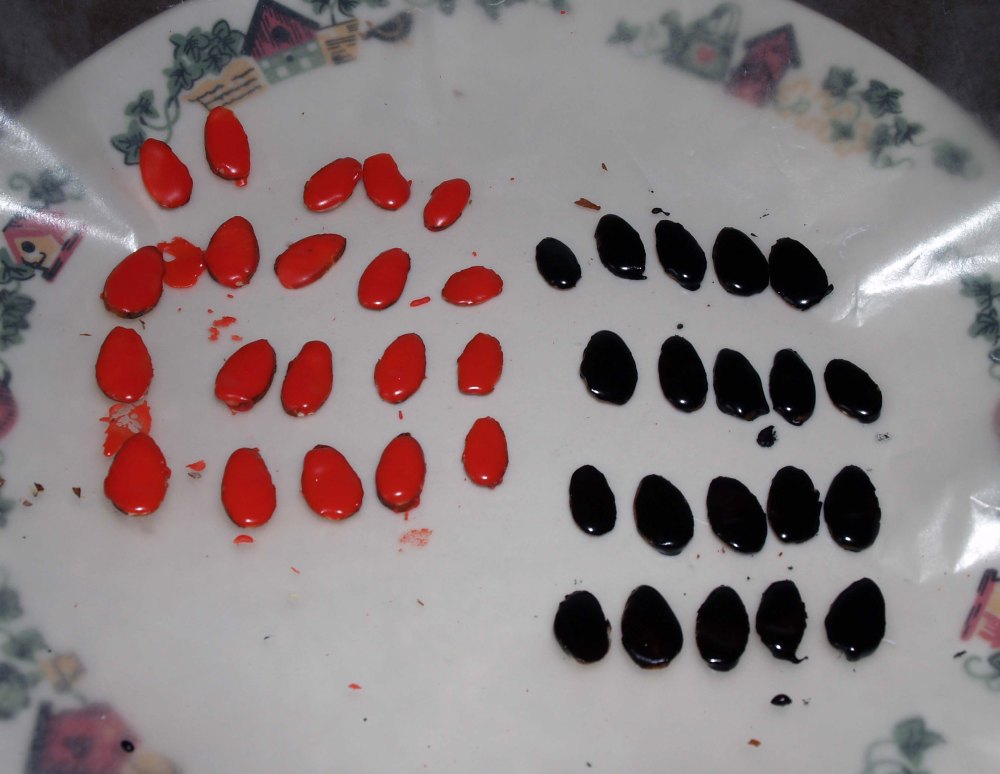
While the dough is chilling, prepare your fingernails. Pick out the most nail-shaped almond slices (make sure they are also appropriately-sized for your cookie cutter). Separate them into sets of five.
Now prepare your icing. Stir together the powdered sugar, vanilla extract, and milk. Start with two tablespoons of milk and stir well. If the icing still provides a lot of resistance when everything is incorporated fully, add more a few drops at a time until it is of piping consistency. It should still hold its shape, but not be too hard to squeeze through a small hole.
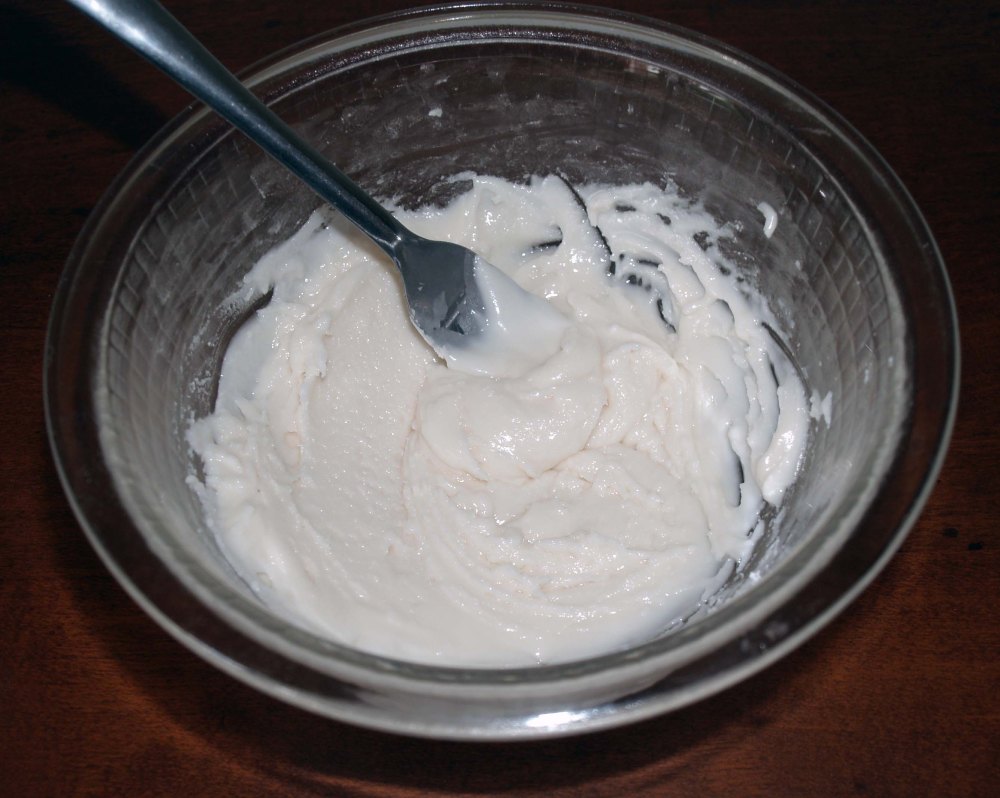
Separate your frosting into portions for coloring. For the colors you plan to use as the base coat, add a little bit more milk until it becomes a bit more drizzly (flooding consistency). If you want to pipe and flood in the same color, you will have to make two separate bowls (the flood icing will smear if you try to pipe it).
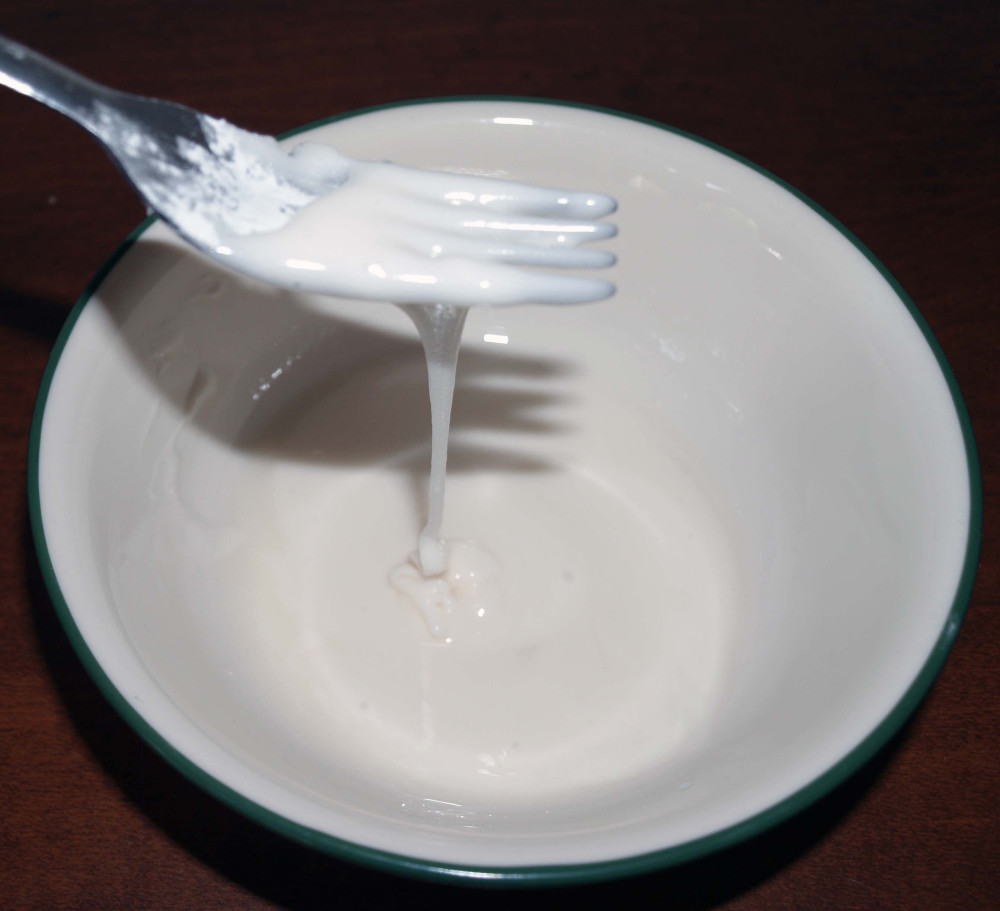
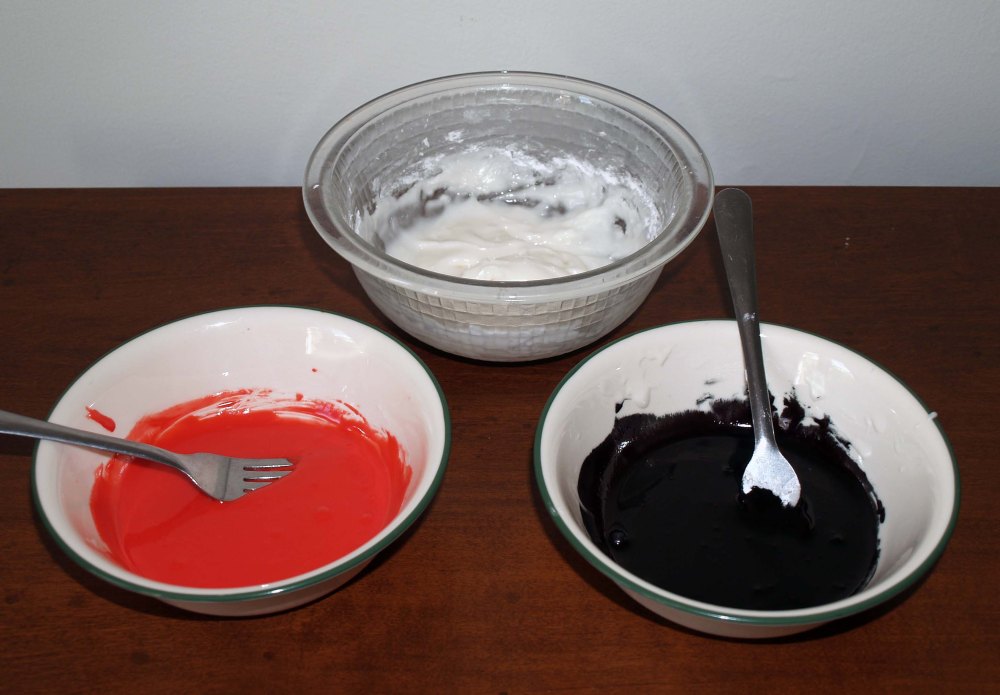
When you are satisfied with the consistency of your icing, add food coloring until you achieve the desired colors. I used Wilton black icing gel coloring for the black. It doesn’t taste good on its own, but for the amount I used in the icing, I didn’t taste a difference. A word of warning: this food coloring will dye everything it touches midnight blue. Keep this in mind if you are “sampling” your frosting shortly before you plan to interact with people (unless black tongue is the look you’re going for).
Spread a small amount of flood-consistency icing onto one side of each almond slice with a toothpick. You could also use a small paintbrush as if you were painting your nails, or just dip the almond slices into the frosting.
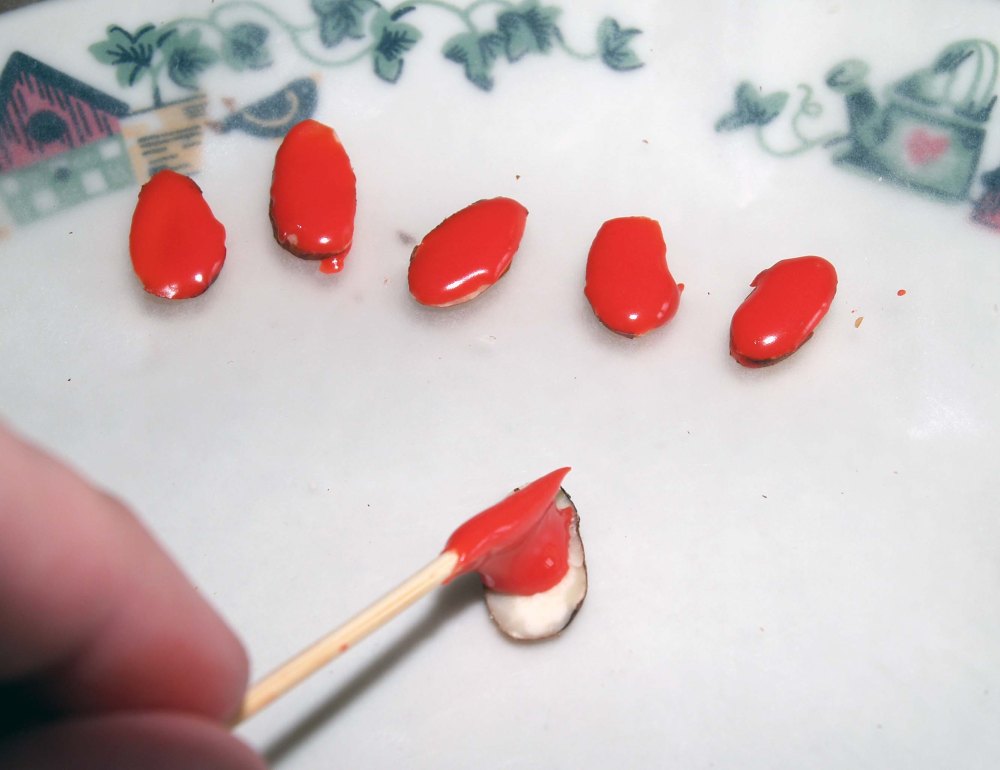
Allow the “painted” almond slices of dry completely on a piece of wax paper. If they are too wet, your piped designs will bleed into the background, so be sure they are hardened to the touch before you start the next step.
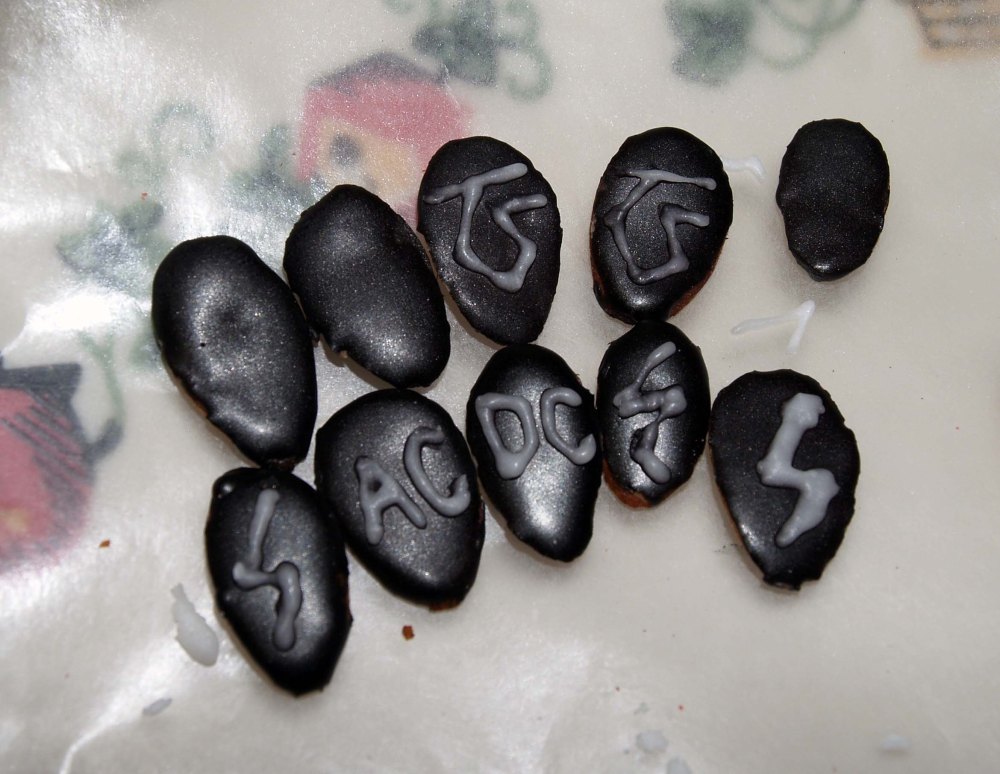
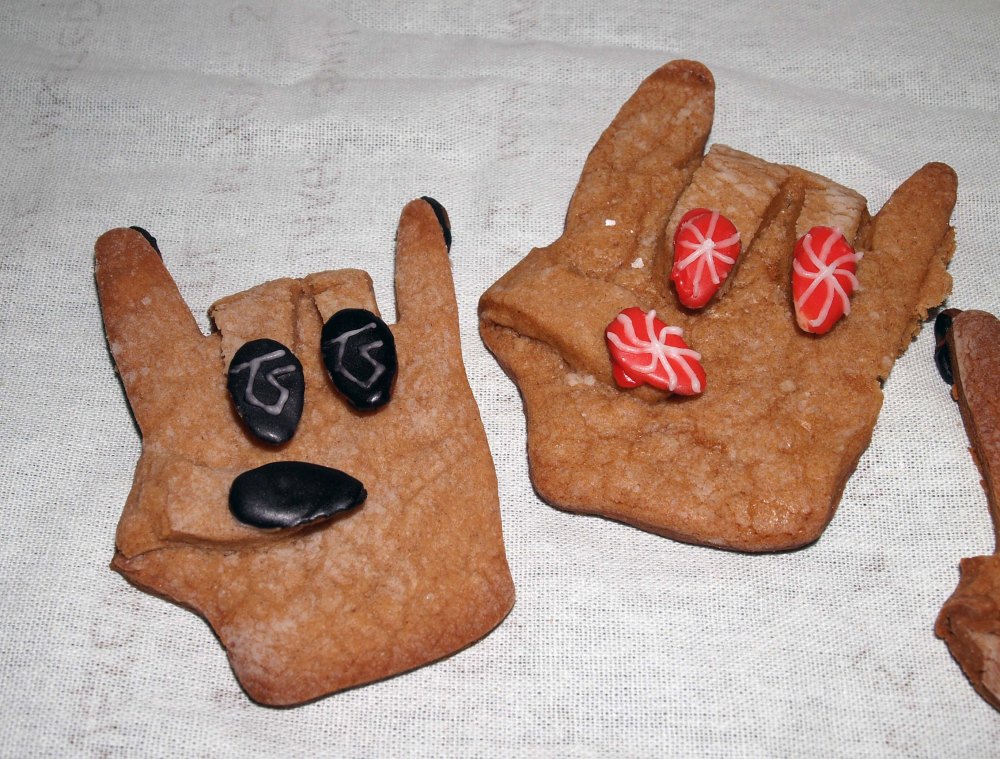
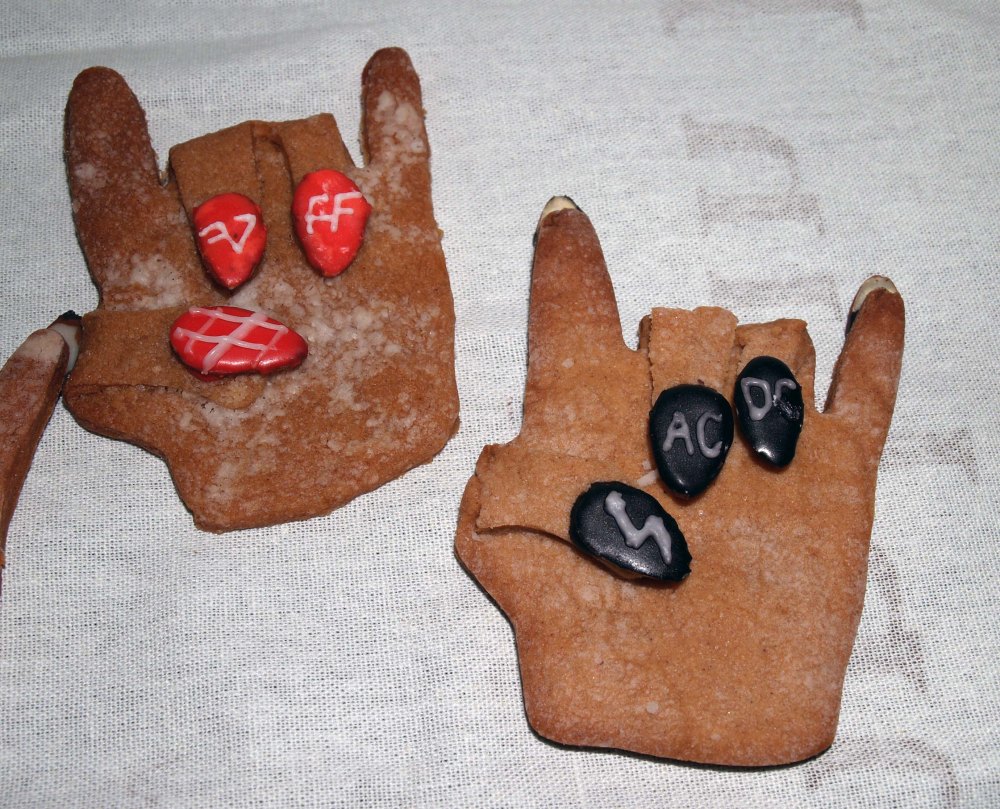
When the base coat of icing is dry, prepare to pipe on your designs. Load your piping icing into piping or resealable plastic bags. Cut as small of a hole as possible in the tip of the bag and try to squeeze some icing out. It should flow freely, but not make too big of a line. If you can’t get any out, cut the hold slightly bigger until it works. This took some trial and error for me, so just be patient and keep trying. Now pipe your designs (in my case band logos) onto your edible fingernails. Allow them to dry on the wax paper again.
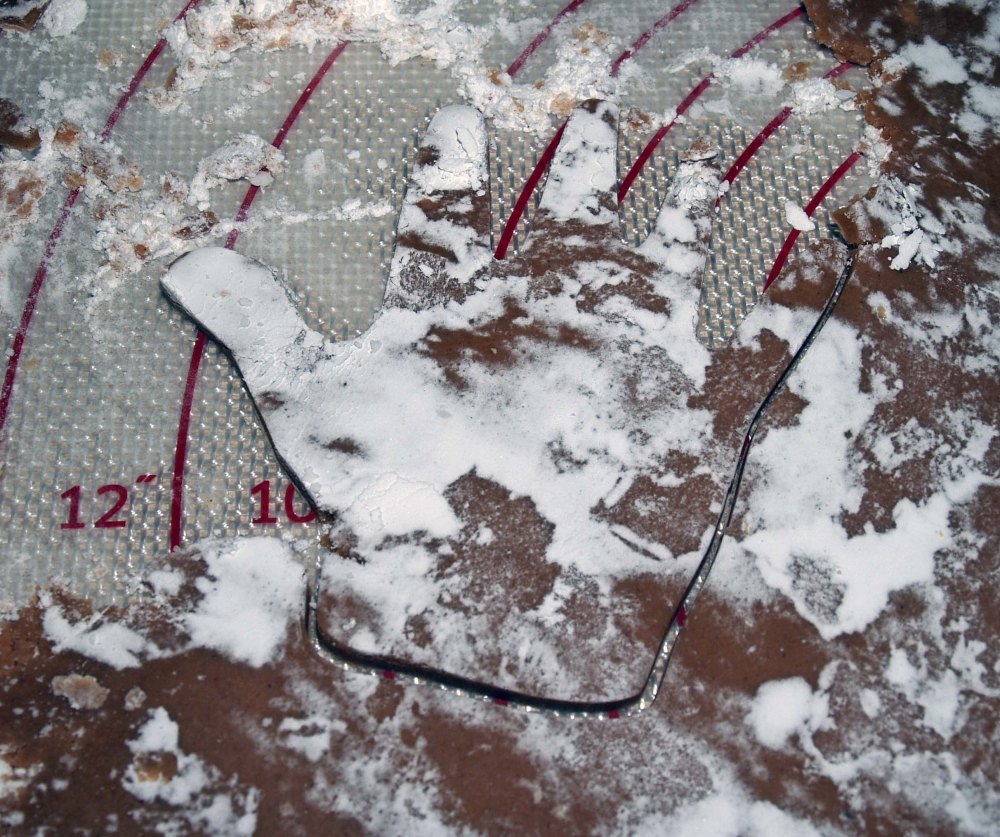
By the time you finish the decorations, your dough should be chilled enough. Preheat your oven to 350°F. Remove half of the cookie dough from the plastic wrap and roll it out on a surface sprinkled with powdered sugar. Use a cookie cutter to cut your hand shapes.
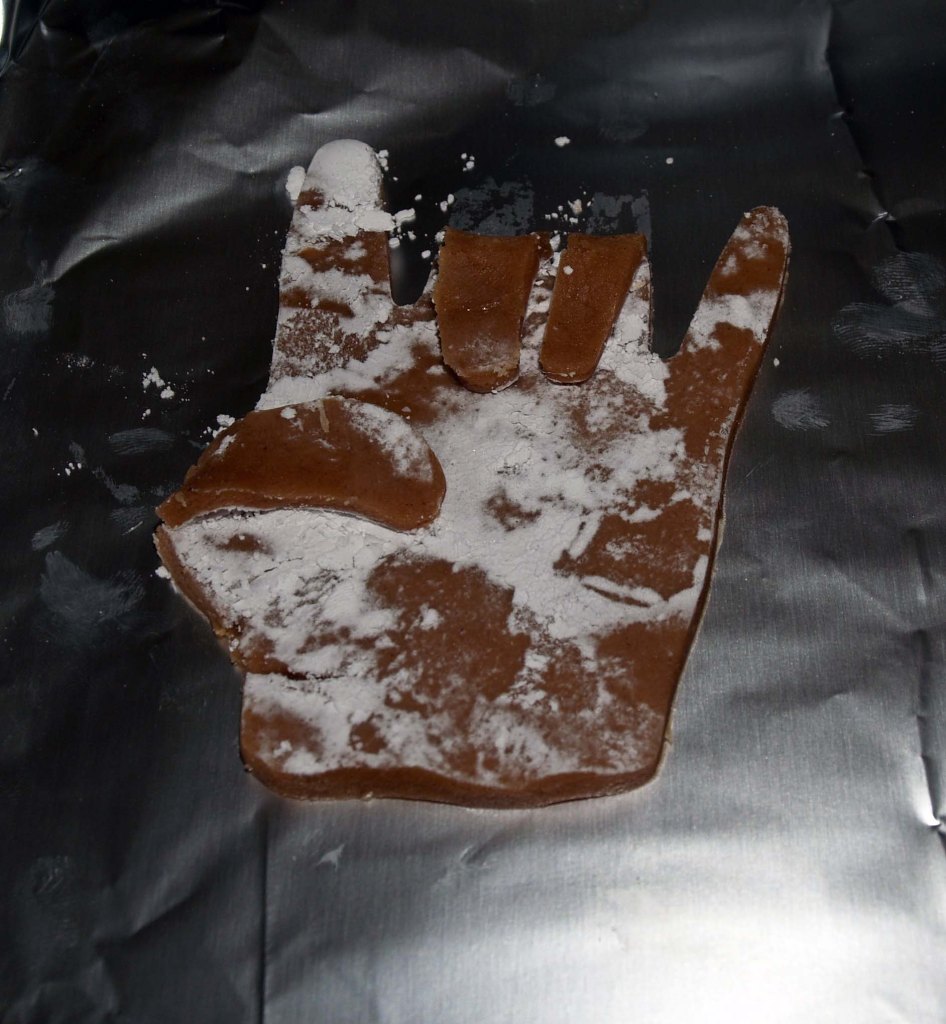
Carefully transfer the cookies to a cookie sheet lined with aluminum foil or parchment paper. Even more carefully, fold the middle and ring fingers and the thumb inward to form devil horns. There’s a good chance the fingers will crack off. If this happens, just do your best to press the dough back together gently at the break. Chill any scraps and repeat the process with the remaining cookie dough until you are sick of rolling out cookies.
Bake the cookies for 10-15 minutes, or until they are golden brown. Let them sit for 5 minutes on the cookie sheet, then remove them to a cooling rack to cool completely.
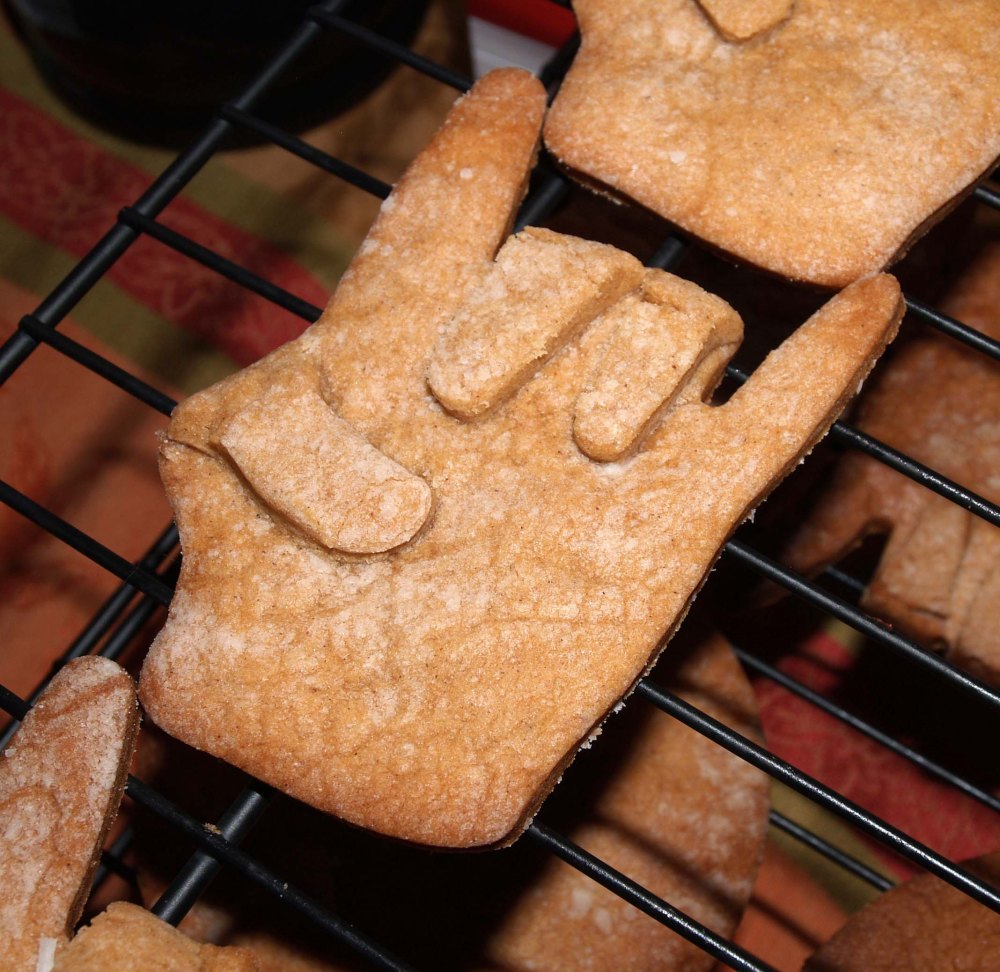
When the cookies are cool, it is finally time to apply the press-on nails. Apply a large drop of icing to the back of each “nail.” This will serve as your glue.
Press the nails you want showing onto the fingers facing up. When they hold their position, flip the cookies over and stick the remaining nails on the other two fingers. Now lick the frosting from your fingers and admire your handiwork!
Check Out My Previous Articles:
[…] Using a sharp knife, slice off one end of the roll a little bit off-center. The piece you cut off should be a bit more than a third of the width of the entire roll. […]