As I mentioned previously, I wasn’t about to let macarons get me down. After the first failed attempt, I took to Google to learn what could be learned and tried again the next day armed with all the tips and tricks the internet had to provide.
I found some comprehensive instructions by Brave Tart (the other posts linked in the beginning are helpful, too) that gave me some much-needed confidence. I highly recommend reading that post and all the others linked at its beginning if you want to get into the macaron game, but are feeling totally incapable after a botched attempt. I followed the recipe and steps on Brave Tart exactly (even the sifting!) and, lo and behold, my macarons actually looked like macarons!

So, aside from trying a different recipe and actually sifting, what did I do differently this time? Let’s dive right into the analysis.
The New Recipe
Some things remain the same, like the need for sifting your almond flour with your confectioner’s sugar to make sure there are no large chunks and to aerate the dry mix a bit. I also whisked it for good measure, as the two ingredients didn’t look combined enough for my taste after sifting.


The recipes diverge when you get to the meringue step, though. This recipe takes you through the steps of making a French meringue. The recipe I used last time used an Italian meringue instead. I’m not sure if this affected my end result, but it’s definitely a variable to retest at a later time. I also had to beat the meringue for a full 10 minutes, which seemed like too much, but worked out in the end.


After making the meringue, the recipe instructed me to dump all of the dry mix into it (the other recipe directed you to add the meringue into the dry mix in stages, only using as much as was needed to achieve the right texture) and then fold the two together. Which leads me to…
Stirring and Folding
The new recipe had some helpful advice on how to fold the meringue and dry ingredients together. Basically, you need to flatten the meringue and knock out the air, which is really counter-intuitive, considering you just spent 10 minutes beating air into it. To do this, you need to (a) count your strokes and (b) scrape the mixture against the side of the mixing bowl with a rubber spatula to knock the air out.


When the batter flows off the spatula in a thick, continuous stream, it’s ready for piping (this part worked the same as before). So far, so good, right? Now we reach a boss battle: air bubbles.
Air Bubbles
As I mentioned last time, I suspected that some large air bubbles were to blame for the dramatic cracking my macaron shells experienced. This time, I made sure to whack my cookie sheets against the counter HARD several times. I let them sit for about 15 minutes and, sure enough, little bubbles rose up to the top and popped (I helped a few along with a toothpick). Some of them did leave little dimples in the surfaces, but that was a price I was willing to pay, as it wasn’t too noticeable in the long run.


Oven Temperature
While some baked goods will be alright with a bit of temperature variation, macarons definitely do not fit into that category (nor does anything that depends on meringue, really). I’ve known for a long time that my oven has a mind of its own, but I just kind of wished my way through the first batch of meringues. That led to cracking and sadness. That same day, I went out and bought a cheap oven thermometer. Turns out, my oven was about 50° too hot the next time I attempted macarons. After some tinkering with the temperature (and much swearing at my lying oven), we were in business. Each time I peeked through the window, my shells were miraculously bubble free, and they came out just right. Success!


I’ll admit that I still have some work to do (I’d like to eliminate those little peaks and get some taller feet), but I’m pretty happy with the result, considering that this was only my second time ever attempting macarons.
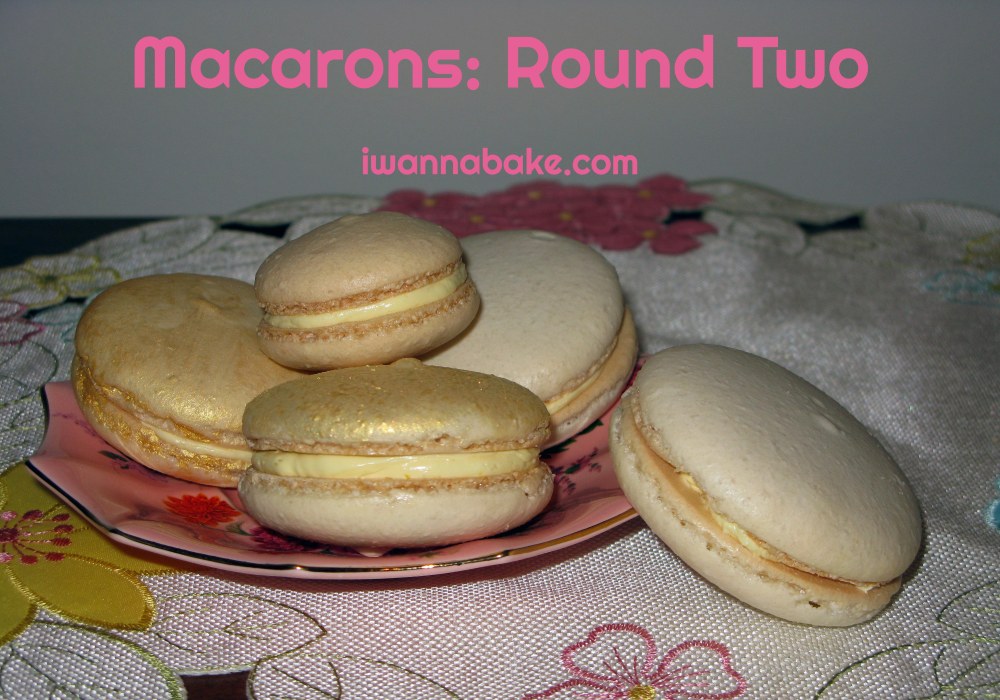
I hadn’t added any food coloring because I didn’t have powdered food coloring yet (more on that in a future post), so I took Brave Tart’s advice and painted some of the shells with food coloring after baking instead. I used Wilton’s gold color mist on some and Wilton’s gold candy paint on others (you can get these at a more reasonable price at your local craft store). You can just barely see it on the front, left, and top macarons:

I didn’t like the smell of the color mist at first, but it dissipated over time. Both types of color added a nice shimmer and sheer layer of color, so this is a nice way to decorate your macarons without messing with the liquid content too much.
As for the filling, I used the recipe for French buttercream in the Bouchon Bakery cookbook that I got my first macaron recipe from. It was delicious, if you like butter (who are we kidding, of course you like butter). The only problem I have with it is that it can’t be out of the fridge too long or it melts due to the high butter content. In the future, I’d probably try a more standard buttercream that’s higher on powdered sugar content.
So, I’m a macaron expert now, right? 😉 Just kidding, I still consider myself a novice. I will keep trying and, hopefully, improve my technique with practice. If you’ve mastered the macaron, I’d love to hear the secrets of your witchcraft!

