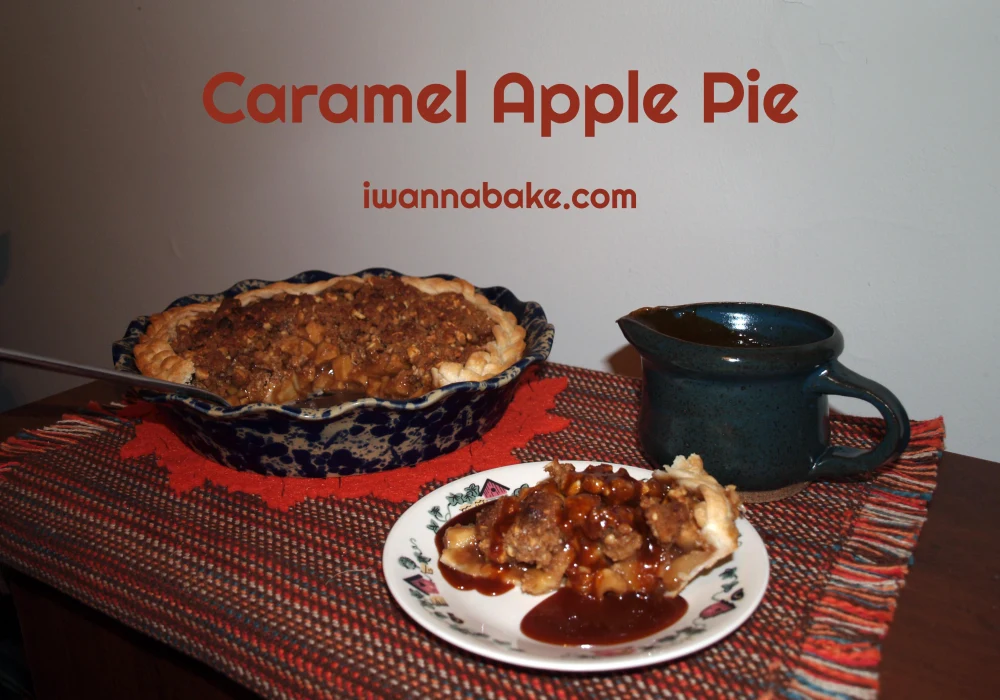
Fall weather seems to have come and gone, and somehow I haven’t published an apple recipe yet. What has become of I Wanna Bake!? </melodrama> However, since it’s still officially fall until December 20, I’m going to squeeze one in there so that this fall won’t be a complete and total bust. 😉 Without further ado, I bring you caramel apple pie!
This caramel apple pie came about because of my husband, as many of my bakeventures do. We both love caramel apples, but he’s allergic to raw apples, so that fall staple is, sadly, forbidden for him. Fortunately, cooked apples are perfectly fine (yes, it’s a thing). So that he could still experience that magical mouthful of fall, I decided to try to turn it into a pie. The result didn’t quite capture the whole experience of biting into a sticky, crunchy caramel apple skewered precariously on a stick, but it was definitely delicious.
This pie is based on the same recipe I usually use for apple pie. The filling is incredible basic, requiring only apples, flour, and brown sugar. I left out the cinnamon this time, even though it felt like it went against my very core to do so, because I wanted to stay true to the flavor of caramel apples. The pie will, of course, taste delicious with cinnamon in the filling and/or crumble, so you can add two teaspoons (or more, depending on your appetite for cinnamon) if you’re so-inclined.
I decided to use a crumble topping, using chopped peanuts instead of the usual walnuts or oats to go with the caramel apple theme (the ones I buy are usually rolled in chopped peanuts). It added a nice sweetness and crunch to the pie, but be careful when baking because it tends to brown quickly. I’d guess that’s because peanuts are naturally oily, but it could also be that my oven has a mind of its own when it comes to temperature control. Either way, make sure to check your pie after about 40 minutes and cover it with foil, shiny side out, if you notice that it’s browning too quickly.
I will confess that I used store-bought pie crust for this one because I just didn’t have it in me to make pie crust. While I now prefer to make my own, I really don’t think there’s anything wrong with store-bought (as evidenced by one of my attempts at click bait). It tastes fine, has reliable results, and just makes things easy. Of course, I couldn’t just let it be entirely easy, so I added a braided edge to the pie to pretty things up a little. It worked out nicely, and wasn’t difficult at all. The trick is to make sure that all of your strips are the same width, which should be fairly small (approximately ¼” or less), and then to braid the ends of each strand together once they’re all arranged on the pie.
The other shortcut I took was to use store-bought caramel sauce. I actually did try to make my own according to this recipe from Sally’s Baking Addiction, but while it looked right, the sauce had a burnt flavor that was just unpleasant. Most likely, in the time it took to take the pictures, I overcooked it. I’ve made caramel before, and I’m sure I’ll do it again, so I’m not too bothered by it. You can attempt to make your own if you’re feeling ambitious, but if not, Trader Joe’s sells a decent jar of salted caramel sauce (and salted caramel really isn’t my thing, so you know it has to taste pretty good if I’m recommending it anyway). Whatever you decide, be sure to give the pie a try with the caramel, because it really does bring the flavor up to the next level of tastiness.
You will need the following ingredients:
For the pie:
- 1 recipe sweet pie crust, or 1 box store-bought pie crust (if you don’t plan on doing anything decorative with the crust, you will only need half of the crust recipe or one roll of store-bought)
- 8 cups assorted apples, peeled, cored, and chopped
- 1 cup brown sugar
- ¼ cup all-purpose flour
- heavy cream for brushing crust (optional, and only if you’re using decorations)
For the crumble topping:
- ½ cup brown sugar
- ¾ cup all-purpose flour
- 6 Tbsp. unsalted butter, softened
- ½ cup peanuts, coarsely chopped
Let’s get baking!
To start off, prepare your pie crust (here’s a helpful tutorial) and let it chill for at least an hour.
When your pie crust is nice and firm, peel, core, and chop your apples into roughly ½” chunks. To get the most fruit out of my apples, I like to cut them in half once I’ve peeled them, then remove the cores and stems with a melon baller before chopping.


Toss the apple chunks together with the brown sugar and flour in a large bowl until well-combined. Set aside for now.

On a lightly-floured surface, roll out half of the pie crust and fit it carefully into a 9″ deep dish pie plate.

Spread the apple mixture evenly inside the bottom pie crust. Refrigerate the pie while you make the crumble to make sure the crust doesn’t melt from the heat of the oven.

Now, prepare the crumble. In a small bowl, stir together the brown sugar and all-purpose flour until well-mixed.

If you haven’t already, chop your peanuts until they resemble fine gravel.

Stir the peanuts into the flour-sugar mixture, then cut in the softened butter until pea-sized crumbs form.

Take your pie back out of the fridge and sprinkle the crumble evenly across the top.

I decided to roll out my remaining pie crust, cut it into thin strips, and make a braided edge. I’ll probably write a separate post about this to add to my list of pie crust decorations, so I’m not going to go into detail here.


If you do choose to add a border, I suggest brushing it with a little bit of heavy cream. This gives it a nice, golden color when it bakes.

By now, your oven should be pre-heated. If it’s not, put the pie back into the fridge while you wait for it to come up to temperature. When the oven is ready, bake the pie for about an hour, or until the crust and crumble are browned and the filling bubbles up through the crumble. If the crust looks like it’s browning too quickly when you check the pie, you can cover it with aluminum foil (shiny side out) to slow it down a little.


Leave the pie to cool on a wire rack for an hour or two, then transfer to the fridge to cool completely (preferably overnight) before serving.
I also attempted to make homemade caramel sauce a la this recipe, but it ended up tasting a bit burnt. I’m not going to re-write the process here because I really didn’t change the recipe at all other than omitting the salt, and mine didn’t come out well anyway. Here are my photos anyway, because I think the process of turning sugar into caramel is cool.


Instead, I bought a jar of salted caramel sauce at Trader Joe’s, and it worked out just fine for me. The pie is delicious on its own, but I’d definitely encourage you to try it with the caramel. Just drizzle each slice with some warmed-up caramel sauce before serving and you’re good to go.
Enjoy!

You can download the printable PDF recipe here: Caramel Apple Pie

Hello. Came across your blog today, Your pie looks great and look forward to deeing more of your blogs.
LikeLike
Thanks so much! 🙂
LikeLiked by 1 person